zaterdag 31 oktober 2020

Kraftin' Kimmie Krafty Komeback - Believe in your ELF

 Hello all,

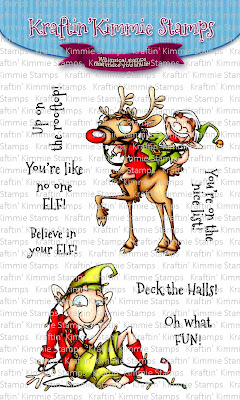
Today we have a special occasion going on because Kraftin' Kimmie stamps is re-releasing some of their rubber stamps into Clear stamps! So if you are looking for some you might be lucky and find it being re-released in the near future! Today we are re-release a set by artist Emily called Believe in your ELF! Vandaag is er een speciale gelegenheid aan de gang bij Kraftin' Kimmie stamps want er worden een aantal rubber stempels opnieuw uitgebracht in Clear stempels! Dus als je nog wat op je verlanglijst had staan wie weet komt hij wel weer uit in Clear. Voor vandaag hebben we een stempel van artiest Emily genaamd; Believe in your ELF! 
The set contains two main images and a total of six matching sentiments! De set bestaat uit twee afbeeldingen en zes bijpassende teksten!
For my card i cut a red topfold base card, using pattern paper i cut a strip and added that to the base card. Cut a piece of Copic paper, added the floor using my Copics and on the left side i added a strip of red cardstock. Stamped the images, colored it up and cut it using my Scan & Cut and added it to the main card. Voor mijn kaart sneed ik een rode topfold basis kaart, met designpapier sneed ik een strip en plakte dit op de basis kaart. Sneed een stuk Copic papier, bracht hier de vloer op aan met mijn Copics en plakte aan de linkerkant een strookje rood cardstock. Stempelde de afbeelding, kleurde deze in, sneed deze uit met mijn Brother Scan & Cut en plakte alles op de basiskaart.
Cut some smaller strips of pattern paper and die cut the word Merry. Added it to the main card and heat embost the sentiment on some brown cardstock. Finished the card of using some enemal dots. Sneed wat kleine strookjes designpapier en stanste het woord Merry uit. Plakte alles op de basiskaart en heat emboste de teksten. Werkte het geheel af met verschillende kleuren enemal dots.

Have a lovely day!
Greets, Marieke

Dies: Brother Scan & Cut, Merry Christmas Die-Namics
Ink: Wicked BlackTsukineko Versamark
Paper: Copic paper, Red Hot, Milk Chocolate, Jellybean Green, Echo park Pattern paper.
Extra: Ultrafine gold embossingpowder, Enamel dots.
You are invited to the Inlinkz link party!

Click here to enter

dinsdag 27 oktober 2020

My Favorite Things - October Vault Release

 Hello all,

Today i'm back back with a new Vault release for My Favorite Things! For the people who don't know what it means; My Favorite Things is bringing back older products but then they are updated to here and now. So if you missed out on them back then, here is your change to scoop them up! Vandaag ben ik er met een nieuwe Vault release van My Favorite Things! Voor de mensen die het niet kennen; My Favorite Things brengt oudere producten opnieuw uit alleen dan in een nieuw jasje. Mocht je deze eerder gemist hebben is het nu je kans om te halen.
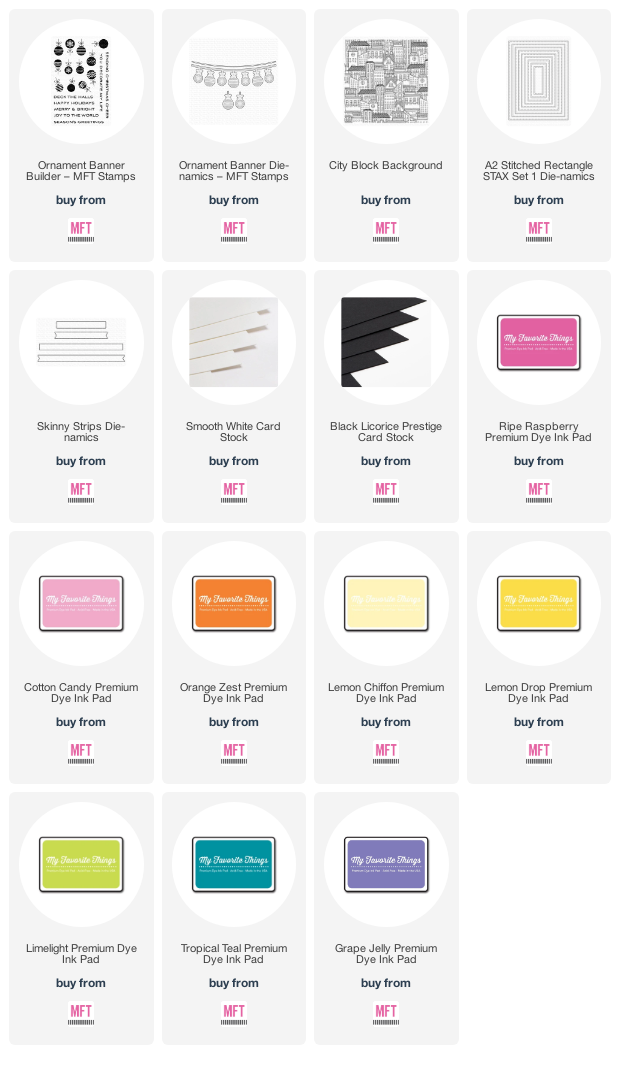
The release is avaible as we speak! I decided to make a CAS card using the Ornament Banner builder with matching Die-Namics. Vanaf nu zijn de augustus Vault release producten beschikbaar! Ik besloot een project te maken met de Ornament Banner builder met de bijpassende Die-Namics.
First i heat embost the City Block Background on to some Grout Grey cardstock and cut it using the a2 Sticthed Rectangle Die-Namics. Glued this on a topfold Smooth White basecard using foamtape. Ik heat emboste de City Block achtergrond stempel op Grout Grey cardstock en stanste het uit met een Stitched Rectangle Die-Namics. Plakte dit op een topfold Smooth White basiskaart met foamtape.
Out of Smooth White i die cut the Banner and made both one ball smaller. Stamped the balls in rainbow colors and cut the small string out of Black Licorice. Glued them together and added it to the front. In the middle goed a heat embost sentiment on some Black Licorice. Stanste de banner twee keer uit Smooth White en maakte beide één kerstbal korter. Stempelde de ballen in regenboogkleuren en stanste de dunne lijn uit Black Licorice. Plakte de zwarte lijn op de witte banner en plakte het geheel op de kaart. In het midden een heat emboste tekst op Black Licorice cardstock.

Have a lovely day!
Greets, Marieke

maandag 26 oktober 2020

My Favorite Things - Vault Release Countdown day 1

 Hello all,

Welcome back today for day one of the Vault Release countdown by My Favorite Things. Luckly the wait on the Vault Release is only short and you can have a shopping spree already tommorow Tuesday October 20th at 10:00 am EST. Welkom terug bij dag éém van de Vault Release coutndown by My Favorite Things. Gelukkig hoef je maar even te wachten want morgen zijn ze al beschikbaar om 16:00!
Today i went for a card we rather not make but sometimes we just have to. I think that the Falling Leaves Die-Namics are a match for that! Voor mijn kaart van vandaag maakte ik een kaart die we allemaal liever niet maken maar soms gewoon één nodig hebben. Ik vind dat de Falling Leaves Die-Namics hier perfect voor gemaakt is.
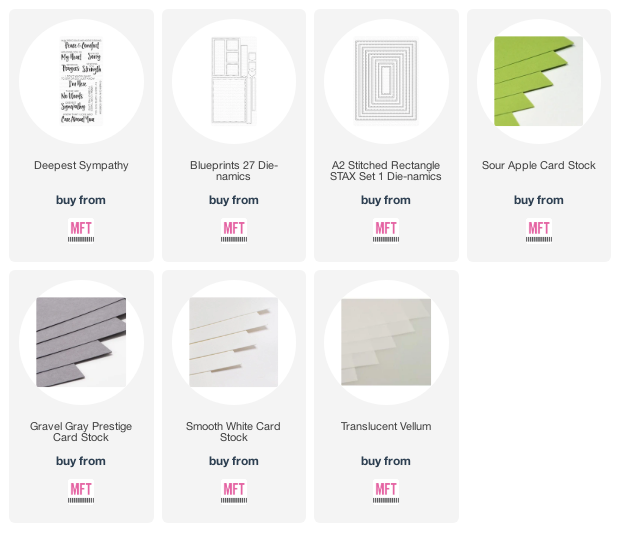
So the base of the card is a side fold Smooth White base card. Out of gravel Grey i cut a scallopped rectangle, cut another Smooth White panel and on to that there is a Vellum rectangle. De basis van de kaart is een Smooth White basis kaart. Uit Gravel grey stanste ik de scalloped rechthoek, daarna nog een Smooth White rechthoek en daarbovenop een Vellum rechthoek
Out of Sour Apple i cut the leaves twice and added some Peeled Paint Distress ink. Mixed up the Distress ink with water and splattered it onto the leaves. Try tro fit the leaves on the white panel until i was happy. Glued the Gravel Grey, Smooth White and Vellum on the base card in this order and then i added the leaves. Uit Sour Apple stanste ik de bladeren twee keer en bewerkte ze met Peeled Pain Distress inkt. Mixte de Distress inkt met water en spetterde dit op de bladeren. pastte en meette de bladeren binnen het witte cardstock en sneed uit wat overbodig was. Plakte het Gravel Grey, Smooth White en Vellum in deze volgorde op de basiskaart en voegde daarna de bladeren toe.
Heat embost the sentiment on some Gravel Grey cardstock and cut it into a rectangle. Added it to the base card and finished of using some Black enamel dots. Heat embostte de tekst op Gravel Grey cardstock en sneed er een rechthoek van. Plakte het op de basiskaart en werkte het af met zwarte enamel dots.

Have a lovely day!
Greets, Marieke

zaterdag 24 oktober 2020

Kraftin' Kimmie Saturday Challenge - Make your own Background

 Hallo allemaal / Hello everybody!

Today it's Saturday wich means a new challenge started over at Kraftin Kimmie Stamps Blog, today the theme is make a card or project were you made your own background!. You can go every route with this so get your stamps, ink and stencils out and play along. Vandaag is het zaterdag dat betekend dat er een nieuwe challenge begonnen is op het blog van Kraftin' Kimmie Stamps. Het thema van deze week is maak een kaart pf project en gebruik daarop een eigen gemaakte achtergrond. Je kunt er alle kanten mee op dus pak je stempels, inkten en stencils en speel mee!
So for my card i inked up a panel using Scattered Straw, Mustard Seed and Wild Honey Distress inks and splattered some water and white paint on to it. Using the Magical Mosaic Stencil and Tea Dye Distress ink i added the pattern. Voor mijn kaart inkte ik een paneel met Scattered Straw, Mustard Seed en Wild Honey Distress inkt, spetterde er water en witte verf op. Met het Magical Mosaic Stencil en Tea Dye Distress inkt voegde ik het patroon toe.
Die cut the panel using a stitched rectangle die. Stamped the flying lines on the card using Wicked Black. Die cut the word sweet and the outline out of vellum and adhered them together. Heat embost the sentiment on some black cardstock and cut them out. Stanste het geheel uit met een stitched recthoekige stans. Stempelde de vlieglijnen op de kaart met Wicked Black. Stanste het woord sweet en de omlijnde stans uit vellum en plakte ze op elkaat. Heat emboste de tekst op zwart carstock en sneed het uit.
Stamped the images, colored it up and cut it using my Sciccors. Added the panel on to a White topfold cardbase and added all the single elements on to it. For some fine detail i added some wink of stella to the wings. Stempelde de afbeelding, kleurde hem in en knipte hem uit. Plakte het paneel op een witte topfold basiskaart en plakte daarna alle losse elementen op. Voor een klein detail bracht ik nog wink of stella aan op de vleugels.


Have a lovely day!
Greets, Marieke

Dies: A2 stitched rectangle, Sweet Die-Namics
Ink: Wicked BlackScattered Straw/ Mustard Seed/ Wild Honey/ Tea Dye Distress ink, Tsukineko Versamark
Paper: Smooth White, Black Licorice, Vellum
Extra: Ultrafine white embossing powder, Wink of Stella Clear, Magical Mosaic Stencil

You are invited to the Inlinkz link party!

Click here to enter

donderdag 22 oktober 2020

My Favorite Things - The Birthday Project Challenge

Hello all,

Today i'm back with a project for My Favorite Things. It's third thursday of the month so that means a new Birthday Project Challenge starts. The challenge this month is to use balloons on your birthday card. Vandaag ben ik er weer met een kaart voor My Favorite Things. Het is de derde donderdag van de maand en dat betekend een nieuwe Verjaardag challenge start. De opdracht deze maand is om ballonen te gebruiken voor je verjaardagskaart.
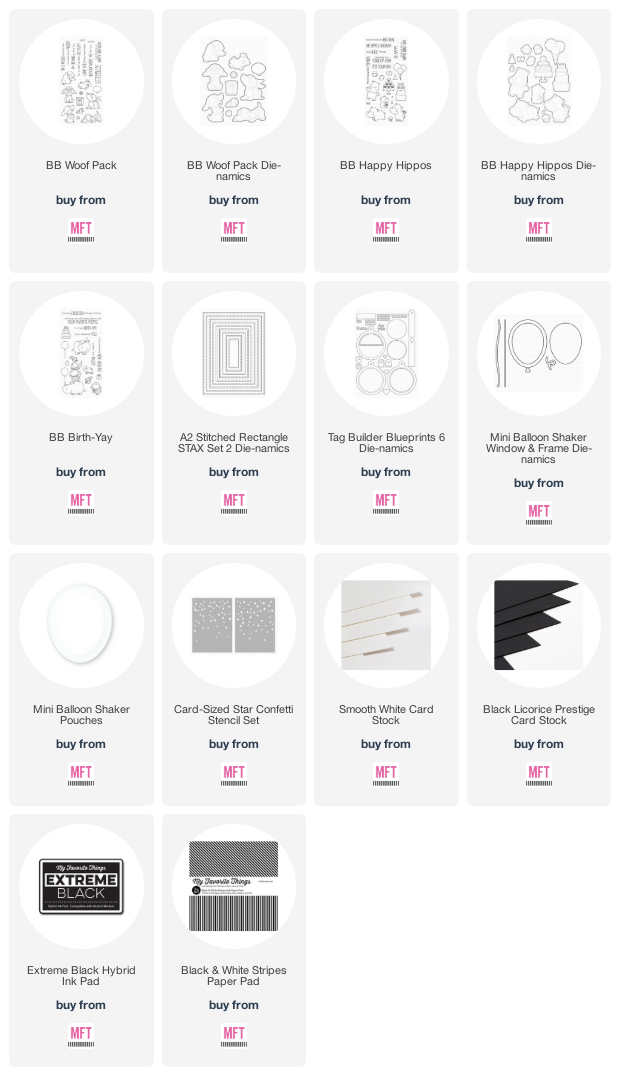
I decided it was time to get out some shaker elements to combine it with the BB Woof Pack, for this month Birthday party.

Ik dacht dat het wel weer tijd werd voor een shaker kaart dus haalde mijn shaker ballonen tevoorschijn en combineerde ze met de BB Woof Pack.
Mixed some Mowed Lawn and Squeezed Lemonade on a piece of watercolor paper, splattered some water and added the Card-Seized Star Confetti Stencil on to it. Added another layer of Mowed Lawn and Squeezed Lemonade. Cut it using the Stitched Rectangle Die-Namics. Mengde Mowed Lawn en Squeezed Lemonade op een stuk aquarel papier, spetterde water en plakte het Card- Seized Star Confetti Stencil erop. Bracht nog een laag Mowed Lawn en Squeezed Lemonade aan. Stanste het geheel met een Stitched Rectangle Stans.
Cut the outer ring of the shaker balloon out of Smooth White and cut the balloonstrings out of Black Licorice. Decided were i wanted them and cut the inner piece out of the green panel. Traced the wholes with a pencil on another stitched rectangle panel and added the die cutted green pieces on to it. Glued the Shaker Pouch on the back of the green panel and filled the shaker. Added the white panel on the whole back and stamped the sentiment. Placed the Balloon strings on the base cards. Stanste uit Smooth White de buitenste rand van de shaker ballon uit Black Licorice de ballon lijnen. Besloot waar ik de ballonen wilde hebben en stanste uit de groene rechthoek de binnenzijde van de ballon. Stanste een Smooth White rechthoek net zo groot als de voorkant en tekende de gaten over, plakte hier de uitgestanste groene vormen op. Plakte de Shaker Pouches op vast aan de achterkant van het groene rechthoek en vulde de shaker. Plakte het Smooth White paneel aan de achterkant en stempelde de tekst aan de voorzijde. Plakte de ballon lijnen op de voorkant.
Stamped the images, colored them up and cut them using the matching Die-Namics. Added them to the panel. Cut two strips of the black & white pattern paper and added those on a Smooth White topfold basecard. Glued the cardpanel on top of that and my card is done. Stempelde de afbeeldingen, kleurde ze in en stanste ze met de bijpassende Die-Namics. Plakte ze op de voorzijde van het groene rechthoek. Sneed twee strips van het black & white striped desing papier en plakte deze op een topfold Smooth White basiskaart. Plakte daarna de groene rechthoek op de basiskaart.


Used Copic Colors:
Black - N7, N6, N5, N4
White - C5, C3, C1, 0
Green - YG17, YG13, YG11
Brown - E57, E55, E53
Yellow - Y15, Y13
Red - R27, R24, R22
Pink - R22, R20

Have a lovely day!
Greets, Marieke

woensdag 21 oktober 2020

Back to where it started.

Hallo allemaal,

Zoals de volgers die me al langere tijd volgen weten, ben ik begonnen met bloggen door het maken van de "scrap" kaarten. En gedurende mijn hobby is mijn stijl iet wat veranderd... Maar soms maak ik ook nog wel eens de scrapkaarten en dan met name op bestelling. As the most of my longtime followers know i started out my blog showcasing my "scrap" cards and along the way my style changed just a bit... Sometimes i still like to make a card like this and especially for a commision. 
Ik begon met de basis dat is een kaart cardstock basis die ik dubbelvouwde en daarop de mal overtrok, net iets over het randje zodat hij aan de bovenzijde vast zit. Knipte een maatje kleiner uit wit en nog een maatje kleiner uit het Maja Design papier. My base is a kraft cardbase wich i folded and traced the outer size of the shape overlapping the fold a bit so it would be stuck on the topside of the card. A seize smaller i cut the shape out of white cardstock and another seize smaller out of pattern paper by Maja design.
Sneed een vierkant en een rechthoek uit het Maja Design papier ne bewerkte alles met Walnut Stain Distress inkt. Stempelde de teksten op wit cardstock en stanste ze uit. Maakte de vlaggenlijn compleet met twine en de andere tekst ging nog op een laagje kraft papier. Out of the pattern paper i cut a square and a rectangle and added some Walnut Stain to all the layers of paper. Stamped the sentiment on to white cardstock and cut it using dies. Added some twine to the flags and a layer of kraft cardstock to the other sentiment.
Stempelde de afbeelding, kleurde hem in en stanste het uit. Plakte het op een Kraft basis en bewerkte beide met Walnut Stain Distress inkt. Voegde aan beide zijde wat bloemen toe, de tekst ging in een pin en op de sluier ging nog een laagje wink of stella. Stamped the image, colored it up and cut it using a die. Added it on a layer of kraft cardstock and added some Walnut Stain to both. Added some flowers to both sides, added the sentiment on pin and a layer of wink of Stella to the vale.

Heb een heerlijke dag!
Groet, Marieke

Stempel: Lili of the Valley; over the treshold, Craft Emotions; Handletter huwelijk, Els Brige; 't is je verjaardag.
Stansen: A2 Stitched rectangle Die-Namics, Noor! Design vlaggetjes
Papier: Maja design Miles apart. Kraft, Wit Bazzil cardstock
Inkt: Memento Tuxedo Black, Versafine Vintage Sepia, Walnut Stain Distress inkt.
Extra: Wink of Stella Clear Glitter, Dutch Doobadoo Shape art - 470.713.165 

zondag 18 oktober 2020

October release and krafty hop!

 Hello everyone!

And the day has come that the October Release by Kraftin' Kimmie stamps is available! For today's inspiration i decided to make a Clean And Simple Card using the Wish upon a starVanaf vandaag zijn de september release producten van Kraftin' Kimmie stamps te koop, welke ga jij halen? Voor mijn inspiratie van vandaag maakte ik een Clean And Simple kaart met de Wish upon a Star.
So for my card i started with a topfold Smooth White a2 cardbase. I used Worn Lipstick and Spun Sugar Distress ink in the corner and then i added another layer using the Summer Sunbeans stencil. Mixed Worn Lipstick with water and splattered some splatters. Did the same with normal water and a white paintmarker. Voor mijn kaart begon ik met een Smooth White a2 topfold basiskaart. Met Worn Lipstick en Spun Sugar Distress inkt bracht ik het roze aan in de hoek. Met nog een laag Distress inkt en het Summer Sunbeans Stencil maakte ik de stralen. Mixte Worn Lipstick met water en spetterde de roze spetters, deed hetzelfde met water en een witte verfmarker.
Die cut the clouds and added some Spun Sugar to the bottom of them. Stamped the image, colored her up and cut her using my Brother Scan & Cut. Added some Wink of stella clear to her wings and finished of stamping the sentiment. Stanste de wolken en voegde wat Spun Sugar toe aan de bodem. Stempelde de afbeelding, kleurde deze in en sneed hem uit met mijn Brother Scan & Cut. Voegde wat Wink of Stella Clear toe aan mijn vleugels en werkte het geheel af met een tekst.

Have a lovely day!
Greets, Marieke

With this card i would like to play with;
AAA Cards - One Corner


Dies: Brother Scan & Cut, Puffy Clouds, Petite Clouds Die-Namics
Ink: Wicked Black, Worn Lipstick / Spun Sugar Distress ink.
Paper: Smooth White
Extra: Summer Beams Stencil, White paint marker.

You are invited to the Inlinkz link party!

Click here to enter

vrijdag 16 oktober 2020

Krafty Peeks day 2: Wish Upon a star.

 Hello all,

Welcome back to Day Two of our October Krafty Peeks at Kraftin' Kimmie Stamps! Today we are sharing a set called Wish Upon a Star by artist Sabrina van Vloten. It's a fun and versatile stamp with super fun and cute angels! Hallo allemaal en vandaag dag twee van de release week van Kraftin' Kimmie stamps. Vandaag laten we een stempel zien van artiest Sabrina van Vloten genaamd Wish Upon a Star! Een mooie set met een aantal verschillende engeltjes.
This set contains four different angels, two matching sentiments and eight stamps to make a song or add some detail to the musical angels. De set bestaat uit vier engelen, twee bijpassende teksten en acht stempels om toe te voegen voor de muziek makende engeltjes.

For my card i cut two Smooth White Scalloped panels, i scored one at 2 cm and added it to the back of the other. On some aquarel paper i added Milled Lavender, Aged Mahogany and Victorian Velvet Distress ink, splattered some water and gold Nuvou mouse mixed with water on to the cardbase and cut it using a stitched rectangle die. Cut a cloud panel and heat embost the sentiment. Voor mij kaart stanste ik twee scalloped rechthoeken en rilde één op 2 cm en plakte ze aan elkaar. Op aquarel papier bracht ik Milled Lavender, Aged Mahogany and Victorian Velvet Distress inkt aan, spetterde wat water en spetterde gouden Nuvou Mouse gemengd met water op de basis. Stanste het daarna uit met een stitched rechthoekige stans. Stanst een wolk uit Smooth White en heat emboste hierop de tekst.
Stamped the images, colored them up using my Copic markers and cut them using my Brother Scan & Cut. Added some wink of stella clear glitter to the wings and added them to the card base. For some extra detail i stamped the music notes on the base card. Stempelde de afbeeldingen, kleurde ze in met mijn Copic markers en sneed ze uit met de Brother Scan & Cut. Voegde op de vleugels wat clear of Wink of Stella aan en plakte ze op de kaart. Voor wat extra detail stempelde ik verschillende muzieknoten.

Have a lovely day!
Greets, Marieke

Dies: Blueprints 27, Stitched Rolling Clouds, Stitched a2 Rectangle Die-Namics, Brother Scan & Cut.
Ink: Wicked BlackMilled Lavender/ Aged Mahogany/ Victorian Velvet Distress ink, Tsukineko Versamark.
Paper: Smooth White
Extra: Gold Nuvou mouse, Ultrafine gold embossing powder.

You are invited to the Inlinkz link party!

Click here to enter

donderdag 15 oktober 2020

My Favorite Things - Color Challenge #151

Hello all!

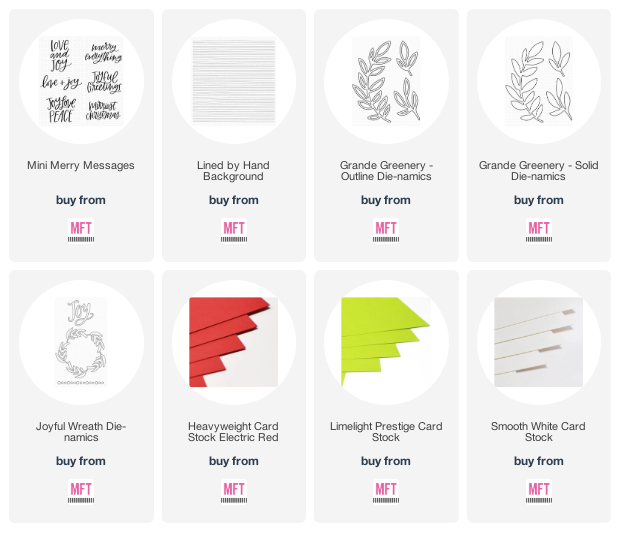
Today i'm here with a new Color Challenge by My Favorite Things. This challlenge i decided to go for a Christmas card because i thought this color sceme was really fitting for that. Vandaag ben ik er met een nieuwe kleuren challenge van My Favorite Things. Voor deze challenge heb ik een kerst kaart gemaakt. Ik vond dat het kleurenschema van deze challenge er mooi bij paste.
So for this color challenge i decided not to color ;) and went for a die cut design. Voor deze kleurenchallenge besloot ik niet te kleuren maar voor een stans design te gaan.
So for my base card i made a Smooth White Topfold cardbase, i stamped the Lined by hand Background using Grout Grey ink. Die cut the leaves in Limelight and Jellybean Green and added it to the card so it would be a wreath. Die cut the berries out of Electric red and added thoose also. Voor mijn basis kaart gebruikte ik Smooth White cardstock, stempelde hierop de Lined by hand Achtergrond stempel met Grout Grey inkt. Stanste de blaadjes in Limelight en Jelleybean Green en maakte er de wreath mee. Stanste de berries uit Electric Red cardstock.
Stamped the sentiment in the middle of the wreath using Electric Red ink. Finished of the design using different seizes of clear sequins. Stempelde de tekst in het midden van de wreath in Electric Red inkt. Werkte het geheel af met verschillende maten clear sequins.


Have a lovely day!
Greets, Marieke

Krafty Peeks day 1: Krafty Elves + two stencils, a ink Kolor and Krafty Dots!

 Hello All / Hallo allemaal

Welcome to Day One of our October Krafty Peeks at Kraftin' Kimmie Stamps! Today we are sharing a set called Krafty Elves! by artist Sabrina. It's a fun and versatile set! Hallo allemaal bij dag één van de release week van Kraftin' Kimmie stamps. Vandaag laten we een stempel zien van artiest Sabrina genaamd Krafty elves! Een set met kreatieve elfjes.
The set Contains three different elves, three accessories and two matching sentiments. De set bestaat uit drie verschillende elfen, drie accessoires en twee bijpassende teksten.

Today we are also shocasing two new stencils, one new Krafty Ink and a new set of Krafty Dots! Vandaag laten we eveneens twee nieuwe stencils, een nieuwe Krafty inktkleur en een set met Krafty Dots zien!
For my card i went for a slimline card, so i cut a panel os Smooth White cardstock and masked of 3cm of the bottom. Added some Salty Ocean Distress ink and added another layer of Salty Ocean using the So Many Squares stencil. Glued the panel on to a Grout Grey cardbase. Voor mijn kaart van vandaag maakte ik een slimline card, ik stanste een Smooth White paneel en maskeerde 3 cm van de onderkant af. Voegde wat Salty Ocean Distress inkt toe, bracht nog een laag aan met Salty Ocean en ditmaal gebruikte ik het So Many Squares Stencil. Plakte het paneel op een Grout Grey basiskaart.

Heat embost the sentiments on some black cardstock and cut it using some speech bubble dies. Heat embosste de tekst op zwart cardstock en stanste het uit met verschillende tekst wolken stansen.
Stamped the images, colored them up using my Copic markers and cut them using my Brother Scan & Cut. Added them to the card and finished of the card using different colors of enamel dots. Stempelde de afbeeldingen, kleurde ze in met mijn Copic markers en stanste ze uit met mijn Brother Scan & Cut. Plakte alles op de kaart en werkte het geheel af met verschillende kleuren enamel dots.

Have a lovely day!
Greets, Marieke

Dies: Brother Scan & Cut, Essential Speech Bubble, Slimline Starter Die-Namics, Slimline cardbasis Mama Elphant.
Ink: Wicked Black, Salty Ocean Distress ink, Tsukineko Versamark
Paper: Smooth White, Grout Grey, Black Licorice

You are invited to the Inlinkz link party!

Click here to enter

dinsdag 13 oktober 2020

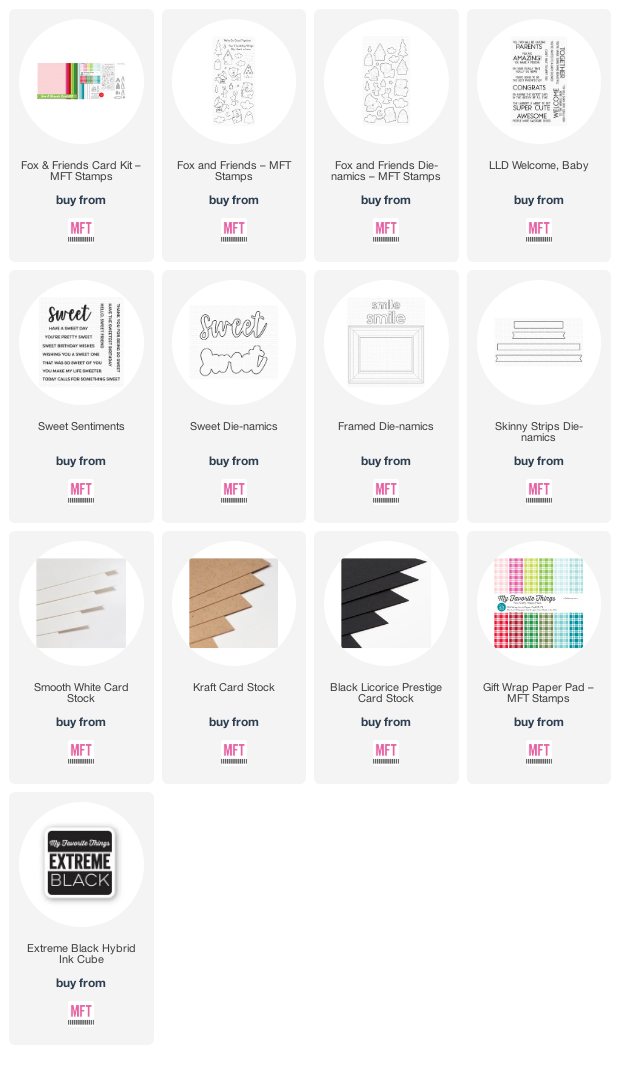
MFT Fox & Friends Card Kit Release

 Hello all,

The day is here that the Fox & Friends cardkit release by My Favorite Things is avaible! What do you think is it beautiful or what? So what is ending up in your shopping cart? Watch your budget but have fun shopping! De dag is aangebroken dat Fox & Friends cardkit release van My Favorite Things verkrijgbaar is! En wat vond je ervan schitterend toch? Welke producten belanden bij jou in het mandje? Let op je budget maar heb vooral plezier met winkelen!
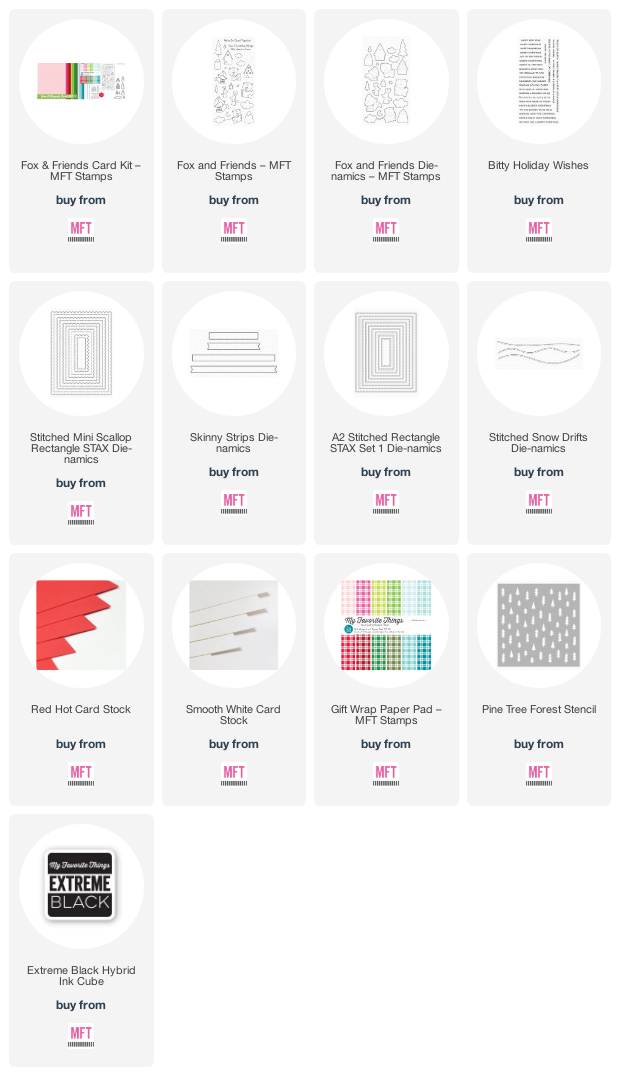
So for this card i decided to go for a Christmas Card. I totally think the Gift Wrap paper pad is matching that theme! Voor de kaart van vandaag besloot ik een kerstkaart te maken. Ik denk dat de Gift Wrap paper pad perfect past bij dat thema.
Started with topfold Smooth White cardbase, added the green pattern paper on the front of the cardbase. Cut a stitched rectangle out of Naturel cardstock and added the pine trees using white embossing paste.
On some aquarel paper i mixed Broken China and Chipped Sapphire Distress ink and cut it using the scalloped rectangle. Then i added some extra detail to the sky cutting it with Starry night Horizontal Die-Namics. Cut a piece of Smooth White and cut it using the Scallop Rectangle and the Stitched Snowdrifts. Behind the Distress Panel i added another Scallop Smooth White piece to the stars would pop. Op aquarel papier bewerkte ik Broken China met Chipped Sapphire Distress inkt en stanste het uit met de Scalloped recthoek. Voor wat extra detail in de lucht, stanste ik het geheel met de Starry-Night Horizontal Die-Namics. Stanste Smooth White cardstock met de Scalloped Rectangle en Stitched Snowdrifts en plakte dit aan de voorzijde. Stanste nog een Smooth White Scallop rechthoek en plakte dit aan de achterkant zodat de sterren zouden poppen.
Stamped all the images, colored them up using my Copic Markers and cut them using the matching Die-Namics. Added them to the Scallop rectangle and splattered some white paint on it. Added it to the card and heat embost the sentiment on some Red Hot cardstock. Finished the card of using some Clear sequins. Stempelde alle afbeeldingen, kleurde ze in met mijn Copic marker en stanste ze uit met de bijpassende stansen. plakte ze op de scallop rechthoek en spetterde er wat witte verf op plakte het geheel op de basiskaart. Heat emboste de tekst op Red Hot cardstock en werkte de kaart af met clear sequins.

Used Copic Colors:
Light Brown - E57, E55, E53, E51, E50
Dark Brown - E37, E35, E33
Red - R59, R39, R27, R24
Grey - C7, C5, C3, C1
Green - G99, G94, G21

Have a lovely day!
Greets, Marieke

maandag 12 oktober 2020

MFT Fox & Friends Card Kit Release Countdown day 1

 Hello all,

Welcome back today for day two of the October Cardkit Release countdown by My Favorite Things. Lucky the wait on the Cardkit Release is only short and you can have a shopping spree already tommorow Tuesday October 13th at 10:00 am EST. Welkom terug bij dag twee van de oktober cardkit Release countdown by My Favorite Things. Gelukkig hoef je maar even te wachten want morgen zijn ze al beschikbaar om 16:00!
For today's card i decided to make a baby card combining the cardkit with some older products. Voor mijn kaart van vandaag maakte ik een babykaart. Ik gebruikte de cardkit samen met wat oudere producten.
So i started with a topfold Smooth White cardbase, on the front of the card i added the blue pattern paper. Cut the window Frame out of Kraft and added some white gelpen details before adding it to the base using foamtape. De basis is en Smooth White topfold kaart, op de voorzijde plakte ik het blauwe designpapier. Stanste uit Kraft het Frame en voegde met een gelpen wat details toe. Plakte het op de kaart met foamtape.
Stamped all the images, colored them up using my Copic markers and cut them using the matching Die-Namics. Added them to the cardbase using different heights of foamtape. Stempelde alle afbeeldingen, kleurde ze in met mijn Copic markers en stanste ze uit met de bijpassende Die-Namics. Plakte de ze op de basis met verschillende hoogtes foamtape.
Heat embost the sentiment on some Black Licorice cardstock and cut them. Die Cut the Sweet and Outline out of Kraft and Smooth White cardstock and added it together. Before glueing it on i added some white details. Heat emboste de tekst op Black Licorice cardstock en stanste ze uit. Stanste "sweet" en de outline uit Smooth White en Kraft cardstock, plakte ze op elkaar en voor dat ze op de kaart gingen bracht ik nog wat witte details toe.

Used Copic Colors:
Brown - E57, E55, E53, E51, E50
Grey - N6, N5, N4, N3, N2, N1
Black - N9, N7, N6
Blue - BG000, BG0000
Yellow - Y13, Y11, Y00

Have a lovely day!
Greets, Marieke