dinsdag 29 december 2020

My Favorite Things Hits & Highlights

 Hello all,

Today i'm back with a project for My Favorite Things, today it's time for the Hits & Hightlights. The team inspires you with projects featuring a specific theme or products. Today we are showcasing the versatility of the Movin' & Groovin' Die-NamicsVandaag ben ik er weer met een project voor My Favorite Things, vandaag is het tijd voor een Hits & Highlights. Het designteam inspireert jullie met een specifiek thema of product. Vandaag laten we de veelzijdigheid zijn van de Movin' & Groovin' Die-Namics.
So for today's Hits & Highlights i decided it was time to make a different themed card then Christmas/ Winter and went all summer using the Movin' & Groovin' Die-Namics together with the Best Fins set.
Voor de hits & highlights van vandaag wilde ik na alle kerst en winter kaarten vond ik het wel weer eens tijd voor wat anders. Ik maakte ditmaal een zomers kaartje met de Movin' & Groovin' Die-namics samen met de Best Fins stempel.
Made the background using Mermaid Lagoon, Cracked Pistashio and Peacock Feathers Distress inks. cut it using the slimline rectangle and the slimline ocean motion Die-Namics. Stamped the sentiment in the middle of the ocean. Cut another Smooth White slimline rectangle and made the mechanisme following Karolyn her tutorial. Maakte de achtergrond met Mermaid Lagoon, Cracked Pistashio en Peacock Feathers Distress inkt. Stanste het uit met de slimline rectangle en slimline ocean motion Die-Namics. Stempelde de tekst op het midden van de oceaan. Stanste een slimline rechthoek uit Smooth White cardstock, en maakte het mechanisme zoals Karolyn beschrijft in deze tutorial.
Glued the mechanisme on to a Topfold Smooth White cardbase and added the water. Using Natural cardstock and some Vintage photo i made the sand, cut using the stiched slimline snowdrifts. Stamped the images, colored them up using my Copic markers and cut them using the matching Die-Namics. Plakte het mechanisme op een Smooth White topfold basiskaart en plakte het water op. Met Natural cardstock, Vintage Photo Distress inkt en de stitched slimline snowdrifts maakte ik het sand. Stempelde de afbeeldingen, kleurde ze in met mijn Copic markers en stanste deze met de bijpassende Die-Namics.


Used Copic Colors:
Red - R59, R29, R27, R24
Pink - YR09, YR06, YR04
Yellow - Y17, Y15, Y13
Green - YG25, YG23, YG21
Purple - V09, V06, V05
Blue - B04, B02, B00
Black - N8, N6, N4
Bear - E55, E53, E51, E50

So after some thinking i decided to make another card using the Movin' & Groovin Die-Namics this time i used the Sky High by Stacey Yacula. Na wat denken besloot ik nog een kaart te maken met de Movin & Groovin' Die-Namics. Deze keer gebruikte ik de Sky High van Stacey Yacula.
The big difference is that i used the normal version of the Movin' & Groovin' Die-Namics. The mechanisme is the same accept for the fact it is smaller. So the base of the card is a topfold Kraft card. Cut a designpaper panel and added the mechanisme followed the tutorial. Het grootste verschil is dat ik de normale variant van de Movin' & Groovin Die-Namics heb gebruikt. Het mechanisme is hetzelfde alleen dan kleiner. De basis van de kaart is een topfold kraft basiskaart, stanste een designpapier rechthoek en maakte het mechanisme volgens de tutorial.
Die cut a cloud and stamped the sentiment on to it. Add the could to the panel and stamped all the images. the cloud are not colored and i glued them staight on the base of the card. Stanste een wolk uit Smooth White en stempelde daar de tekst op. Plakte de wolk op het paneel en stempelde alle losse stempels. The wolkjes heb ik niet gekleurd en gingen nadat ze gestanst zijn zo op de kaart.
Colored the Flying Machine, cut it using the matching Die-Namics and added it to the base, because it was so big i extended the acetate strip so it would hold on to the machine. Finished the card of using some wooden stars. Kleurde het vliegtuig, stanste het uit met de bijbehorende stans en plakte het op de basis. Doordat het vliegtuig zo groot is heb ik het mechanisme verlengd zodat hij lang genoeg was om de machine te houden. Werkte het geheel af met wat houten sterren.

Used Copic Colors:
Yellow - Y17, Y15, Y13, Y11
Teal - BG15, BG17, BG11, BG10
Blue - B02, B00, B000, B0000
White - C5, C3, C1, 0
Black - N7, N5, N3
Hedgehodge - E55, E53, E51, E50
Fox - E09, E08, YR24, YR21, W3, W1, W00

Have a lovely day!
Greets, Marieke
donderdag 24 december 2020

My Favorite Things - Color Challenge #156

 Hello all!

Today i'm here with a new Color Challenge by My Favorite Things. This challlenge i decided to go for a Christmas card, i can save this one for the Christmas next year. Vandaag ben ik er met een nieuwe kleuren challenge van My Favorite Things. Voor deze challenge heb ik een kerst kaart gemaakt, kan ik ze mooi bewaren voor het volgende jaar.
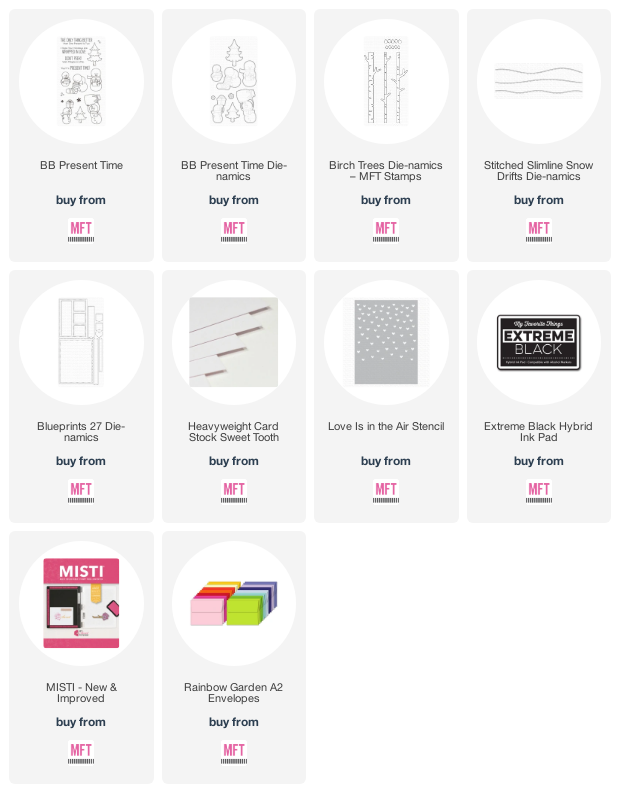
Because of this colors combination would fit perfectly with a pair of snowmen i used the Present Time set by Birdie Brown. Combined with the Love is in the air stencil the sentiment gets and extra statement.
Juist de kleuren in deze combinatie vond ik erg passen in met een paar sneeuwmannen. Ik gebruikte daarom de Present Time Set van Birdie Brown, in combinatie met het Love is in the air stencil komt de tekst nog meer tot zijn recht.
Cut a topfold Berrylicious cardbase and added a layer of embossingpaste to the front using the Love is in the air stencil. Cut the trees out of Grout Gray and cut a layer of Sweet Tooth for the snow. Stanste een topfold Berrylicious basiskaart en voegde een laag embossingpaste toe aan de voorkant van de kaart met het Love is in the air stencil. Stanste de bomen uit Grout Gray en stanste een laag sneeuw met het Sweet Tooth cardstock.
Stamped the snowmen, colored them up using my Copic markers and cut them using the matching Die-Namics. Heat embost the sentiment on some Blueberry cardstock and cut it using the die in Blueprints set. Stempelde de sneeuwmannen, kleurde ze in met mijn Copic markers en stanste ze met bijbehorende stansten. Heat emboste de tekst op Blueberry cardstock en stanste het met een banner stans uit de Blueprints set.


Used Copic Colors:
Dark Blue - B38, B36, B34, B33
Light blue - B02, B01, B00
Warm Grey - W3, W1, W00
Grey - C5, C3, C1, C00, 0
Orange - YR04, YR02
Black - N8, N6

Have a lovely day!
Greets, Marieke

woensdag 23 december 2020

My Favorite Things - Wednesday Sketch Challenge #521

 Hello all!

Today i'm back again with a new Sketch Challenge by My Favorite Things. This week i decided to make another Christmas card i thought i had enough a while back but this year we received more Christmas cards then last year Vandaag ben ik er weer met een nieuwe schets challenge van My Favorite Things. Deze week maakte ik een kerstkaart, ik dacht dat ik een aantal weken geleden genoeg 
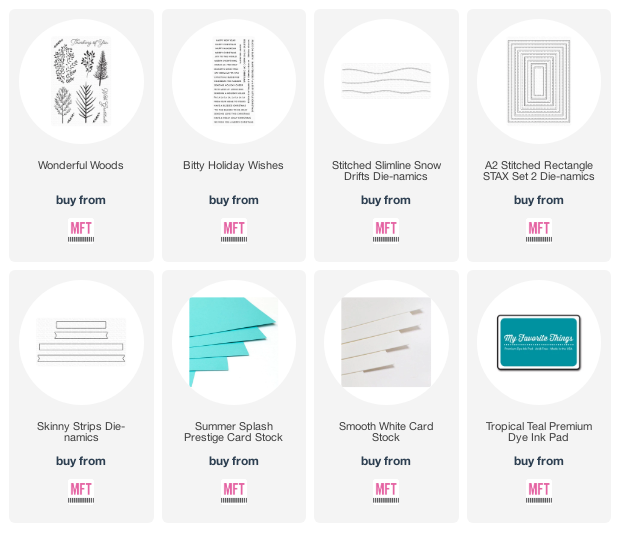
Using different colors of ink onto a Summer Splash card base with a base off Smooth White snow the golden trees from the Wonderful Woods really pop! 

Met verschillende kleuren inkt op een Summer Splash basis kaart, gemixt met een witte sneeuwbodem zorgen ervoor dat de gouden bomen uit de Wonderfull Woods set helemaal er uit springen! 
On a piece of Summer Splash cardstock i added some Blu Raspberry and Tropical Teal ink. Cut it using a rectangle stitched die and splattered some white and gold on to it. Heat embost the trees and cut two borders of Snow white snow. Op een stuk Summer Splash cardstock voegde ik een laag Blu Raspberry en Tropical Teal inkt toe. Stanste het uit met een stitched rechthoekige stans en spetterde er wit en goud op. Heat emboste de bomen en stanste twee lagen sneeuw uit Smooth White cardstock.
Heat embost the sentiment on some Snow White cardstock and added some sequins to finish it of. Added the panel to a topfold Smooth White cardbase. Heat emboste de tekst op Smooth White cardstock, voegde wat sequins toe aan de kaart en plakte het geheel op een topfold Smooth White basiskaart.


Have a lovely day!
Greets, Marieke

donderdag 17 december 2020

My Favorite Things - The Birthday Project Challenge

 Hello all,

Today i'm back with a project for My Favorite Things. It's third thursday of the month so that means a new Birthday Project Challenge starts. The challenge this month is to make a birthday card in a Winter Wonderland Theme. Vandaag ben ik er weer met een kaart voor My Favorite Things. Het is de derde donderdag van de maand en dat betekend een nieuwe Verjaardag challenge start. De opdracht deze maand is om het thema Winter Wonderland te gebruiken.

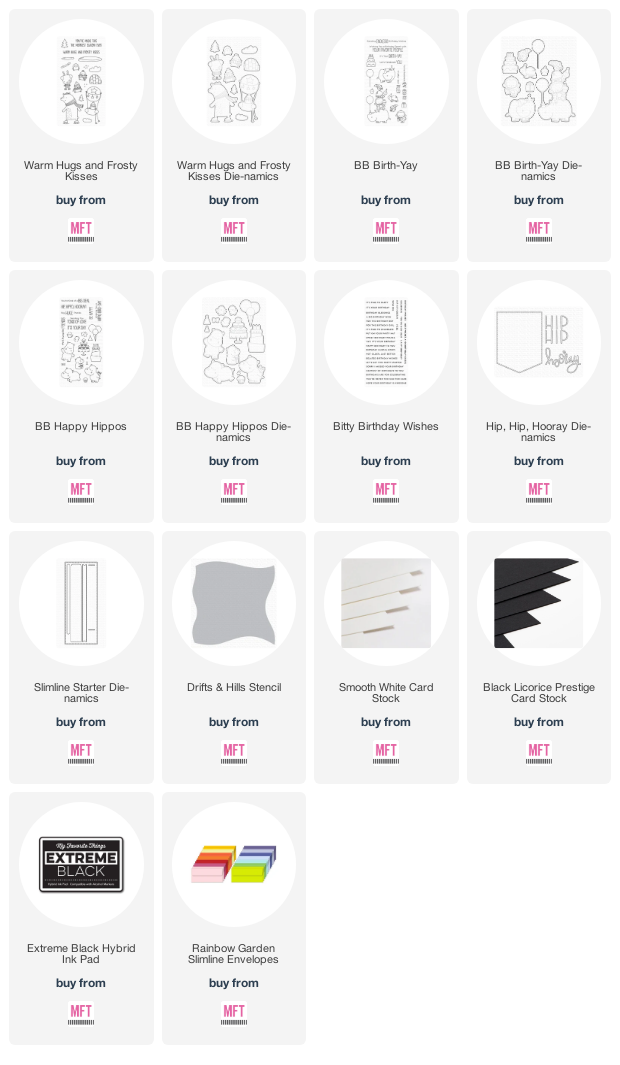
So for today's card i decided to make yet another slimeline card. This time i used the Warm Hugs & Frosty Kisses. Totally adore this set!

Voor de kaart van vandaag maakte ik nogmaals een slimline kaart. Deze keer gebruikte ik de Warm & Frosty Kisses, vind deze set helemaal geweldig!
First i cut a rectangle out of Smooth White and added snow, ice and the sky using Distress inks (Cracked Pistashio, Peacock Feathers, Salty Ocean, Wilted Violet, Blueprint Sketch) and a stencil. Splattered some water and white paint on the sky. And glued it on to a sidefold Smooth White base card. Stanste een rechthoek uit met de slimline stans en Smooth White cardstock. Op de rechthoek bracht ik met een stencil en Distress inkt (Cracked Pistashio, Peacock Feathers, Salty Ocean, Wilted Violet, Blueprint Sketch) de sneeuw, ijs en de lucht aan. Spetterde op de lucht water en witte verf. Plakte het geheel op een side fold witte basiskaart.
Stamped all the images, colored them using my Copic markers, cut them using the matching Die-Namics and i added them to the card. Cut the the word Hooray four times and glued them together. Heat embost the sentiment on Black Licorice and cut it into smaller tag. Stempelde alle afbeeldingen, kleurde ze in met mijn Copic markers, stanste ze uit met bijpassende Die-Namics en plakte ze op de kaart. Stanste het woord Hooray vier keer en plakte ze op elkaar. Heat emboste de tekst op Black Licorice en maakte er een kleine tag van.


Used Copic Colors:
Dog - E55, E53, E51, E50, E44, E43, E42
Penguin - N8, N6, N4, E43, E42, E41, E40 0, YR04, YR02
Green - YG67, YG63, YG03
Purple - BV04, BV02, BV00
Pink - R85, R83, R81
Blue - B02, B00, B000, B0000

Have a lovely day!
Greets, Marieke

dinsdag 15 december 2020

MFT Wild About Rainbows Card Kit Release

 Hello all,

The day is here that the Wild About Rainbows card kit release by My Favorite Things is avaible! What do you think is it beautiful or what? So what is ending up in your shopping cart? Watch your budget but have fun shopping! De dag is aangebroken dat Wild About Rainbows card kit release van My Favorite Things verkrijgbaar is! En wat vond je ervan schitterend toch? Welke producten belanden bij jou in het mandje? Let op je budget maar heb vooral plezier met winkelen!
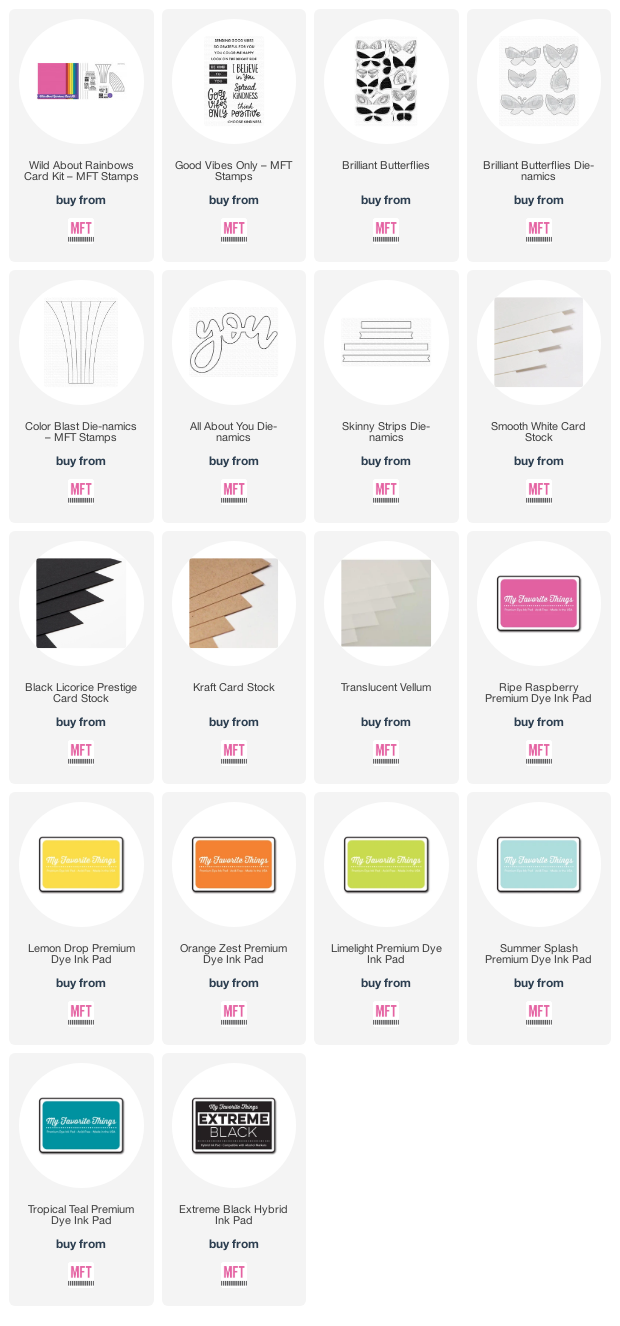
For today's card i decided to show you that the dies in the card kit are really versatile and you can use them in a other way then just in rainbow colors. Voor mijn kaart van vandaag wilde ik je laten zien dat de stansen in de card kit op meerdere manieren te gebruiken zijn dan alleen in de regenboog kleuren.
So for my card i started cutting the rainbow using Smooth White cardstock. Cut a piece of Kraft cardstock and splattered some white paint on to it. Voor mijn kaart stanste ik de regenboog uit Smooth White cardstock. Sneed een Kraft rechthoek en spetterde er witte verfspetters op.
Made the butterfly using different colors of inks, to make the bottom half two toned i stamped the lightest color first, then inked up the same stamp using a darker color and depped of some the dark ink before stamping. Maakte de vlinders door verschillende kleuren inkt te gebruiken, om de onderzijde twee kleuren inkt te geven stempelde ik eerst de licht kleur, daarna de donkere maar voordat ik de donkerste kleur stempelde depte ik wat inkt weg met een babybillendoekje.

Heat embost the wings on vellum. Die cut both using the matching Die-Namics and made them fit for the complete butterfly. Heat emboste de vleugels op vellum. Stanste beide uit met de bijpassende Die-Namics and maakte knipte zelf zo bij dat ze passend zijn.
Die cut "You" out of Black Licorice and heat embost the sentiment on some kraft cardstock. Added the kraft base to a topfold Smooth White card and added all the loose elements. Finished of the card using some colored enamel dots. Stanste "you" uit Black Licorice en heat emboste de tekst op Kraft cardstock. Plakte de kraft rechthoek op een topfold Smooth White basiskaart en voegde alle elementen toe. Werkte het geheel af met verschillende kleuren enemal dots.

Have a lovely day!
Greets, Marieke

zondag 13 december 2020

MFT Wild About Rainbows Card Kit Release Countdown day 2

 Hello all,

Today we are kicking of with a amazing Card kit release countdown by My Favorite Things! If you loves rainbows this is the card kit you wanne go for, it sends you right to a happy place! This release will be avaible Tuesday December 15th at 10:00 am EST. Vandaag starten we met een super leuke cardkit release countdown van My Favorite Things! Als regenbogen helemaal jou ding zijn, is dit de goede card kit! (uiteraard kun je de prodcuten voor zoveel meer gebruiken!) in gedachte is dit een super leuke moderne card kit! De release zal beschikbaar zijn op dinsdag 15 December om 16:00. 
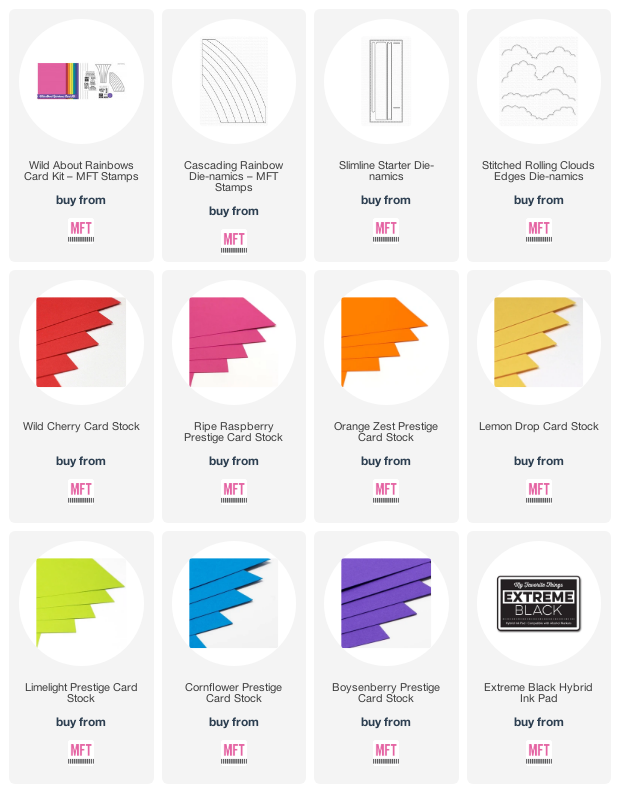
So this cardkit contains two stamps (one of them is card kit exclusive!), Color Blast Die-Namics, Cascading Rainbows Die-Namics, Five piece of Smooth White cardstock, and eight different colors of cardstock. And if you buy for $60 you will get the Be Happy Die-Namics for free!

Note: The Phrase Builders Die-namics (previously released) - coordinates with Happy Day and Good Vibes Only and is avaible separently.
De cardkit bestaat uit twee stempels (één daarvan is Kit-exclusief!), Color Blast Die-Namics, Cascading  Rainbows Die-Namics, vijf vellen Smooth White cardstock en acht vellen verschillende kleuren cardstock. Wanneer je voor $60 koopt krijg je de Be Happy Die-Namics gratis.

Note: De Phrase Builders Die-Namics (eerder gereleased) - past bij de Happy Day en Good Vipes Only stempel en kan los bij gekocht worden.
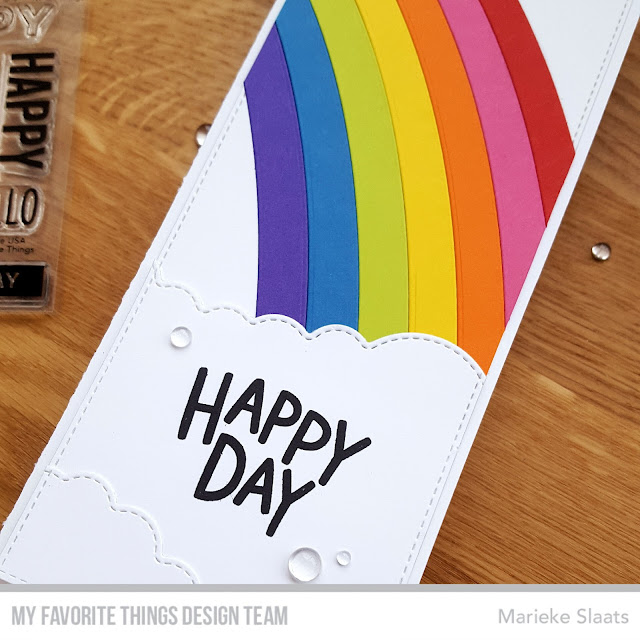
So for my card i cut a Smooth White Slimline rectangle. Cut the rainbow out of seven colors that are in the card kit and added it to the panel. Cut of the overhanging parts. Cut two clouds and added thoose on top of it. Voor mijn kaart stanste ik een Smooth White Slimline rechthoek. Stanste de regenboog uit zeven verschillende kleuren uit de card kit en plakte deze op de rechthoek. Stanste twee wolken en voegde deze ook toe.
Before adding it to the panel i stamped the sentiment. Glued the whole rectangle on a sidefold Smooth White base card and finished of using some Clear embellishments. Voordat ik de wolken opplakte stempelde ik de tekst. Het geheel ging op een side fold Smooth White basiskaart en ik werkte het geheel af met transparante embellishments.

Have a lovely day!
Greets, Marieke

zaterdag 12 december 2020

Kraftin' Kimmie Saturday Challenge - Make a Birthday card

 Hallo allemaal / Hello everybody!

Today it's Saturday wich means a new challenge started over at Kraftin Kimmie Stamps Blog, this week we challenge you to make a card or project with the Birthday theme! You can go every route with this so get your stamps, ink and stencils out and play along. Vandaag is het zaterdag dat betekend dat er een nieuwe challenge begonnen is op het blog van Kraftin' Kimmie Stamps. Deze week dagen we je uit een kaart of een project te maken met het thema verjaardag. Je kunt er alle kanten mee op dus pak je stempels, inkten en stencils en speel mee!
So for my card i cut a white panel and masked of 2cm of the bottom. Added some Salty Sea and temporarly added the Sprinkle Stencil. Using Ruby Red, Salty Sea, Sprakling Sapphire, Charming Chartreuse and Pumpkin Patch to add the sprinkles. Voor mijn kaart sneed ik een wit paneel en maskeerde de onderkant 2 cm. Voegde wat Salty Sea toe en plakte tijdelijk het Sprinkles Stencil op. Met Ruby Red, Salty Sea, Sprakling Sapphire, Charming Chartreuse en Pumpkin Patch inkt voegde ik de sprinkles toe.
Cut a long strip of pattern paper, added it to a A2 Smooth White topfold card and added the sprinkles panel using foamtape on to the basecard. Cut three smaller strips of pattern paper and heat embost the sentiment on some Red Hot cardstock. Cut it using a die and added it to the panel also. Sneed een strook designpapier en plakte dit op een Smooth White a2 topfold kaart. Plakte het sprinkles paneel op de basis met foamtape. Stanste drie smalle strookjes desingpapier en heat emboste de tekst op rood cardstock. Stanste het uit en plakte alles op de basis.
Stamped the image, colored it up using my Copic markers and cut it using my sciccors and a knife. Added it to the card and finished the card off using some enamel dots. Stempelde de afbeeldingen, kleurde hem in met mijn Copic markers en knipte het uit met een schaar en een mesje. Plakte hem op de kaart en werkte het geheel af met enamel dots.


With this card i would like to enter:

Have a lovely day!
Greets, Marieke

Dies: Essential Slanted Sentiment Strips, Blueprints 29 Die-Namics
Paper: Smooth White, Red Hot, Echo Park Birthday Wishes.

You are invited to the Inlinkz link party!

Click here to enter

donderdag 10 december 2020

My Favorite Things - Color Challenge #155

 Hello all!

Today i'm here with a new Color Challenge by My Favorite Things. This challlenge i decided to go for a Christmas card, i can save this one for the Christmas. Vandaag ben ik er met een nieuwe kleuren challenge van My Favorite Things. Voor deze challenge heb ik een kerst kaart gemaakt, kan ik ze mooi bewaren voor het volgende jaar.
So instead of a traditional Christmas card i went a bit outside the box and made a really colorful one using the Merry and Bright Die-Namics together with the Sweet Snowflake Die-Namics. I'm not quite sure how i feel about this card ;).
 In plaats van een traditionele kaart ging ik ditmaal totaal uit die richting en maakte een heel kleurrijke met de Merry and Bright Die-Namics samen met de Sweet Snowflake Die-Namics. Ik ben nog niet overtuigd of ik zelf erg blij ben met deze kaart ;).
So i started with the base, i cut a a2 smooth white basecard and added a piece of black & white striped pattern paper. On some water color paper i mixed Fired Brick together with Picked Raspberry and splattered some white paint and water on to it. Ik maakte eerst de basis, sneed een topfold a2 Smooth White basiskaart en plakte er een stuk black & white designpapier op. Op een stuk aquarel papier mixte ik Fired Brick samen met Picked Raspberyy en spetterde wat water en witte verf. 

Cut it using a stitched rectangle die. Out of Black Licorice i cut snow snowflakes and added them to the panel. Cut of the ones that fell over and glued the panel on the base card. Stanste het geheel met een gestikte rechthoek. Uit Black Licorice stanste ik de sneeuwvlokken, voegde die toe aan het paneel. De sneeuwvlokken die over de rand vielen knipte ik af en plakte het geheel op de basiskaart.
Cut the Merry and Bright Die-Namics of Smooth white paper and added a layer of gold sparkle on the bottom of all the letters. Add the words to the panel using foam tape. Stanste de Merry and Bright Die-Namics uit Smooth White cardstock en voegde aan de onderkant van de letters een laag gouden glitters toe. Plakte de tekst op de basiskaart met foamtape.


Have a lovely day!
Greets, Marieke

woensdag 9 december 2020

My Favorite Things - Wednesday Sketch Challenge #519

 Hello all!

Today i'm back again with a new Sketch Challenge by My Favorite Things. This week i decided to make another Christmas card this one in particular is on it's way to my best friend. Vandaag ben ik er weer met een nieuwe schets challenge van My Favorite Things. Deze week maakte ik een kerstkaart, deze is onderweg naar mijn beste vriendin.
Using the adorable penguins, the tree and snow i made the shape in the middle of the sketch, finished it of with a sentiment and the sketch is there!
Door gebruik te maken van de leuke penguins, de boom en de sneeuw kon ik de grote vorm van de schets volgen, met de tekst op de plek zoals op de afbeelding was het geheel compleet.
First i cut a topfold Red Hot cardbase, added some Fired Brick and Black Soot Distress ink on to it and Splattered some Gold mouse mixed with water. Sneed een topfold Red Hot basiskaart en bewerkte deze met Fired Brick en Black Soot Distress inkt. Mixed daarna wat gold mouse met water en spetterde dit op de kaart.

Cut a border of snow and added some details. Heat embost the sentiment and cut it using a banner die. Stanste een sneeuw border en sneed deze aan de zijkanten schuin af. Met Copic markers bacht ik wat diepte aan. Heat emboste de tekst en stanste deze uit met een banner stans.
Stamped the images, colored them up using my Copic markers and cut them using the matching Die-Namics. Placed them on the card and added some gold stickles to the star and some Glossy Accent to the Christmas Ornemants. Stempelde de afbeeldingen, kleurde ze in en stanste ze uit met de bijpassende stansen. Plakte ze op de kaart en voegde wat goud stickles toe op de ster en wat Glossy Accent op de kerstballen.


Used Copic colors:
Penguins - N9, N7, N5, N3, E43, E42, E41, E40, 0 YR07, YR04, YR02
Red - R59, R39, R37, R35
Green - YG67, YG63, YG03

Have a lovely day!
Greets, Marieke