zaterdag 29 augustus 2020

Kraftin' Kimmie Krafty Komeback - You're a Scream! + a challenge

 Hello all,

Today we have a special occasion going on because Kraftin' Kimmie stamps is re-releasing some of their rubber stamps into Clear stamps! So if you are looking for some you might be lucky and find it being re-released in the near future! Today we are re-release a set by artist Cheryl Grant called You're a Scream! Vandaag is er een speciale gelegenheid aan de gang bij Kraftin' Kimmie stamps want er worden een aantal rubber stempels opnieuw uitgebracht in Clear stempels! Dus als je nog wat op je verlanglijst had staan wie weet komt hij wel weer uit in Clear. Voor vandaag hebben we een stempel van artiest Cheryl Grant genaamd; You're a Scream! 
The set contains three main images and a total of six matching sentiments! De set bestaat uit drie afbeeldingen en zes bijpassende teksten!
For my card i used a piece of purple cardstock and cut it using a stitched rectangle die. Using white pigment ink i added the cobweb pattern. On the sides i added some Black Soot Distress ink, splattered some water and some black paint afterwards. Voor mijn kaart gebruikte ik een stuk paars cardstock, stanste dit met een stitched rechthoekige stanst. Met witte pigment inkt maakte ik het spinnenweb patroon. Maakte de zijkanten zwart met Black Soot Distress inkt, spetterde met water en daarna met zwarte verf.
Glued the panel on to a topfold black base card, out of the same black i cut the letters and added some white gelpen for some details. Heat embost the sentiment on some black cardstock and cut it using a speechbubble die. Plakte de rechthoek op een topfold zwarte basiskaart, uit het zelfde zwart stanste ik de letters deze bewerkte ik met een witte gelpen. Heat emboste de tekst op het zwarte cardstock en stanste het uit met een tekstwolk stans.

Stamped the image, colored it up using my Copic markers and cut it using my Brother Scan & Cut. Stamped the spider on the card and finished the rest off using some enamel dots. Stempelde de afbeelding, kleurde deze in met mijn Copic markers en sneed het uit met mijn Brother Scan & Cut. Stempelde de spin op de basis kaart en werkte het geheel af met enemal dots.

Have a lovely day!
Greets, Marieke

Dies: Brother Scan & Cut, A2 stitched rectangle stax, Impact Alphabet, Essential Speechbubble Die-Namics.
Ink: Wicked Black, Unicorn white (Hero Arts), Tsukineko Versamark, Black Soot.
Paper: Black Licorice, Grape Jelly
Extra: Ultrafine white embossing powder, Black paint marker, white gelpen, Creepy Cobweb Stencil, Halloween Krafty Dots, Heavenly Dots.

You are invited to the Inlinkz link party!

Click here to enter

dinsdag 25 augustus 2020

MFT Better Togther Card Kit Release

Hello all,

The day is here that the Better Together cardkit release by My Favorite Things is avaible! What do you think is it beautiful or what? So what is ending up in your shopping cart? Watch your budget but have fun shopping! De dag is aangebroken dat Better Together cardkit release van My Favorite Things verkrijgbaar is! En wat vond je ervan schitterend toch? Welke stempels belanden bij jou in het mandje? Let op je budget maar heb vooral plezier met winkelen!
So for this card i decided to go Christmas, you know my praise; You can't start early enough to make Christmas cards. Voor deze kaart besloot ik voor kerst te gaan jullie kennen inmiddels mijn gezegde; Je kunt niet vroeg genoeg beginnen met kerstkaarten.
The base is a standard a2 Smooth White cardbase, out of the paperpad i cut a panel for the front of the card. Cut out a piece of Smooth White cardstock and made it into snow using my Copic Markers. De basis van de kaart is een standaard a2 basiskaart. Uit de paperpad sneed ik een paneel zo groot als de voorkant. Uit Smooth White cardstock stanste ik het sneeuw en bewerkte het mijn Copic markers voor wat details.
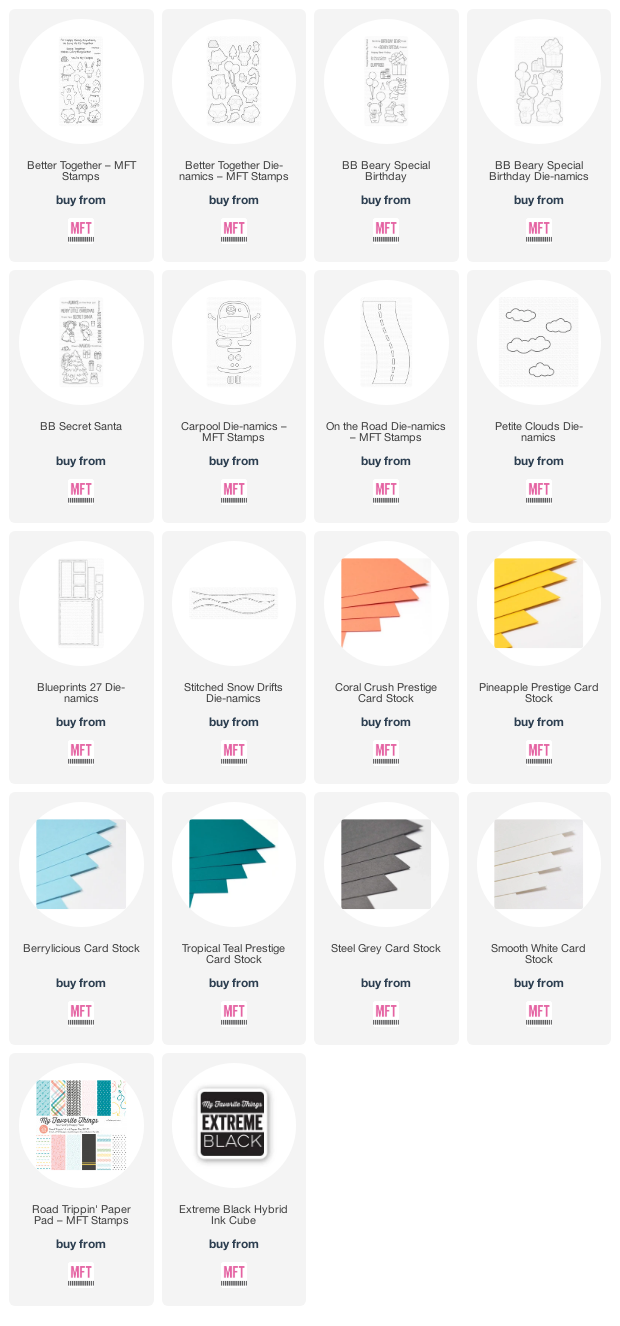
Die cut the road out of Steel Grey and Smooth White cardstock and inlaid the white pieces in the road. Out of Smooth White, Coral Crush, Berrylicious and Steel Grey i cut the pieces of the car and assembled it. Die cut the clouds out of Smooth White cardstock and added them last to the card. Stanste de weg uit Steel Grey en Smooth White cardstock en legde de witte stukken in de weg. Uit Smooth White, Coral Crush, Berrylicious en Steel Grey cardstock stanste ik de auto onderdelen en plakte alles op en in elkaar. Stanste de wolken uit Smooth White cardstock en plakte deze als laatste op de kaart.
Stamped all the images, colored them up using my Copic markers and cut them using the matching Die-Namics. Paperpieced the presents so it would match better with the background. Heat embost the sentiment on some Tropical Teal cardstock and cut it using a banner die. Stempelde alle afbeeldingen, kleurde ze in met mijn Copic markers en stanste ze uit met de bijpassende Die-Namics. Paperpiecte de cadeautjes zodat het beter bij de achtergrond paste. Heat emboste de tekst op Tropical Teal cardstock en stanste het uit met een banner stans.

Used Copic Colors:
Bear - E37, E35, E33, E31, E55, E53, E51, E50, R20, R00
Birds - R05, R02, R01
Green - YG67, YG25, YG23
Yellow - Y17, Y15, Y13

Have a lovely day!
Greets, Marieke

maandag 24 augustus 2020

MFT Better Together Card Kit Release Countdown day 1

 Hello all,

Welcome back today for day two of the August Cardkit Release countdown by My Favorite Things. Lucky the wait on the Cardkit Release is only short and you can have a shopping spree already tommorow Tuesday August 25th at 10:00 am EST. Welkom terug bij dag twee van de augustus cardkit Release countdown by My Favorite Things. Gelukkig hoef je maar even te wachten want morgen zijn ze al beschikbaar om 16:00!

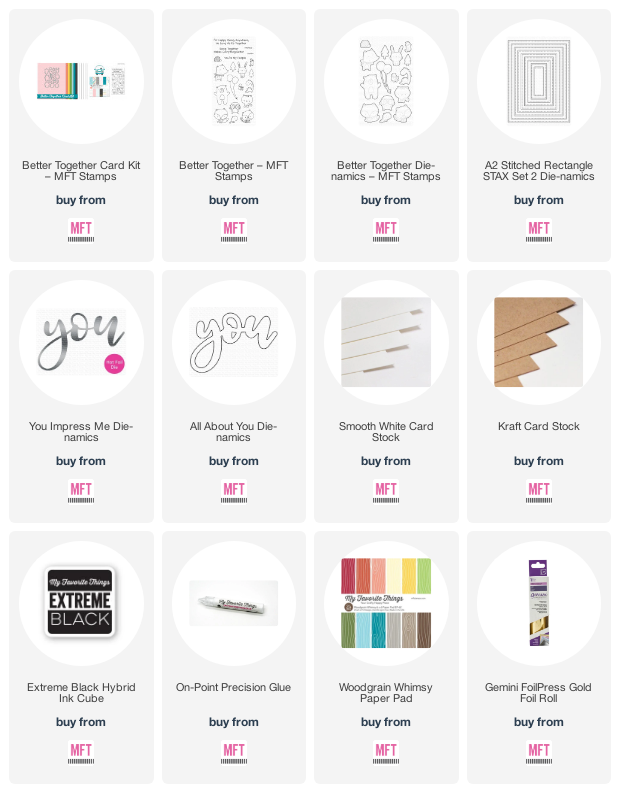
I decided to play with one of my new Hot Foil dies and turned it into a friendship card. Ik besloot om met een van mijn nieuwe Hot Foil stansen te spelen en maakte een vriendschapskaart.
The base is a Smooth White Topfold cardbase, cut a Smooth White and a Designpaper panel using the A2 rectangle stax Die-Namics and cut two seperate pieces. Heat embost the sentiment on some Kraft papier and cut it into a small strip. De basis is een Smooth White topfold kaart, uit Smooth White en designpapier stanste ik een paneel met de A2 revtangle stax Die-Namics en sneed twee losse stukken. Heat emboste de tekst op kraft papier en sneed er een dunne strook van.
Used the Hot Foil You die and some gold hot foil to press the text on some Smooth White cardstock, cut it out using the outline die. Pulled the kraft cardstock through the "You" and glued both on the card using foamtape. Gebruikte de hot foil you stans en goud kleurige hot foil folie om de tekst op Smooth White cardstock de persen en stanste het daarna uit met de outline Die-Namics. Haalde het kraft strookje door de "You" en plakte het met foam tape op de kaart.
Stamped all the images, colored them up using my Copic markers and cut them using the matching Die-Namics. Glued everything on the card using liqued glue and foamtape. Stempelde alle afbeeldingen, kleurde ze in met mijn Copic markers en stanste ze uit met de bijpassende Die-Namics. Plakte alles op de kaart met vloeibare lijm of foamtape.

Used Copic Colors:
Brown - E37, E35, E33, E31, E44, E43, E42
Red - R59, R39, R37
Green - G99, G94, G21
Black - N7, N6, N4, N3, N2, N0
Warmgrey - W3, W1, W00, 0
Pink - R22, R20, R00

Have a lovely day!
Greets, Marieke

zondag 23 augustus 2020

MFT Better Together CardKit Release Countdown day 2

Hello all,

Today we are kicking of with a amazing Cardkit release countdown by My Favorite Things! If you are all into cute critters and cars than this cardkit it the right cardkit for you! This release will be avaible Tuesday August 25th at 10:00 am EST. Vandaag starten we met een super leuke cardkit release countdown van My Favorite Things! Zijn lieve dieren en auto's jou ding dan is deze cardkit precies wat voor jou! De release zal beschikbaar zijn op dinsdag 25 augustus om 16:00.
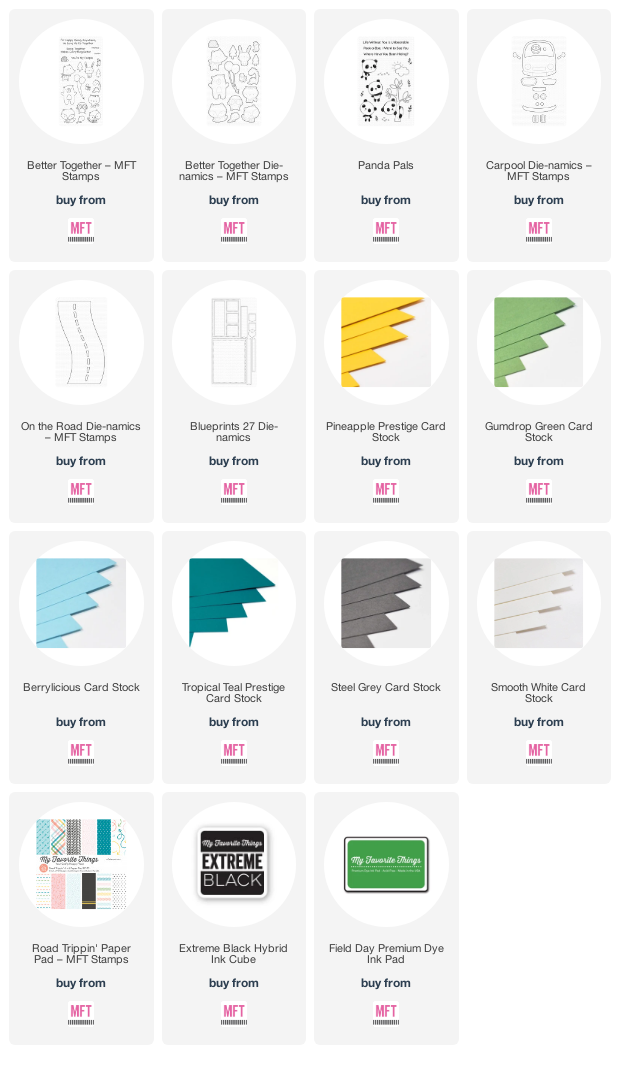
So this cardkit contains one stamp called Better Together with matching Die-Namics, Carpool Die-Namics (the car), Road Trippin' Paperpad, five with and seven different colors of cardstock. De cardkit bevat een stempel Better Together met de bijpassende Die-Namics, Carpool Die-Namics (de auto), Road Trippin' Paperpad, vijf witte vellen en zeven verschillende kleuren vellen cardstock.

Beside the cardkit you will be avaible to buy the matching On the Road Die-Namics. And if you spend $60 dollars of more you will be aible to pick the new Tree Trio Die-Namics as the Free for $60 present. Naast de cardkit is er nog een nieuwe losse stans verkrijgbaar genaamd On the Road Die-Namics. En wanneer je meer dan $60 uitgeeft kun je de nieuwe Tree Trio Die-Namics als een cadeautje mee bestellen.
So on to my card, it is a standard a2 topfold Smooth White cardbase, cut a Gumdrop Green panel and cut the road out of it. Cut the road out of Steel Grey cardstock and Glued the front panel together. Added some grass using Field Day ink. De basis is een standaard a2 topfold Smooth White basiskaart, sneed een panel net zo groot als de voorkant uit Gumdrop Green en stanste de weg eruit. Stanste de weg uit Steel Grey cardstock en plakte alles op de voorkant van de kaart. Voegde nog wat gras toe met Field Day inkt.

Uit de paperpad, Tropical Teal, Pineapple, Steel Grey and Berrylicious cardstock i die cut the parts of the car and assembled it. Added some detail using a white gelpen and heat embost the sentiment on the license plate. Ik gebruikte de paperpad, Tropical Teal, Pineapple, Steel Grey en Berrylicious cardstock om de onderdelen van de auto te stansen. Plakte de auto in elkaar en voegde wat details toe met een witte gelpen. De tekst heat emboste ik op de kentekenplaat.
Stamped all the images, colored them up using my Copic markers and cut them using the matching Die-Namics. Heat embost the sentiment on some Pineapple cardstock and cut it using a banner Die-Namics. Stempelde alle afbeeldingen, kleurde ze in met mijn Copic markers en stanste ze uit met de bijbehorende stansen. Heat emboste de tekst op Pineapple cardstock en stanste het uit met een banner Die-Namics.

Used Copic Colors:
Bear - E37, E35, E33, E31, E44, E43, E42, E40
Bunny - E57, E55, E53, E51, E50
Dog - E29, E27, E25, E23, E37, E35, E33, N3, B02, B00, B000
Fox - E09, E08, YR14, YR21, W5, W3, W1, W00, 0 
Teal/Dino - BG18, BG15, BG13, BG11
Racoon - N9, N7, N6, N4, N2, N0, W7, W5, W3, W1, W00 
Hedgehodge - E37, E35, E33, E31, E44, E43, E42, E41
Yellow - Y17, Y15, Y13 
White - N3
Green - G29, G28, G24
Pink - R22, R20, R00

Have a lovely day!
Greets, Marieke

zaterdag 22 augustus 2020

Kraftin' Kimmie Saturday Challenge - Use the color purple

Hallo allemaal / Hello everybody!

Today it's Saturday wich means a new challenge started over at Kraftin Kimmie Stamps Blog, today the theme is make a card or project using the color purple!. You can go every route with this so get your stamps, ink and stencils out and play along.
 
Vandaag is het zaterdag dat betekend dat er een nieuwe challenge begonnen is op het blog van Kraftin' Kimmie Stamps. Het thema van deze week is maak een kaart met het thema de kleur paars te gebruiken. Je kunt er alle kanten mee op dus pak je stempels, inkten en stencils en speel mee!
First i cut a square kraft card 12,5 x 12,5 and added some Vintage Photo Distress ink on the sides. Stamped the snowflakes using a white ink and splattered some white paint. Die cut the wreath 4 times in two different colors and made it into one wreath. Uit kraft papier sneed ik een topfold vierkante kaart 12,5 x 12,5 en bewerkte de randen met Vintage Photo Distress inkt. Stempelde de sneeuwvlokken met witte inkt en spetterde met witte verf. Stanste de krans vier keer uit twee verschillende kleuren groen en maakte er een geheel van.
Stamped all the images on Copic friendly paper, colored them up using my Copic markers and cut them out by hand. Added some details using a white gelpen, and added them on the card. Stempelde alle afbeeldingen op Copic vriendelijk papier, kleurde ze in met mijn Copic markers en knipte ze uit met de hand. Voegde wat details toe met een witte gelpen en voegde ze toe aan de kaart.
Heat embost the sentiment on some black cardstock and cut it out. Added some purple enamel dots to the wreath and it was all done! Heat emboste de tekst op zwart cardstock en sneed het uit. Voegde wat paarse enamel dots toe om de kaart compleet te maken.

Have a wonderful day!
Greets, Marieke

Stamps: Elf-tactular
Dies: Craftable wreath CR1387
Ink: Wicked Black, Vintage Photo Distress ink, Unicorn White, Tsukineko Versamark
Paper: Kraft, Black Licorice
Extra: Ultrafine gold embossing powder, Festive Dots.

You are invited to the Inlinkz link party!

Click here to enter

donderdag 20 augustus 2020

My Favorite Things - The Birthday Project Challenge

 Hello all,

Today i'm back with a project for My Favorite Things. It's third thursday of the month so that means a new Birthday Project Challenge starts. The challenge this month is to make a interactive birthday card. Vandaag ben ik er weer met een kaart voor My Favorite Things. Het is de derde donderdag van de maand en dat betekend een nieuwe Verjaardag challenge start. De opdracht deze maand is om een interactieve verjaardagskaart te maken..
For my card i decided to use the Peek - A - Boo Wheel Die-Namics. I turned it into a colorwheel so the balloon changes colors.

Voor mijn kaart besloot ik de Peek - A - Boo Die-Namics te gebruiken. Ik veranderde het wiel een kleurenwiel zodat de ballon van kleur veranderd.
First i stamped all the images, colored them with my Copic Markers and cut them out using the matching Die-Namics. I cut the tails a bit more with my siccors. Cut a rectangle out of the designpaper and a piece of kraft for the bottom. Decided how i wanted my scene so i could stamp the balloon on the designpaper and cut the inside on the balloon on the designpaper and the loose colored one. Eerst stempelde ik alle afbeeldingen, kleurde ze in met mijn Copic markers en stanste ze uit met de bijpassende Die-Namics. Met een schaar knipte ik de staarten een beetje bij. Stanste een rechthoek uit het designpapier en een strook kraft. Bepaalde hoe ik alles wilde hebben, stempelde de ballon op het designpapier en knipte de binnenkant van de ballon uit van zowel het desingpapier als de losse stempel.
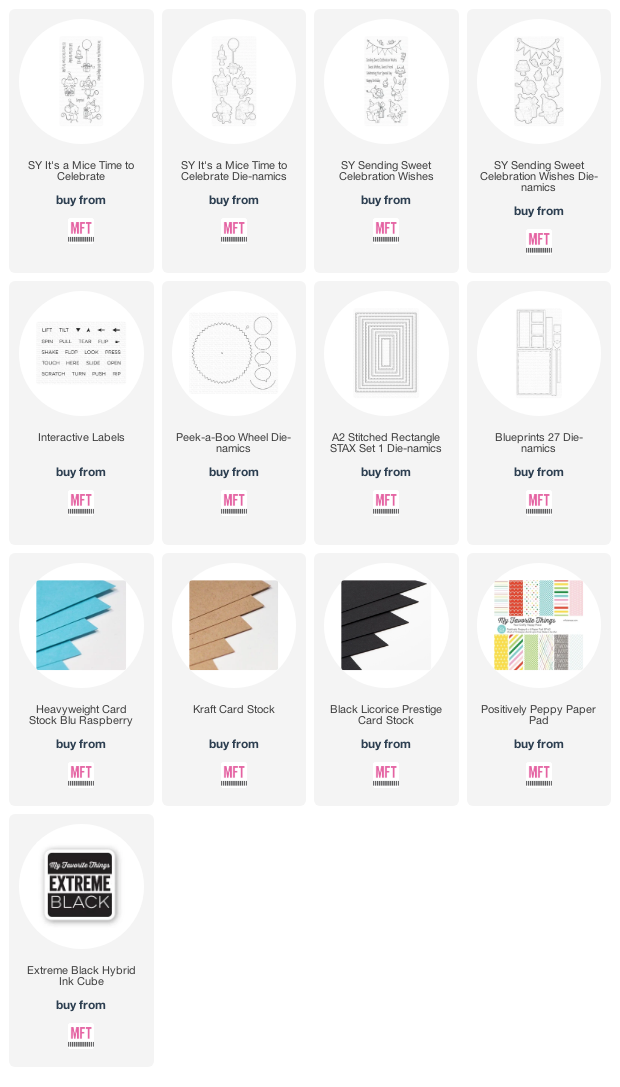
On some aquarel paper i used different colors of Distress ink and cut it using the wheel out of the Peek -A- Boo Die-Namics. Splattered some water and heat embost the sentiment. Decided were i wanted the wheel to be a cut the partial circle and a small hole in the designpaper panel were the brad is going to be. Placed everything on the right spot and adhered it on a topfold Blu Raspberry cardbase. Heat embost the sentiment and cut it using a banner Die-Namics. Op aquarel papier gebruikte ik verschillende kleuren Distress inkt en stanste het daarna uit met het wiel van de Peek -A- Boo Die-Namics. Spetterde wat water en heat emboste de tekst. Bepaalde waar ik het wiel wilde hebben en stanste de halve cirkel uit het designpapier. Maakte een gaatje waar de brad komt te zitten en bevestigde alles. Plakte het geheel met foamtape op een topfold Blu Raspberry basiskaart. Heat emboste de tekst en stanste deze uit met een banner Die-Namics.

Used Copic Colors:
Purple - BV08, V17, V15, V12
Pink - R89, R85, R83, R81, R22, R21, R20
Orange - YG09, YG07, YG04, YG02
Yellow - YG16, Y17, Y15, Y13
Green - YG17, YG07, YG05, YG03
Bleu - B1BG15, BG13, BG11
Mouse - C5, C3, C1, C0, C00, R22, R20, R00

Have a lovely day!
Greets, Marieke

dinsdag 18 augustus 2020

My Favorite Things - August Vault Release

Hello all,

Today i'm back back with a new Vault release for My Favorite Things! For the people who don't know what it means; My Favorite Things is bringing back older products but then they are updated to here and now. So if you missed out on them back then, here is your change to scoop them up! Vandaag ben ik er met een nieuwe Vault release van My Favorite Things! Voor de mensen die het niet kennen; My Favorite Things brengt oudere producten opnieuw uit alleen dan in een nieuw jasje. Mocht je deze eerder gemist hebben is het nu je kans om te halen.

The release is avaible as we speak! I decided to make a CAS card using the Sweet Treats Die-Namics topped of with a sentiment out of the You're the Sweetest. Vanaf nu zijn de augustus Vault release producten beschikbaar! Ik besloot een project te maken met de Sweet Treats Die-Namics gecombineerd met de een sentiment uit de Your're the Sweetest stempel.

Started taking some watercolor paper and draw the outline of the popsicle three times. I added some Abandoned Coral and cut it using the Die-Namics. Added some Candied apple on top of it and some Peeled Paint on the bottom. Splattered some black paint and added a kraft stick that i gave some detail using walnut stain. Op aquarel papier trok ik de bovenkant van de ijsco over met een potlood. Bewerkte dit met Abandoned Coral Distress inkt en stanste het met de Die-Namics. Voegde wat Candied Apple toe aan de bovenkant en Peeled Paint aan de onderkant. Spetterde wat zwarte verf op de ijsjes en plakte de stokjes uit kraft papier eronder, deze heb ik bewerkt met Walnut Stain.
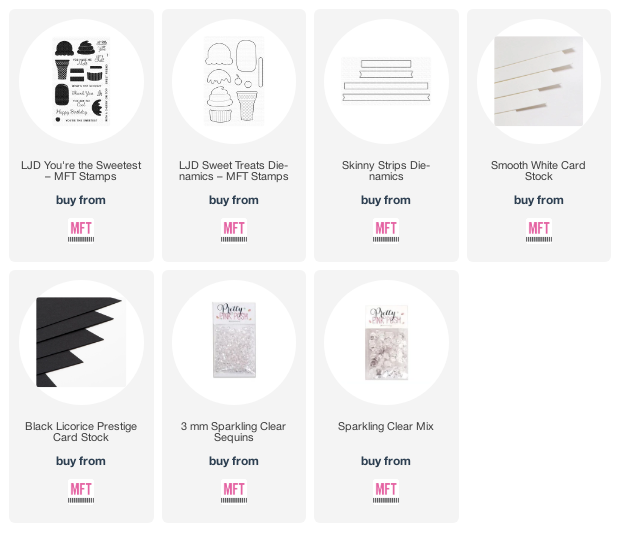
Cut a topfold Smooth White A2 basecard and splattered some black paint on the top of the card and added the icecreams on to it using foamtape. Heat embost the sentiment and cut it using the Skinny Strips Die-Namics. Finished of the card using some small sequins. Sneed een topfold Smooth White A2 basiskaart en spetterde zwarte spetters aan de bovenzijde van de kaart en plakte de ijsjes op met foamtape. Heat emboste de tekst op Black Licorice cardstock en stanste het uit met de Skinny Strips Die-Namics. Werkte de kaart af met wat clear sequins.


Have a lovely day!
Greets, Marieke

maandag 17 augustus 2020

My Favorite Things - Vault Release Countdown day 1
Hello all,

Welcome back today for day two of the Vault Release countdown by My Favorite Things. Lucky on the Vault Release the wait is only short and you can have a shopping spree already tommorow Tuesday August 18th at 10:00 am EST. Welkom terug bij dag twee van de Vault Release coutndown by My Favorite Things. Gelukkig hoef je maar even te wachten want morgen zijn ze al beschikbaar om 16:00!

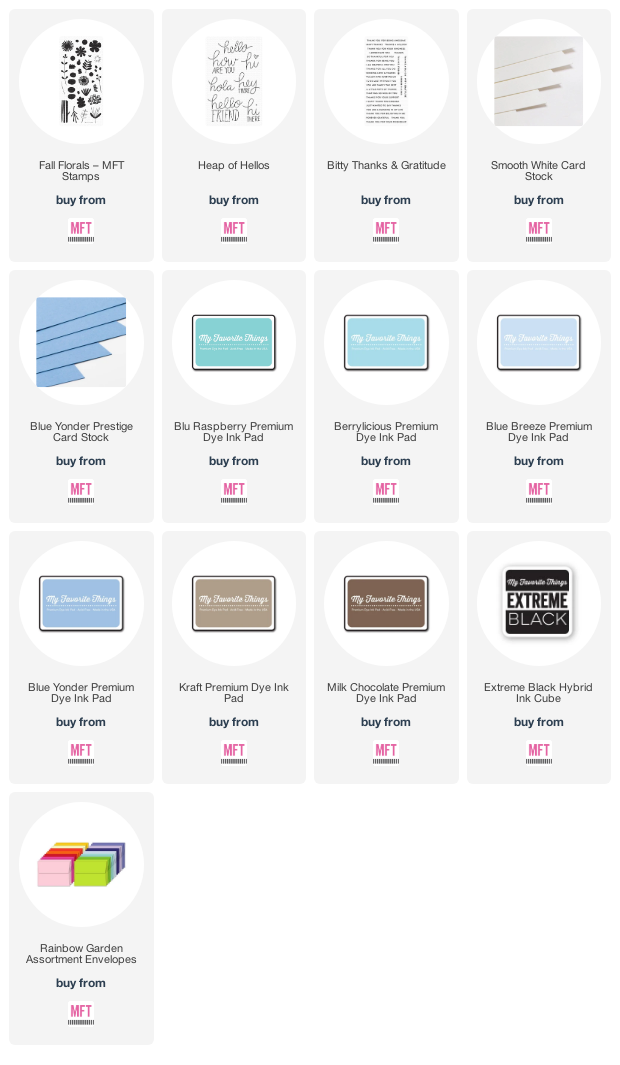
Today i tried something new and used my inks on the Fall Floral stamp, totally love this set and you can use it on many occasions!

Op de kaart van vandaag probeerde ik wat nieuws en gebruikte mijn inkten voor de Fall Floral stempel, vind de set echt super en je kunt hem voor verschillende doeleinde gebruiken!

First i cut a topfold Smooth White Base card, then grabbed six different colors of inks and started stamping the flowers on the bottom of the card until i was satisfied with the result. Sneed een witte topfold basiskaart, pakte zes verschillende kleuren inkt en begon met stempelen op de bodem van de kaart totdat ik tevreden was.
Stamped the word "Hello" on top of the flowers and heat embost "friend" on Blue Yonder cardstock and cut it using a banner Die-Namics. Stempelde het woord "Hello" boven de bloemen en heat emboste "friend" op Blue Yonder cardstock en stanste het uit met een banner Die-Namics.

Have a lovely day!

Greets, Marieke

zondag 16 augustus 2020

My Favorite Things - Vault Release Countdown day 2
Hello All,

Welcome to day 2 of the MFT Vault Release.  All of the stamps and dies that have come back out of the MFT Vault will be available on Tuesday August 18th at 10:00 am ESTWelkom bij dag 1 van de MFT Vault Release. Alle stempels en stansen die uit de kluis gaan komen zullen beschikbaar zijn op 18 augustus 16:00.

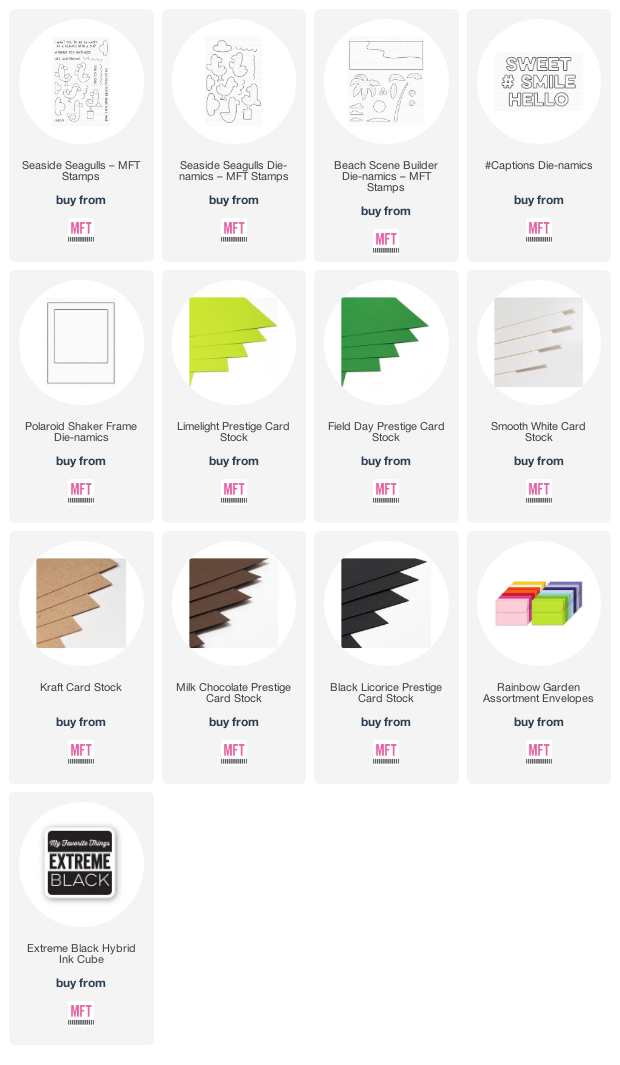
Today we have some amazing dies and stamps in the pocket. Just hop around all the other designteam member and you will be amazed! For my card i combined the Seaside seagulls with the Beach Scene builder Die-Namics. Vandaag hebben we een aantal super leuke stansen en stempels voor jullie die weer opnieuw uit gaan komen. Hop langs alle designteam leden voor nog meer inspiratie! Voor mijn kaart vandaag combineerde ik de Seaside Seagulls met de Beach Scene Builder Die-Namics.

Cut a Smooth White topfold card and added some Clouds using a stencil and Tumbled Glass Distress ink. Using Peackock Feathers, Cracked Pistashio and Mermaid Lagoon Distress ink i made the ocean and stamped the waves using Mermaid Lagoon. Cut it using the Die-Namics. The bottom is out of Kraft paper i added some Details with Walnut Stain Distress ink. Sneed een Smooth White topfold basiskaart en maakte wolken met een stencil en Tumbled Glass Distress inkt. Met Peacock Feathers, Cracked Pistashio en Mermaid Lagoon Distress inkt maakte ik de ocean, stempelde de golven met Mermaid Lagoon en stanste uit met de Beach Scene Builder Die-Namics. De bodem maakte ik uit Kraft papier en voegde wat details toe met Walnut Stain Distress inkt.  

Cut the tree, coconuts, island, photo frame and the word out of the photo frame. Glued everything on the main card. Added some details to the tree trunk and the coconuts with a white gelpen. Heat embost the sentiment and made it into a speechbubble. Stanste de boom, kokosnoten, het eiland, photolijst en het woord uit de lijst. Plakte alles op elkaar en op de kaart. Voegde wat details toe aan de boomstronk met mijn Copic markers en op de kokosnoten met een witte gelpen. Heat emboste de tekst en maakte er een tekstballon van. 
 
Stamped all the images, colored them up with my Copic markers and cut them out using the matching Die-Namics. Added them to the card and gave the beak a little detail using a white gelpen. Stempelde alle afbeeldingen, kleurde ze in met Copic markers en stanste ze uit met de bijpassende Die-Namics. Plakte ze op de kaart en voorzag de snavels van een detail met een witte gelpen.

Copic Colors Used:
Grey - C5, C3, C1, C00, 0
Orange - YR07, YR04, YR02
Blue - B02, B00, B000, 0
Treetrunk - E37, E35, E33, E31 (on kraftcardstock)

Have a lovely day!
Greets, Marieke

August release and krafty hop!

Hello everyone!

And the day has come that the August Release by Kraftin' Kimmie stamps is available! For today's inspiration i decided to make card using the Owl-chemyVanaf vandaag zijn de augustus release producten van Kraftin' Kimmie stamps te koop, welke ga jij halen? Voor mijn inspiratie van vandaag maakte ik een kaart met Owl-chemy.
Stamps: Owl-chemy, Make a Wish Dies: Circle stax Die-Namics, Brother Scan & Cut, Sizzix circle framelits Ink: Broken China/ Chipped Sapphire/ Black Soot/ Squeezed Lemonade/ Stormy Sky Distress inks, Wicked Black, Tsukineko Versamark. Paper: Smooth White, Black Licorice. Extra: Ultrafine white embossing powder, White acrylic paint marker, Starburst Stencil, Summer Krafty Dots.
For my card i cut a topfold Smooth White cardbase 10,8 x 13. Using my die-cutting machine i dry embost the front of the card using the starburst stencil. 
Voor mijn kaart sneed ik een topfold Smooth White basis kaart 10,8 x 13. Met mijn stans machine en het starburst stencil dry emboste ik de voorkant van de kaart.
Stamps: Owl-chemy, Make a Wish Dies: Circle stax Die-Namics, Brother Scan & Cut, Sizzix circle framelits Ink: Broken China/ Chipped Sapphire/ Black Soot/ Squeezed Lemonade/ Stormy Sky Distress inks, Wicked Black, Tsukineko Versamark. Paper: Smooth White, Black Licorice. Extra: Ultrafine white embossing powder, White acrylic paint marker, Starburst Stencil, Summer Krafty Dots.
Using Broken China, Chipped Sapphire, Black Soot, Squeezed Lemonade and Stormy Sky Distress inks to make the moon background. Cut it using a Circle die, out of Black Licore cardstock i cut a bigger circle and added them together. Met Broken China, Chipped Sapphire, Black Soot, Squeezed Lemonade and Stormy Sky Distress ink maakte ik de maan achtergrond. Stanste het uit met een cirkel stans en uit Black Licorice stanste ik een cirkel een slag groter en plakte zo op elkaar.
Stamps: Owl-chemy, Make a Wish Dies: Circle stax Die-Namics, Brother Scan & Cut, Sizzix circle framelits Ink: Broken China/ Chipped Sapphire/ Black Soot/ Squeezed Lemonade/ Stormy Sky Distress inks, Wicked Black, Tsukineko Versamark. Paper: Smooth White, Black Licorice. Extra: Ultrafine white embossing powder, White acrylic paint marker, Starburst Stencil, Summer Krafty Dots.
Stamped the images, colored them p using my Copic Markers, and cut them using my Borther Scan & Cut. Heat embost the sentiment on some Black Licorice and cut it out. Finished of using some enamel dots. Stempelde de afbeeldingen, kleurde ze in met mijn Copic Markers en sneed ze uit met mijn Brother Scan & Cut. Heat emboste de tekst op Black Licorice en sneed het uit. Werkte de kaart af met wat enamel dots.

Have a lovely day!
Greets, Marieke

With the card i would like to enter:


Dies: Circle stax Die-Namics, Brother Scan & Cut, Sizzix circle framelits
Ink: Broken China/ Chipped Sapphire/ Black Soot/ Squeezed Lemonade/ Stormy Sky Distress inks, Wicked BlackTsukineko Versamark.
Paper: Smooth White, Black Licorice.
Extra: Ultrafine white embossing powder, White acrylic paint marker, Starburst Stencil, Summer Krafty Dots.

You are invited to the Inlinkz link party!

Click here to enter

vrijdag 14 augustus 2020

Krafty Peeks day 2: Too Cute to Spook

Hello all,

Welcome back to Day Two of our August Krafty Peeks at Kraftin' Kimmie Stamps! Today we are sharing a set called Too Cute to Spook by artist Sabrina van Vloten. It's a fun and versatile stamp with super fun and cute mouse celebration Halloween! Hallo allemaal en vandaag dag twee van de release week van Kraftin' Kimmie stamps. Vandaag laten we een stempel zien van artiest Sabrina van Vloten genaamd Too Cut to Spook! Een mooie set met een leuke set met muizen die Halloween gaan vieren.
Stamps: Too Cute to Spook, Spooky Silhouettes Dies: Brother Scan & Cut, Grassy Fields Die-Namics. Letters are old MFT dies dunno the name. Ink: Wicked Black, Mossy Meadow, Wilted Violet, Shaded Lilac and Black Soot Distress ink, Tsukineko Versamark. Paper: Smooth White, Jellybean Green, Steel Grey Extra: Halloween Dots, ultrafine white embossing powder, white gelpen.
For my card i decided to go for a slimline card. Cut a topfold white card base and added some Wilted Violet, Shaded Lilac and Black Soot Distress ink. Spattered some water for some detail. In the back i stamped the trees from Spooky Silhouettes


Voor mijn inspiratie kaart besloot ik een slimline kaart te maken. Sneed een topfold witte basiskaart en maakte de achtergrond met Wilted Violet, Shaded Lilac en Black Soot Distress inkt. Spetterde wat water voor wat detail. Stempelde daarna de bomen uit de Spooky Silhouttes stempel.
Stamps: Too Cute to Spook, Spooky Silhouettes Dies: Brother Scan & Cut, Grassy Fields Die-Namics. Letters are old MFT dies dunno the name. Ink: Wicked Black, Mossy Meadow, Wilted Violet, Shaded Lilac and Black Soot Distress ink, Tsukineko Versamark. Paper: Smooth White, Jellybean Green, Steel Grey Extra: Halloween Dots, ultrafine white embossing powder, white gelpen.
Die cut the grass and added some Detail using Mossy Meadow hybrid ink. Die cut the letters and added some detail using a white gelpen. Heat embost the sentiment on the basecard and finished of the letters using the new enamel dots. Stanste het gras en bracht wat detail aan met Mossy Meadow hybrid inkt. Stanste de letters en bracht detail aan met een witte gelpen. Heat emboste de tekst en bewerkte de grote letters met de nieuwe enemal dots.
Stamps: Too Cute to Spook, Spooky Silhouettes Dies: Brother Scan & Cut, Grassy Fields Die-Namics. Letters are old MFT dies dunno the name. Ink: Wicked Black, Mossy Meadow, Wilted Violet, Shaded Lilac and Black Soot Distress ink, Tsukineko Versamark. Paper: Smooth White, Jellybean Green, Steel Grey Extra: Halloween Dots, ultrafine white embossing powder, white gelpen.
Stamped the images using Wicked Black, colored them up using my Copic markers and cut the using my Brother Scan & Cut. Added them to the card and the card was finished! Stempelde de afbeeldingen met Wicked Black, kleurde ze in met mijn Copic markers en sneed ze uit met mijn Brother Scan & Cut. Plakte ze op de kaart en klaar was ik!

Have a lovely day!
Greets, Marieke

Stamps: Too Cute to Spook, Spooky Silhouettes
Dies: Brother Scan & Cut, Grassy Fields Die-Namics. Letters are old MFT dies dunno the name.
Ink: Wicked Black, Mossy MeadowWilted Violet, Shaded Lilac and Black Soot Distress ink, Tsukineko Versamark.
Paper: Smooth White, Jellybean Green, Steel Grey
Extra: Halloween Dots, ultrafine white embossing powder, white gelpen.

You are invited to the Inlinkz link party!

Click here to enter