Hallo Allemaal,
Hier is mijn wekelijkse post voor Studiolight weer. Deze keer maakte ik een slimline kaart met Buddy van Creative Craftlab, uiteraard combineerde ik hem met een aantal andere producten van Studio Light.. I'm back with my weekly post for Studiolight. This time around I made a slimline card using Buddy that is in the Creative Craftlab line. Offcourse I used other Studio Light products.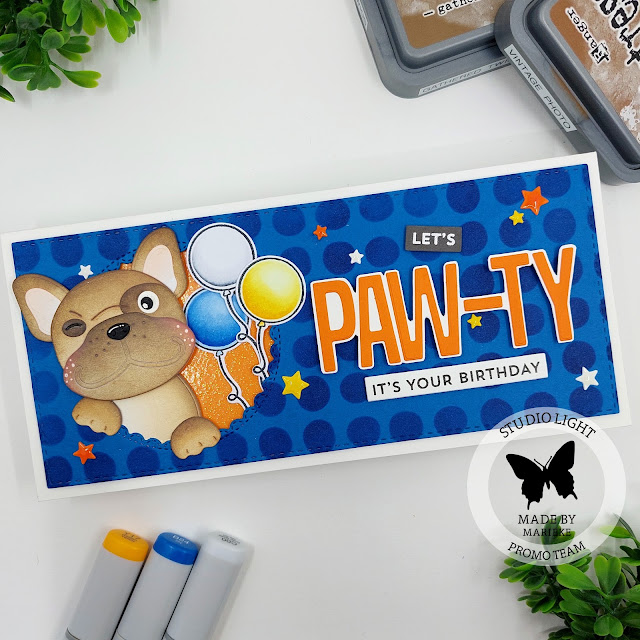

Stanste een blauwe rechthoek en inktblende met een donkerblauwe inkt de cirkels op de rechthoek en stanste daarna de cirkel uit de rechthoek. Stanste alle losse onderdelen uit wit cardstock voor Buddy en inktblende ze met Gathered Twigs, Vintage Photo en Ground Espresso Distress Oxide inkt.
Die cut a blue rectangle, inkblende the circles using a darker color blue ink and die cut the circle out of the rectangle. Die cut the loose elements of Buddy out of white cardstock and inkblended it using Gathered Twigs, Vintage Photo and Ground Espresso Distress Oxide ink.
Die cut a blue rectangle, inkblende the circles using a darker color blue ink and die cut the circle out of the rectangle. Die cut the loose elements of Buddy out of white cardstock and inkblended it using Gathered Twigs, Vintage Photo and Ground Espresso Distress Oxide ink.
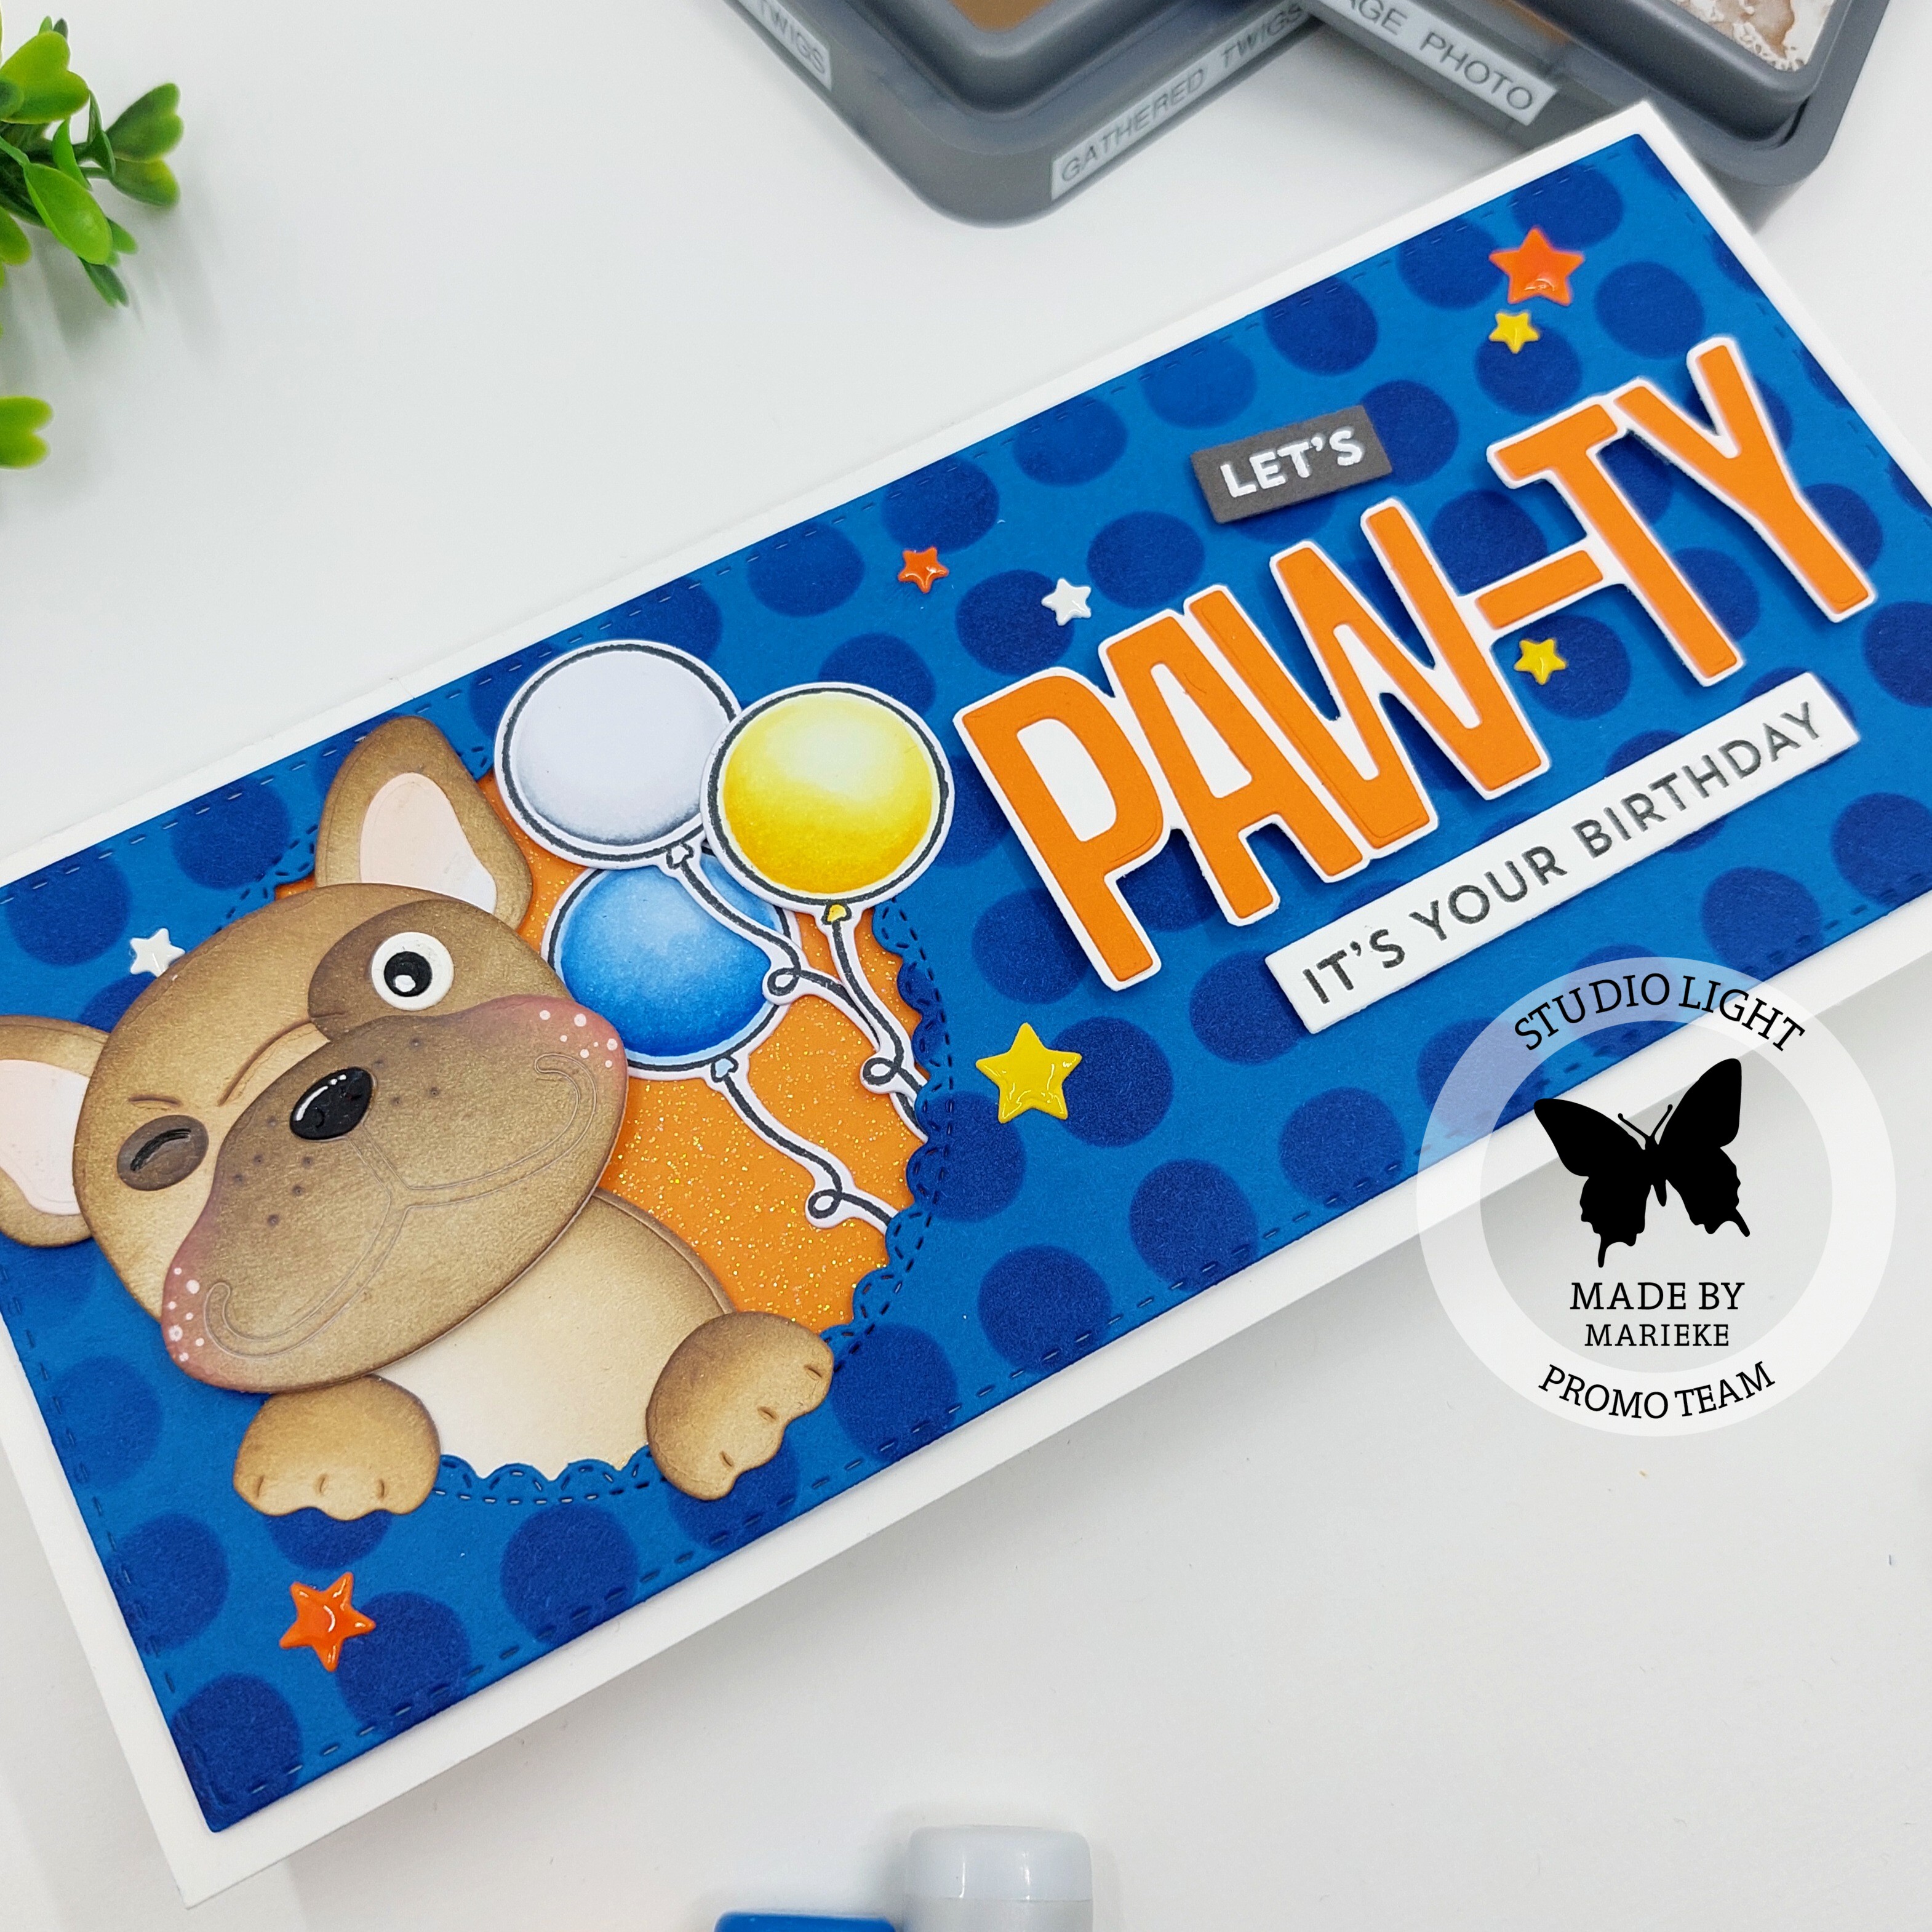
Voor de oren gebruikte ik Tattered Rose Distress Oxide inkt en de wangen inktblende ik met Worn Lipstick Oxide inkt. Plakte het geheel in elkaar en werkte Buddy af met een witte gelpen. Plakte Buddy in het venster.
For the ears I used Tattered Rose Distress Oxide ink and inkblended the cheeks using Worn Lipstick Oxide ink. Glued Buddy together and finished him of using a white gelpen. Added Buddy into the frame.
For the ears I used Tattered Rose Distress Oxide ink and inkblended the cheeks using Worn Lipstick Oxide ink. Glued Buddy together and finished him of using a white gelpen. Added Buddy into the frame.

Plakte een stuk oranje glitter cardstock op een witte topfold basiskaart en plakte met foamtape de rechthoek op de basiskaart. Stanste het woord Paw-ty en oranje cardstock en plakte het op wit cardstock. Knipte het daarna de tekst ui met een wit randje eromheen.
Cut a white topfold base card and added a piece of orange glitter cardstock onto it. Added the Blue rectangle on the base card using some foam tape. Die cut the word Paw-ty out of orange cardstock and glued it on some white cardstock. Cut the word using my sciccors leaving a white border.
Cut a white topfold base card and added a piece of orange glitter cardstock onto it. Added the Blue rectangle on the base card using some foam tape. Die cut the word Paw-ty out of orange cardstock and glued it on some white cardstock. Cut the word using my sciccors leaving a white border.

Heat emboste en stempelde de kleinere teksten en stanste ze uit. Stanste uit oranje, geel en wit cardstock wat sterren en plakte deze op de kaart. Werkte de sterren af met wat Glossy Accent. Stempelde de drie ballonen en kleurde ze in met mijn Copic markers, stanste ze uit met de bijpassende stansen en plakte ze op de kaart. Heat set and stamped the sentiments and die cut them. Die cut some stars out of Orange, Yellow and white cardstock. Adhered them onto the card and added some Glossy Accent. Stamped the balloons, colored them up and cut them using the matching die.
Gebruikte Copic kleuren:
Geel - Y17, Y15, Y13, Y11, Y00
Wit - C5, C3, C1, C00, 0
Blauw - B28, B26, B24, B23, B21
Heb een heerlijke dag!
Groet, Marieke
Stempels: SL-SS-SCD19,
Stansen: SL-SS-SCD19, CCL-FR-CD172, CCL-ES-CD159, CCL-ES-CD157, SL-ES-CD178, SL-ES-CD183
Inkt: Gathered Twigs/ Vintage Photo/ Ground Espresso/ Worn Lipstick en Tattered Rose Distress Oxide inkt Memento Tuxedo Black, Versafine Onix Black, Tsukineko Versamark, Blue Beyond.
Papier: Smooth White, Eiffel Tower, Corn Flower, Orange Zest, Black Licorice, Oranje glitter cardstock.
Extra: Glossy Accent, Wonky Dots Stencil (MFT)
Geen opmerkingen:
Een reactie posten