woensdag 30 september 2020

Kraftin' Kimmie - Inspirational Wednesday

Hello all,

Today it is my turn again to inspire you on the Kraftin' Kimmie blog this Wednesday with a card by me. I decided to play with one of set by artist Becky; A Purr-fect day. As the Christmas season is coming and i'm way behind on Christmas cards i turned the cat into a holiday cat. Vandaag is het mijn beurt om jullie te inspireren op het blog van Kraftin' Kimmie Stamps. Ik besloot een van stempels van Becky te gebruiken - A Purr-fect day. Aangezien kerst alweer in aantocht is en ik best wel achterloop met mijn kaarten besloot ik er kerstkat van te maken. Hier is wat ik bedacht heb.
So first i started with the background it's a topfold a2 Smooth White base card. Added a designpaper background. Cut a strip of Kraft cardstock and added some Walnut Stain ink. Cut a strip of Smooth White cardstocka nd added some details using Copic markers. Sneed een topfol a2 Smooth White basiskaart. Plakte er een stuk designpapier op. Sneed een strook kraft bewerkte dit met Walnut Stain Distrress ink. Sneed een strook Smooth white en bewerkte dit met mijn Copic markers.
Cut all the parts of the fireplace added some Distress ink to the fire. Using the Brick Wall Stencil and Granite Grey ink i added the stone to the fireplace. Glued everythign together and on the base card. Heat embost the sentiment, the first and last part of the card are from Crakin' Holiday the middle parts comes out of the A Purr-fect day. Stanste alle onderdelen van de haard en voegde wat Distress inkt toe aan het vuut. Met het Brick Wall stencil en Granite Grey voegde ik de stenen toe aan de haard. Plakte alles aan elkaar en voegde het toe aan de kaart. Heat emboste de tekst, het eerste en laatste gedeelte komen uit Crackin' Holiday en het middelste uit deze set.
Stamped the images from A purr-fect day, Reindeer GamesParty PiggiesElf-tacular and You're a Squak heart with Wicked Black and colored the images up using my Copic markers. Cut them by hand and added them to the base card. Stempelde de afbeeldingen van A purr-fect day, Reindeer GamesParty PiggiesElf-tacular en You're a Squak heart met Wicked Black en kleurde ze in met mijn Copic markers. Knipte ze met de hand en voegde ze toe aan de basiskaart.

Used Copic Colors:.
Cat - W5, W3, W1, W00, R22, R20, R21
Red - R59, R39, R27, R24
Green - YG67, YG63, YG03
Pink - R85, R83, R81
Yellow - Y17, Y15, Y13

Have a lovely day!
Greets, Marieke

Dies: A2 Stitched Rectangle Staxx, Blueprints 27, Fireplace Die-Namics
Ink: Walnut Stain/ Candied Apple/ Carved Pumpkin Distress ink, Wicked Black, Granite Grey
Paper: Smooth White, Kraft, Black Licorice, Cement Grey, Orange Zest, Lemon Drop, Sweet celebration Paper pad.
Extra: Black Fineliner, Brick Wall Stencil.

dinsdag 29 september 2020

My Favorite Things Hits & Highlights

 Hello all,

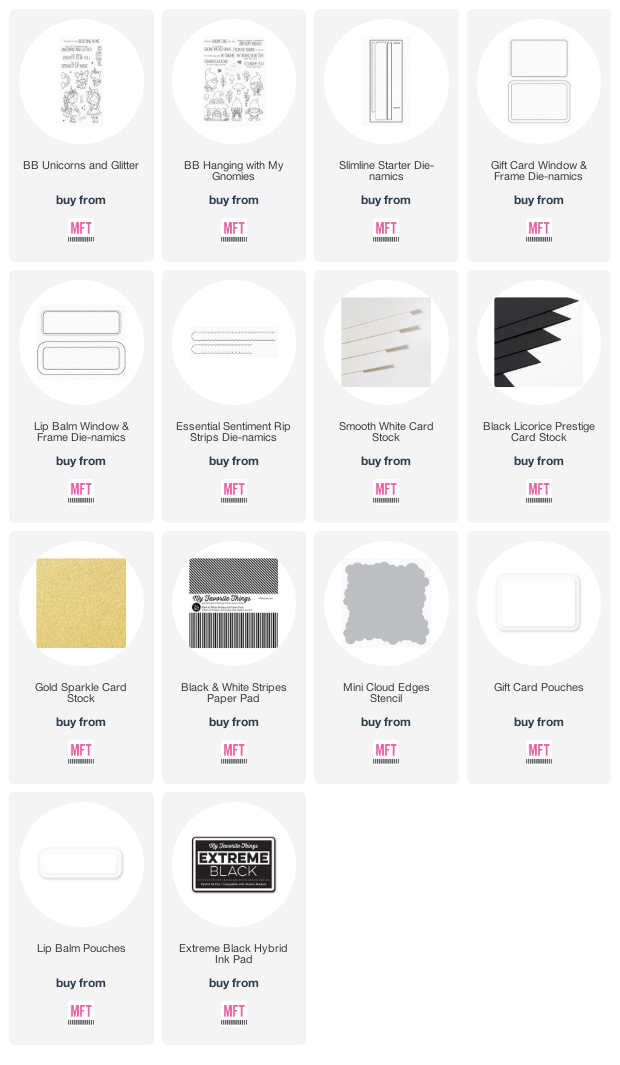
Today i'm back with a project for My Favorite Things, today it's time for the Hits & Hightlights. The team inspires you with projects featuring a specific theme or products. Today we are showcasing the versatility of the products that are made to create a lip balm gift package. . Vandaag ben ik er weer met een project voor My Favorite Things, vandaag is het tijd voor een Hits & Highlights. Het designteam inspireert jullie met een specifiek thema of product. Vandaag laten we de veelzijdigheid zijn van de producten die er zijn om een lip balm gift te maken.
So it happend that it was our niece her birthday this weekend and asked for a fashion cheque so she go shopping with her friends. I figured it would be a fun idea to combine the gift card with a lip balm and then to turn it into a really girly card. Ons nichtje was dit weekend jarig en vroeg een fashion cheque voor haar verjaardag zodat ze met vriendinnen kan gaan winkelen. Ik dacht dat het wel een leuk idee was om de cheque te combineren met een lipbalm en er dan een echte meidenkaart van te maken.

So i started with the background i cut it out of Smooth White cardstock using the slimline Die-Namics. Added some clouds using a stencil and Worn Lipstick Distress Oxide ink. Splattered some water and some Picked Raspberry mixed with water on to it. Because i never made something like this i decided to stamp the images first, colored them up and cut them by hand. Ik begon met de achtergrond, stanste met de Slimeline Die-Namics uit Smooth White een rechthoek. Bewerkte dit met een stencil en Wotn Lipstick Distress Oxide inkt. Spetterde er water en Picked Raspberry gemengd met water op. Doordat ik nog nooit zo iets gemaakt had besloot ik eerst de stempels de stempelen, kleurden deze in en knipte ze met de hand uit. 
Because the fashion cheque was black i knew that would be one of the main colors, together with the pink i figured the gold sparkle would be great with it. So i cut the Gift Card Frame and the Lip Balm frame out of the gold sparkle cardstock. Now i was aible to decided were i wanted everything to be on the base card. Doordat de cadeau kaart zwart was, wist ik dat dit een van de hoofdkleuren zou worden. Samen met het roze van de wolken en het meisje dacht ik dat het goud er super leuk bij zou passen. Ik stanste uit goud glittercardstock de Gift Card Frame en het Lip Balm Frame. Nu ik alle losse onderdelen had besloot ik waar ik alles wilde hebben.
Die cut the windows of the giftcard and lipbalm out of the front of the cloud base. Cut a topfold Smooth White base card to find out that this did not fit into my die-cutting machine when i wanted to use the Rip Strip Die-Namics. So i cut two rectangle's one 7 x 3,5 inch and one 7 x 4 inch wich i scored at 3,5 inch. Stanste de windows van de giftcard en de lipbalm uit de wolken basis. Sneed een topfold Smooth White basiskaart om er vervolgens achter te komen dat ik deze niet door mijn stansmachine heen krijg om de Rip Strips Die-Namics te gebruiken. Sneed dus twee rechthoeken 7 x 3,5 inch en 7 x 4 inch. De laatste rilde ik op 3,5 inch.

Took the smallest rectangle, placed the cloud panel on top and traced the holes with a pencil. Placed the smallest Rip Strip Die-Namics in the middle of the pencil traced Lip Balm window and cut it. Did the same with the Gift Card window only i place the Rip Strip Die-Namics on the same height as the other one. Turned over the rectangle and stamped the word "Rip" on the outside of the Rip Strip. Pakte de kleinste rechthoek en plaatste de wolken basis in het midden. Trok de window gaten over met een potlood. Legde de Rip Strip Die-Namics in het midden van de lipbalm window en stanste het uit. Deed het zelfde voor de cadeau kaart alleen plaatste ik de ripstrip op dezellfde hoogte als de andere. Draaide het geheel om en stempelde twee keer "Rip" aan de start van de ripstrip.
Glued the 7 inch rectangle's together, figured the card needed something extra and added a strip of black and white striped paper and more gold sparkle. Glued the pouches on the inside and the frames on the outiside. Stamped the sentiment and added the giftcard and lipbalm. Glued the cloud panel with a lot of patience on the basecard and added the colored images. I added some more gold sprakle to the horns and some wink of stella on the leaves and wings. Plakte de 7 inch rechthoek aan elkaar, besloot dat de kaart nog wat nodig had en voegde het zwart/wit gestreepte en nog meer goud glitterpapier toe. Plakte de pouches aan de binnenzijde en de frames aan de buitenzijde. Stempelde de tekst en voegde daarna de cadeau kaart en de lippenbalsem toe. Plakte daarna het wolken paneel op de basiskaart met heel veel geduld en rust. Voegde nog wat gouden glitters toe aan de hoorntjes en Wink of Stella op de bloemen en vleugels. 


Used Copic Colors:
Pink - RV09, RV06, RV04, RV02, RV00
Soft Pink - R22, R20, R00
White - C5, C3, C1, C00, 0
Black - N9, N7, N5, N3
Cat - E57, E55, E53, E51, E50
Skin - E000, E00, E04, E11, E21
Hair - E37, E35, E33
Dog - E27, E25, E23 (i think i saved it from a earlier coloring)
Rainbow - R85, R83, R81, YR07, YR04, YR02, Y17, Y15, Y13, YG17, YG13, YG11, B02, B00, B000, V17, V15, V12

Have a lovely day!
Greets, Marieke 

woensdag 23 september 2020

My Favorite Things - Wednesday Sketch Challenge #508

Hello all!

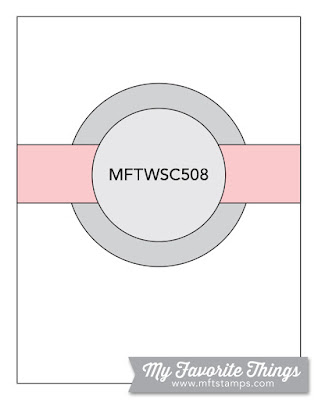
Today i'm back again with a new Sketch Challenge by My Favorite Things. This week i decided to play with a background stamp and the fun Mini Café all Day Die-Namics. Vandaag ben ik er weer met een nieuwe schets challenge van My Favorite Things. Deze week speelde ik met een mooie achtergrond stempel en de Mini Café all Day Die-Namics.
For this weeks sketch i changed the layout a bit by making the center piece the sentiment and put it over the circles instead of in between.
Voor de schets challenge van deze week, veranderde ik de layout een beetje door de midden balk te veranderden met een tekst en de cirkels daaronder te plaatsen.
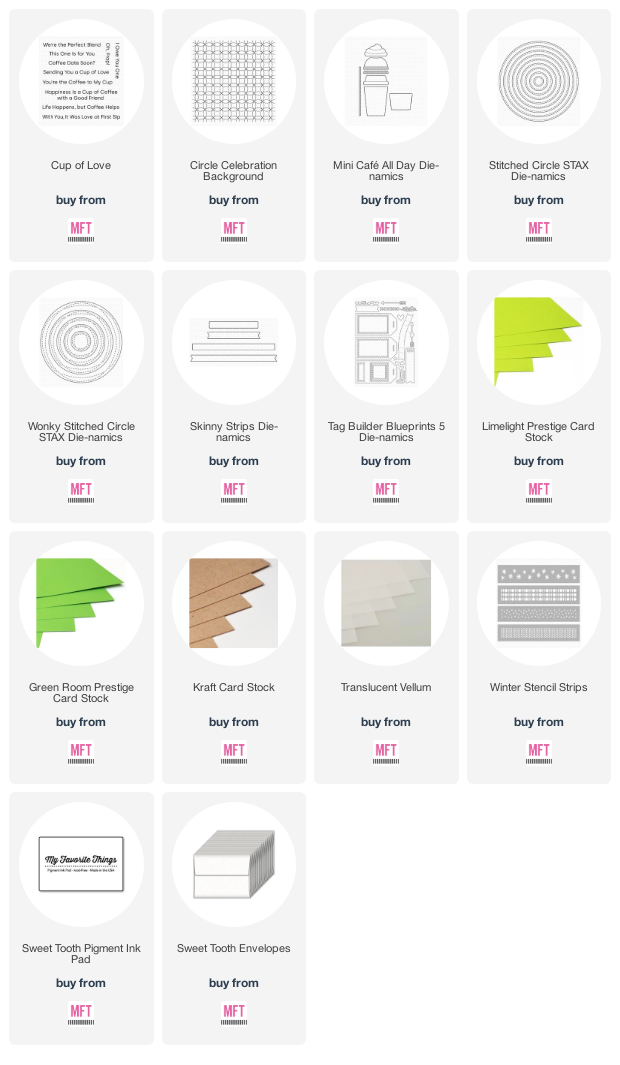
So i started with a topfold Kraft a2 basecard and stamped the background on to it using Versamark ink. Die cut the largest circle out of Green Room cardstock and added the pattern using a stencil and Sweet Tooth Pigment ink. Cut the smaller circle out of vellum en Limelight and added that on to the card. Sneed een kraft a2 topfold basiskaart en stempelde de achtergrond met versamark. Stanste de grote cirkel uit Green Room Cardstock en bewerkte het met een stencil en Sweet Tooth Pigment ink. Stanste de kleinere cirkel uit vellum en Limelight en plakte deze op de kaart.
Die cut the coffee cups out of Copic paper and colored them up. Die cut a small heart and added that to the coffee cups once adhered on the card. Heat embost the sentiment and cut it using a banner die. Fisished of the card using some glossy accent on the hearts. Stanste de koffie bekers uit Copic papier en kleurde ze in. Stanste een hartje en plakte dit op de bekers nadat ik deze had opgeplakt op de kaart. Heat emboste de tekst en stanste het uit. Om de kaart af te maken bewerkte ik de hartjes met Glossy Accent.

Used Copic Colors:
White - C3, C1, C00, 0
Brown - E44, E43, E42, E41

Have a lovely day!
Greets, Marieke

dinsdag 22 september 2020

MFT Merry & Bright Card Kit Release

 Hello all,

The day is here that the Merry & Bright cardkit release by My Favorite Things is avaible! What do you think is it beautiful or what? So what is ending up in your shopping cart? Watch your budget but have fun shopping! De dag is aangebroken dat Merry & Bright cardkit release van My Favorite Things verkrijgbaar is! En wat vond je ervan schitterend toch? Welke producten belanden bij jou in het mandje? Let op je budget maar heb vooral plezier met winkelen!
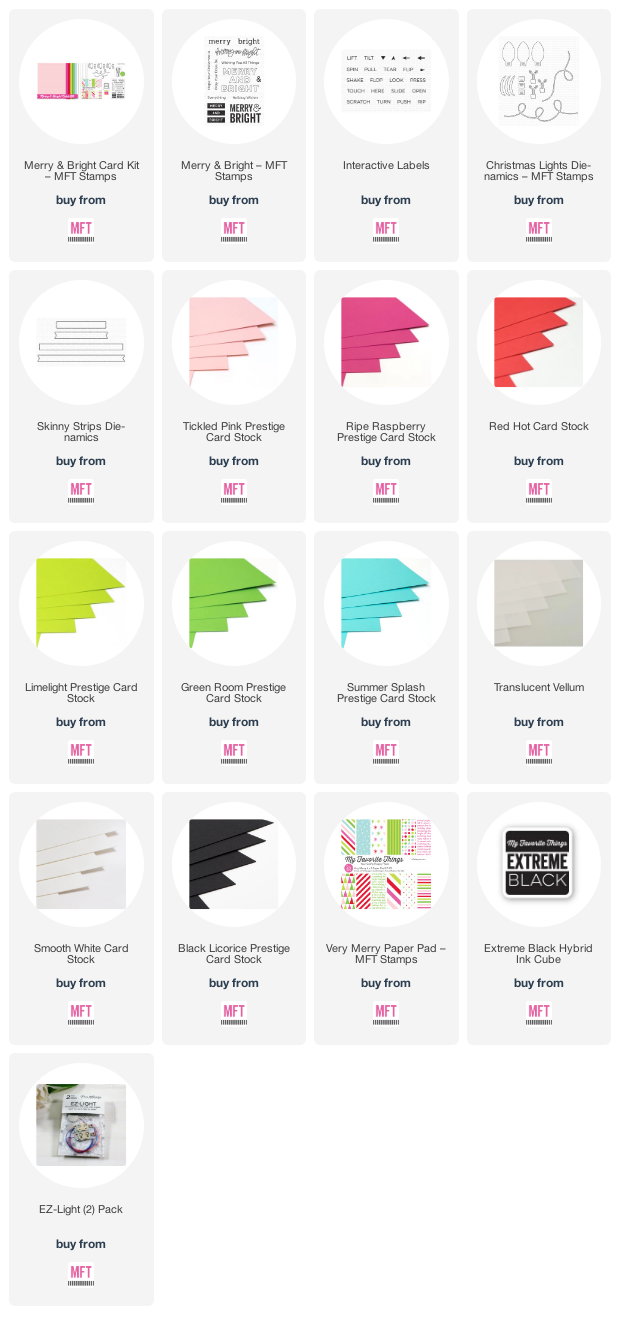
So for this card i decided to make a interactive card, what is a better interactive card when using Christmas lights than a card with real lights! Voor mijn kaart van vandaag besloot ik interactief te gaan en wat is er nu een betere interactieve kaart wanneer je kerstlampjes gebruikt dan echte lampjes!
So the base is a topfold a2 Smooth White topfold card, set that aside and cut a Green Room panel in the same seize. Added some Mowed Lawn Distress ink, some Mowed Lawn splatters and some white splatters. De basis van de kaart is een a2 Smooth White topfold basiskaart, legde dat aan de kant en sneed een Green Room rechthoek net zo groot als de voorkant van de kaart. Bewerkte dit met Mowed Lawn Distress ink, Mowed Lawn spetters en witte verfspetters.
Cut the cord and lamp sockets out of Black Licorice, the filaments out of Smooth White and the lightbulbs out of the colors in the cardkit. I used the shadowparts on the lightbulbs and added a vellum lightbulb behind it. Stanste de stroomdraad en fittingen uit Black Licorice, de gloeidraden uit Smooth White cardstock en de lampen uit het gekleurde cardstock dat in de kit zit. Ik gebruikte de shaduwstansen op de gekleurde lampen en plakte er vellum lampjes achter.

Decided were i wanted the lights to be and added a hole at the tree spots where i wanted the lights to be. Added the lights on the back of the panel using the Pear Blossom Lights and decided were the switch was going to be. Bepaalde waar ik alles wilde hebben en prikte drie gaatjes in het groen paneel. Plaatste de lampjes op de achterkant en bepaalde waar de schakelaar kwam. 
Before adhering everything together i heat embost the sentiment, heat embost the small sentiment on Black Licorice ans stamped the word "pull". Then i adhered everything to the white cardbase and cut of the remaing parts sticking out. Voordat ik alles op plakte heat emboste ik de witte tekst op het groene paneel, de andere tekst op Black Licorice cardstock en het woord "pull" op de groene kaart. Plakte daarna alles op en onder de groene rechthoek en knipte de uitstekende stuken af.

Have a lovely day!
Greets, Marieke

maandag 21 september 2020

MFT Merry & Bright Card Kit Release Countdown day 1

 Hello all,

Welcome back today for day two of the September Cardkit Release countdown by My Favorite Things. Lucky the wait on the Cardkit Release is only short and you can have a shopping spree already tommorow Tuesday September 22nd at 10:00 am EST. Welkom terug bij dag twee van de september cardkit Release countdown by My Favorite Things. Gelukkig hoef je maar even te wachten want morgen zijn ze al beschikbaar om 16:00!
So for today's card i decided to go CAS, that is what i really like about this kit is that you can make any kind of cardtype and you are aible to mass produce if you like.
Voor de kaart van de vandaag besloot ik voor een CAS kaart te gaan, dat vind ik namelijk aan deze kit erg leuk is dat je er allerlei soorten kaarten mee kunt maken en je kunt ook nog eens een massaproductie doen als je nog wat kerstkaarten te kort komt.
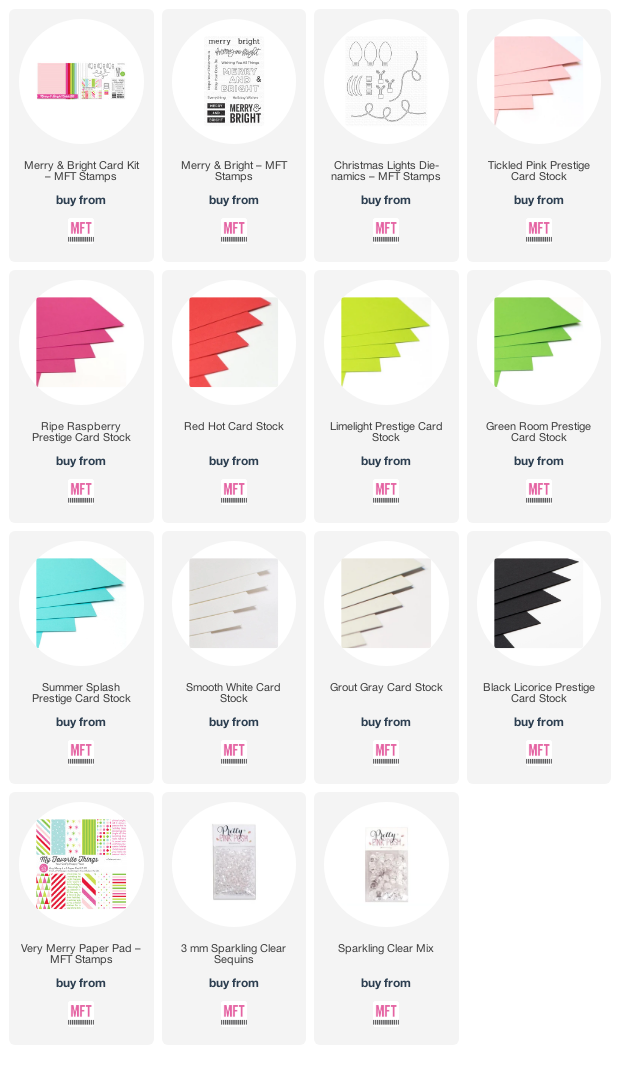
So my card is a standard A2 Smooth White topfold cardbase. I started of cutting the cords and lamp sockets out of Grout Grey cardstock, the Filaments out of Smooth White and the lightbulbs out of the colors from the cardkit. Glued everything together and on to the base card and cut the overlapping cardstock off. De kaart is een standaard Smooth White A2 topfold basiskaart. Stanste de stroomdraad en fittingen uit Grout Grey cardstock, de gloeidraden uit Smooth white cardstock en de lampen uit het gekleurde cardstock van de kit. Plakte alles op de kaart en knipte de overhangende delen af.
Heat embost the sentiment on some Black Licorice cardstock and cut it out by hand. Glued it on the cardbase using foamtape and added some clear sequins for some extra details. Heat emboste de tekst op Black Licorice cardstock en knipte het met de hand uit. Plakte het op de kaart met foamtape en plakte wat clear sequins op de basiskaart voor wat extra detail.

Have a lovely day!
Greets, Marieke

zondag 20 september 2020

MFT Merry & Bright CardKit Release Countdown day 2

Hello all,

Today we are kicking of with a amazing Cardkit release countdown by My Favorite Things! If you are getting ready for Christmas than this cardkit it the right cardkit for you! This release will be avaible Tuesday September 22th at 10:00 am EST. Vandaag starten we met een super leuke cardkit release countdown van My Favorite Things! Wil je alvast starten met kerstkaarten maar weer je nog niet zo goed wat, dan is deze cardkit precies wat voor jou! De release zal beschikbaar zijn op dinsdag 22 september om 16:00 
So this cardkit contains two stamps (one of them is Kit exclusive!), for the big set there is a matching Phrase Builders Die-Namics, Christmas Lights Die-Namics, Very Merry Paper Pad, Five piece of Smooth White cardstock, and Six matching colors of cardstock. De cardkit bestaat uit twee stempels (één daarvan is Kit-exclusief!), voor de grote stempel is een bijpassende Phrase Builders Die-Namics, Christmas Lights Die-Namics, Very Merry Paper Pad, zes vellen Smooth White cardstock en 6 vellen gekleurd cardstock.
Offcourse the supplies in the kit are avaible to buy seprently and if you spend atleast $60 the Holly Berries Die-Namics are the free for $60. Uiteraard zijn de producten in de kit ook los verkrijgbaar. Spendeer je tijdens je shopping spree &60 of meer is de Holly Berries Die-Namics de free for $60.
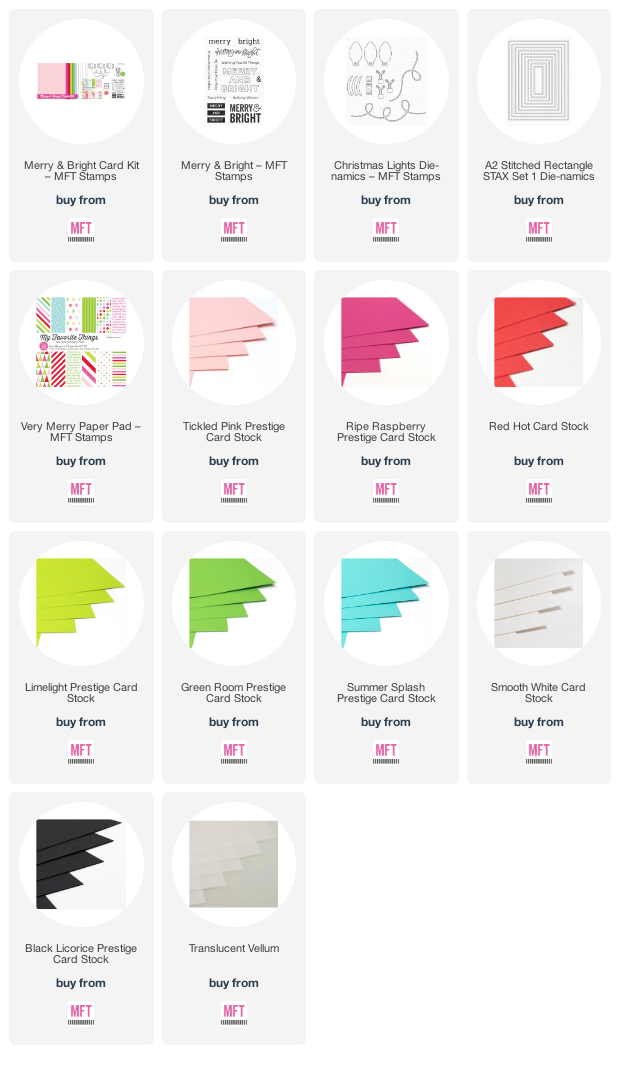
So for my card i cut a Smooth white topfold a2 cardbase and glued the designpaper out of the paperpad on top of it. Then cut a piece of vellum using a rectangle die and heat embost the sentiment on to it. Heat embost the sentiment on Black Licorice cardstock and added that separently. Voor mijn kaart sneed ik een standaard a2 Smooth White basiskaart en plakte in dezelfde maat het desinpapier over de hele voorkant. Sneed een stitched rechthoek en heat emboste de tekst. Op Black Licorice heat emboste ik de andere tekst.
Cut the cord and lamp sockets out of Black Licorice, the filaments out of Smooth White and the lightbulbs out of the colors in from the cardkit. Added everything together and then glued it on the vellum base. Once that was done i glued everything on the base card and cut of the overlapping pieces of lights and cords. Stanste de stroomdraad en fittingen uit Black Licorice, de gloeidraden uit Smooth White cardstock en de lampen uit het gekleurde cardstock dat in de kit zit. Plakte alles aan elkaar en bevestigde dit op de vellum basis. Daarna plakte ik het geheel op de basiskaart en knipte de overhangende stukken cardstock af.

Have a lovely day!
Greets, Marieke

September release and krafty hop!

 Hello everyone!

And the day has come that the September Release by Kraftin' Kimmie stamps is available! For today's inspiration i decided to make a series of Artist Trading Cards using the Crackin' HolidayVanaf vandaag zijn de september release producten van Kraftin' Kimmie stamps te koop, welke ga jij halen? Voor mijn inspiratie van vandaag maakte ik een serie Artist Trading Cards met de Crackin' Holiday.
So for my card i started with a kraft background, and cut the inner sides using Designpapers.
Voor mijn kaartjes begin ik met een kraft basiskaart. Dan voor de binnenkant gebruik ik designpapier van Marianne Design.
I cut the inside tree times out of the designpaper and once out of white cardstock, i dry emboss it using a embossing folder. Cut it in smaller parts and adhere it to the cards. Make a bow using twine and stamp the sentiment on some white cardstock before die cutting it. Cut the star twice and finish it of with the new enemal dot. Stans de binnenzijde drie keer uit designpapier en éénmaal uit wit cardstock, dat laatste bewerk ik met een embossingfolder. Snijd het in kleiner stukjes en plak het op. Maar een strik met twine, stempel de teks op wit cardstock en stans het uit met een banner. Stans de ster twee keer en werk het af met een enamel dot.
Stamp all the images using Wicked Black, color it in using my Copic markers and cut them out with my Brother Scan & Cut. Finish of the cards using the new enemal dots. Stempel alle afbeeldingen met Wicked Black, kleur ze in met mijn Copic markers en snijd ze uit met mijn Scan & Cut. Werk de kaartjes af met wat enamel dots.

Have a lovely day!
Greets, Marieke

Stamps: Crackin' HolidayATC stamp (PI1522)
Dies: Pocket letter die PL6501, Gift Tag Die-Namics, Brother Scan & Cut, Small snowflake (don't know what brand)
Paper: Smooth White, Kraft, Marianne Design Paper PB7053
Extra: Christmas DotsDesign folder snow (DF3419), Twine.

You are invited to the Inlinkz link party!

Click here to enter

zaterdag 19 september 2020

Krafty Peeks day 3 : Crackin' Holiday + a challenge

 Hello all,

Welcome to day Three of the September Krafty peeks by Kraftin' Kimmie stamps. It's the last day because of tomorrow all the goodies will be available in store. Today we have a really fun set by artist Neda Called Crackin' Holiday!. Hallo allemaal, welkom bij dag drie van de september release week van Kraftin' Kimmie stamps. Vandaag is de laatste dag want... morgen zijn alle nieuwe producten te koop! Vandaag nogmaals een set van artiest Neda; Crackin' Holiday!
If you love Nutcrackers this is your set! It contains three different nutcrackers, some nuts and Five matching sentiments!
Als je notenkrakers leuk vind is dit helemaal je set! Er zitten drie verschillende notenkrakers in, wat noten en vijf bijpassende tekst stempels!
For my card i started with a 12,5 x 12,5 topfold After Midnight cardbase. Inked up the sides using Picket Fence Distress ink and splattered some white ink. Cut the wreath die four times out of Jellybean Green and made it into a wreath. Voor mijn kaart maakte ik topfold 12,5 x 12,5 After Midnight basiskaart. Inkte de zijkanten op met Picket Fence Distress inkt en spetterde er witte verfspetters op. Stanste de krans vier keer uit JellyBean Green cardstock en maakte er een krans van.

Out of Smooth white cardstock i die cut the berries and added those to the wreath. Heat embost the sentiment on some Electric Red cardstock and cut it using a banner die. Uit Smooth White cardstock stanste ik de besjes en plakte deze op de wreath. Op Electric Red Cardstock heat emboste ik de tekst en stanste het daarna met een banner stans uit.
Stamped the image, colored it up and cut it by hand. Added it to the card using some foam squares. Stempelde de afbeelding, kleurde deze in met mijn Copic markers en knipte hem uit met de hand. Plakte het geheel met foam squares op de kaart.

Have a lovely day!
Greets, Marieke

Dies: Craftable wreath CR1387, Mistletoe Kisses, Tag Builder Blueprints 5 Die-Namics.
Ink: Wicked Black, Picket Fence Distress ink, Tsukineko Versamark.
Paper: After Midnight, Jellybean Green, Electric Red, Smooth White.
Extra: Acrylic Paint marker, ultrafine white embossing powder.

You are invited to the Inlinkz link party!

Click here to enter

vrijdag 18 september 2020

Krafty Peeks day 2: Santa's Ride

 Hello all,

Welcome back to Day Two of our September Krafty Peeks at Kraftin' Kimmie Stamps! Today we are sharing a set called Santa's Ride by artist Sabrina van Vloten. It's a fun and versatile stamp with Santa on his Christmas Train! Hallo allemaal en vandaag dag twee van de release week van Kraftin' Kimmie stamps. Vandaag laten we een stempel zien van artiest Sabrina van Vloten genaamd Santa's Ride! Een mooie set met de kerstmas en zijn kersttrein.
The set contains a total of ten images to make a train with different kind of loads in it. You can make it as festive as you want!
De set bestaat uit tien afbeeldingen om een trein te maken met daarin verschillende soorten vracht. Je kunt het zo gek maken als jezelf wil.
So for my card i stamped the images, colored them up using my Copic markers and cut them by hand. Set them aside and started on the base of the card wich is a topfold kraft slimline card. Voor mijn kaart stempelde ik eerst de afbeeldingen, kleurde ze in met mijn Copic markers en knipte ze met de hand uit. Sneed een topfold Kraft slimline basiskaart. 

Inked up a piece of aquarel paper using Black Soot (Distress ink) and Blueprint Sketch (Distress Oxide ink). Splattered some water and white paint splatters on to it. Die cut it and added it to the middle of the card. Op aquarel papier maakte ik de achtergrond met Black Soot (Distress inkt) en Blueprint Sketch (Distress Oxide inkt). Spetterde wat water en witte verf. Plakte het geheel op de basiskaart.
Cut the Snow using Copic paper and added some detail with my Copic markers. Added the snow and the train. Heat embost the sentiment and finished the card of using some enemal dots. Stanste het sneeuw uit Copic papier en bracht wat detail aan. Plakte de sneeuw en trein op de basis kaart en heat emboste de tekst. Werkte het geheel af met wat enemal dots.

Have a lovely day!
Greets, Marieke

Dies: Stitched Slimeline snow, Slimeline Starter Die-Namics.
Ink: Wicked Black, Black Soot Distress ink, Blueprint Sketch Distress Oxide ink, Tsukineko Versamark, Picket Fence Distress Paint.
Paper: Kraft
Extra: Ultrafine White embossing powder, Halloween Dots, Seashore Dots, Christmas Dots

You are invited to the Inlinkz link party!

Click here to enter

donderdag 17 september 2020

Krafty Peeks day 1: O Holy Night.

Hello All / Hallo allemaal

Welcome to Day One of our September Krafty Peeks at Kraftin' Kimmie Stamps! Today we are sharing a set called O Holy Night! by artist Neda Sedradin. It's a fun and versatile set! Hallo allemaal bij dag één van de release week van Kraftin' Kimmie stamps. Vandaag laten we een stempel zien van artiest Neda Sedradin genaamd O Holy Night! Een Bijbelse set om heerlijke klassieke kaarten mee te maken.
The set contains seven images and comes with four matching sentiments.
De set bestaat uit zeven afbeeldingen en vier bijpassende teksten.
I used the Out of the box Die-Namics to make my pop up box card. I cut the outsides using Kraft cardstock and inked it up using Walnut Stain Distress ink. Cut the inside of the die using a wood print designpaper and inked it up aswell. Ik gebruikte de Out of the Box Die-Namics voor mijn pop up box kaart. Ik stanste de buitenzijde uit kraft papier en de binnenzijde uit een hout structuur paperpad van Noor! Design. Inkte alles op met Walnut stain Distress inkt.

Out of Pineapple cardstock i cut the grass border and inked them up also. Added it to the box when i was ready with my images. Stamped the sentiment and cut it using a banner die. Uit Pineapple cardstock stanste ik het gras en beinkte dit ook met Walnuts Stain. Plakte het in de box en een strip aan de voorzijde. Stempelde de tekst op wit cardstock en stanste het uit.
Stamped all the images, colored them in using my Copic markers and cut them using my scan & cut. Added the images to the box card, Joseph is added using some acetate. Stempelde alle afbeeldingen, kleurde ze in met Copic markers en sneed ze uit met mijn Scan & Cut. Bevestigde alles in de box, Jozef bevestigde ik met acetate.

Have a lovely day!
Greets, Marieke

Dies: Out of the box, Out of the box grass Die-Namics, Brother Scan & Cut.
Ink: Walnut Stain Distress ink, Wicked Black
Paper: Kraft, Pineapple, Smooth White, Noor Design wood paperpad.

You are invited to the Inlinkz link party!

Click here to enter