zondag 6 maart 2022

My Favorite Things March Release Countdown Day 2

 Hello all!

The release day of the March release by My Favorite Things is getting closer! It's still packed full of new stuff so make sure you don't miss anything. Hop over to the blog of My Favorite Things and hop along all the blogs of the Designteam members to see the full reveal! De dag dat de My Favorite Things maart release verkrijgbaar is komt dichter bij! We hebben nog steeds super leuke nieuwe dingen om aan jullie te laten zien, dus ga naar de hoofdpagina van My Favorite Things en hop langs alle blogs of social media kanalen van de Design team leden voor nog mee inspiratie!
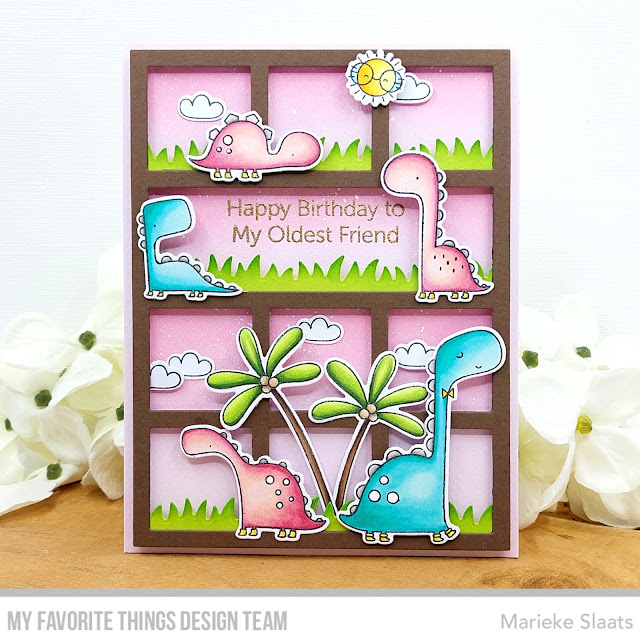
Today is all about adventure if you are into dinosaurs or safari animals it's all in there! For my inspiration today I used the You're Ext-ROAR-dinary and Paradise Pals to create this card.

Vandaag staat in het teken van avondtuur, of je nu van de dinosaurussen bent of safari dieren vandaag hebben we het allemaal! Voor mijn inspiratie kaart van vandaag maakte ik de You're Ext-ROAR-dinary samen met de Paradise Pals.
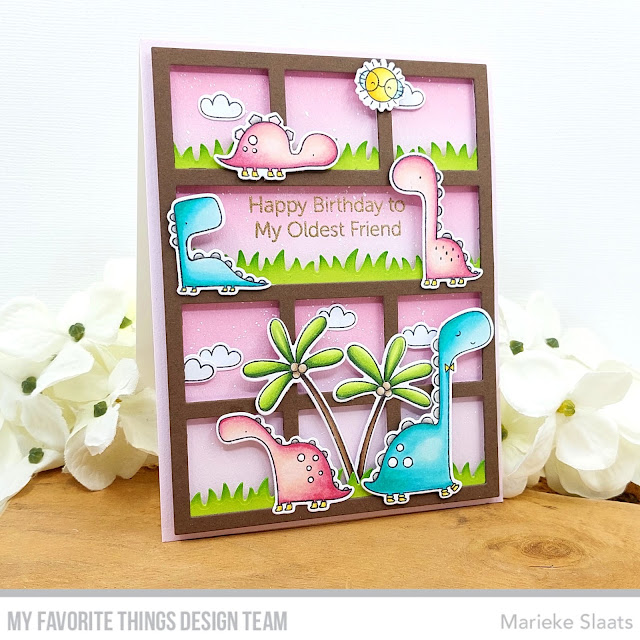
Started with cutting down a 4 1/4 x 5 1/2 inch Princess Pink rectangle. Out of Vintage Timber I die cut the Collage Cover-Up Die-Namics. Traced the upper three layers on the Princess Pink rectangle and inkblended some Cotton Candy on to it. Sneed een Princess Pink rechthoek. Uit Vintage Timber stanste ik het Collage Cover-Up Die-Namics. Traceerde de drie bovenste lagen op de Princess Pink rechthoek en inktblende wat Cotton Candy.

Die cut the grass out of Limelight and inkblended some Mowed Lawn. Adhered the grass behind the collage en adhered the frame on the Princess Pink rectangle. The rectangle went onto a Smooth White topfold basecard. Stanste het gras uit Limelight en inktblende het grass met Mowed Lawn. Plakte het grass achter de collage en plakte het frame op de Princess Pink rechthoek. De rechthoek ging vervolgens op een Smooth White topfold rechthoek.
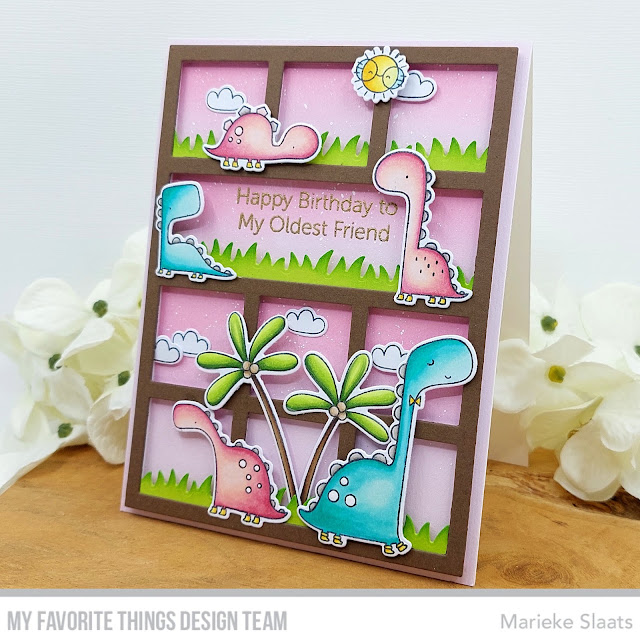
Stamped all the images, colored them up and cut them using the matching Die-Namics. Heat set the sentiment onto the base and adhered all the images onto the card. Stempelde alle afbeeldingen, kleurde ze in met mijn Copic markers en stanste ze uit met de bijpassende Die-Namics. Heat emboste de tekst en plakte alles op de kaart.

Used Copic Colors:
Green - YG67, YG63, YG03, YG01
Teal - BG15, BG13, BG11, BG10
Pink - R85, R83, R81, R00, R000
Brown - E49, E47, E44 / E43, E42, E41
Yellow - Y15, Y13
Dinosaur Spine - W5, W3, W1

If you need to be even more inspired after this post make sure to have a look over at My Favorite Things Youtube ChannelWanneer je na deze post nog wat meer ideeën nodig heb neem dan even een kijkje op het Youtube kanaal van My Favorite Things.

Have a wonderful day!
Greets, Marieke

Guestdesigner - AAA Challenge

Hello all!

Today I have the special honor to be a guest designer over at AAA Card Challenge. I won a challenge a few weeks ago and the price was to a guestdesigner for a challenge. Vandaag heb ik de eer om een gastdesigner te zijn bij het AAA Card Challenge Blog. Een aantal weken geleden won ik er een challenge en de prijs is om er een gastdesigner te zijn voor een challenge. 
This time around they challenge you to use a sketch, and te optional twist is to make it a Silhouette card.
Deze keer dagen ze je uit om gebruik te maken van een schets, naast de schets heb je ook de extra optie om Silhouetten te gebruiken.
So for my card, I cut a Smooth White topfold rectangle. Stamped the ink splash from the Distressed Patterns stamp using Lemon Drop. Splattered some black paint and let it dry.

Voor mijn kaart sneed ik een Smooth White topfold rechthoek. Stempelde de inkt spetter uit de Distressed Patterns stempel met Lemon Drop. Spetterde wat zwarte verf en liet het drogen.
Stamped the image from the Honey Bees set, colored it up and cut it using the matching Die-Namics. Heat set the sentiment, cut it using the Itty Bitty Banner Die-Namics and finished the card of using some clear sequins. Stempelde de bij van de Honey Bees set, kleurde hem in met mijn Copic markers en stanste het uit met de bijpassende Die-Namics. Heat emboste de tekst, stanste het uit met de Itty Bitty Banner Die-Namics en werkte het geheel af met transparante sequins.

Used Copic Colors:
Yellow - Y17, Y15, Y13, Y11
Black - N8, N6, N4, N3
Blue - B02, B00, B000, B0000, 0

If you need to be even more inspired after this post make sure to have a look over at My Favorite Things Youtube ChannelWanneer je na deze post nog wat meer ideeën nodig heb neem dan even een kijkje op het Youtube kanaal van My Favorite Things.

Have a wonderful Day!
Greets, Marieke


zaterdag 5 maart 2022

My Favorite Things March Release Countdown Day 3

 Hello all,

Welcome to day three of the March release countdown by My Favorite Things, we are halfway there! So hop along for more beautiful inspiration by the team. Welkom bij dag drie van de maart release countdown van My Favorite Things, we zijn halverwege! Hop gezellig mee langs alle design team leden voor meer inspiratie.
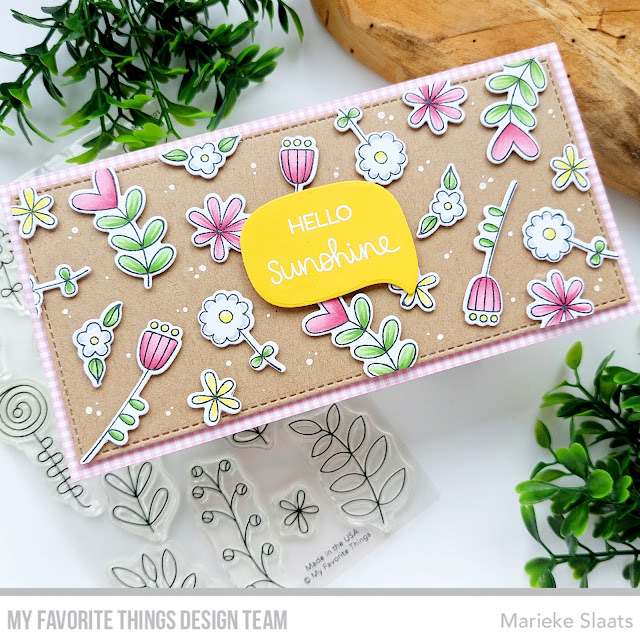
Today we are going spring and floral with the new Floral Whimsy. I love this set especially as you can use it for different kind of cards of subject.
Vandaag gaan we naar de lente met bloemen met de nieuwe Floral Whimsy stempel. Ik vind deze set helemaal leuk mede ook doordat je hem voor verschillende kaarten en thema's kunt gebruiken.
Die cut a rectangle out of Kraft using the Mini Slimline Stitched Rectangle Die-Namics. Stamped all the flowers and colored them up. Die cut them using the matching dies and adhered them on to the card using foam tape.

Stanste een rechthoek uit Kraft cardstock met de Mini Slimline Stitched Rectangle Die-Namics. Stempelde alle bloemen, kleurde ze in en stanste ze uit met de bijpassende Die-Namics. Plakte de bloemen op de rechthoek met foam tape.
Cut a Smooth White topfold card and adhered a piece of Pattern Paper onto it. Heat set the sentiment out of the Sending Sunshine and Smiles stamp and die cut it using the Say Anything Die-Namics. Finished the card of adding some white dots using a white gelpen. Sneed een Smooth White topfold basiskaart en plakte hier designpapier op. Heat emboste de tekst van de Sending Sunshine and Smiles stempel op geel cardstock en stanste het uit met de Say Anything Die-Namics. Werkte de kaart af met witte stippen die ik maakte met een gelpen.

Used Copic Colors:
Green - YG17, YG13, YG11
Pink - R85, R83, R81
Yellow - Y04, Y02, Y00
White - C3, C1, 0

If you need to be even more inspired after this post make sure to have a look over at My Favorite Things Youtube ChannelWanneer je na deze post nog wat meer ideeën nodig heb neem dan even een kijkje op het Youtube kanaal van My Favorite Things.

Have a wonderful day!
Greets, Marieke

vrijdag 4 maart 2022

My Favorite Things March Release Countdown Day 4

 Hello all,

One day closer to the March release by My Favorite Things! Only four more days to go until the new release will be avaible! Dag 4 van de My Favorite Things maart release countdown is hier, dat betekend dat het nu nog maar vier dagen duurt voordat de nieuwe release verkrijgbaar is!
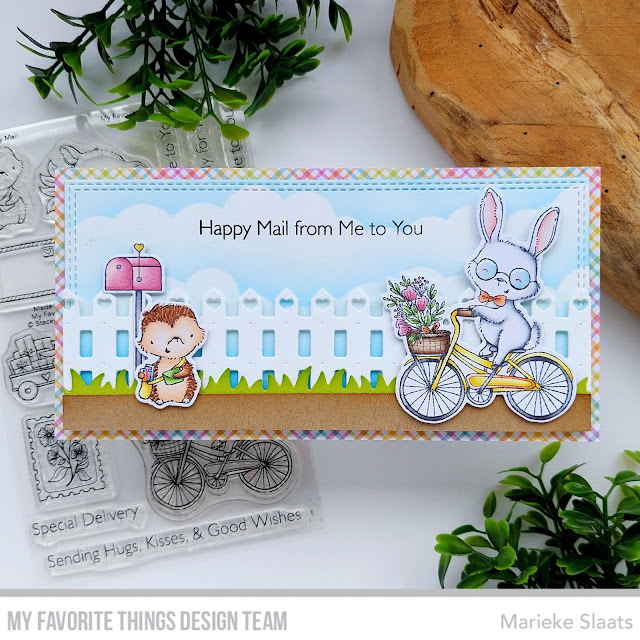
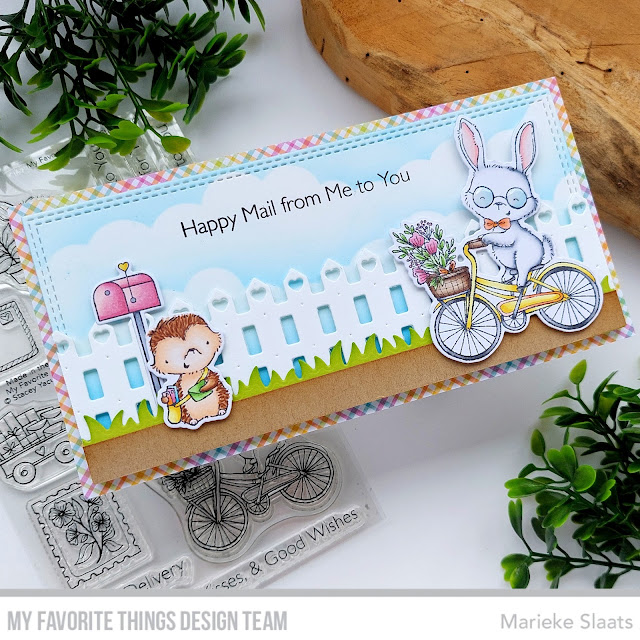
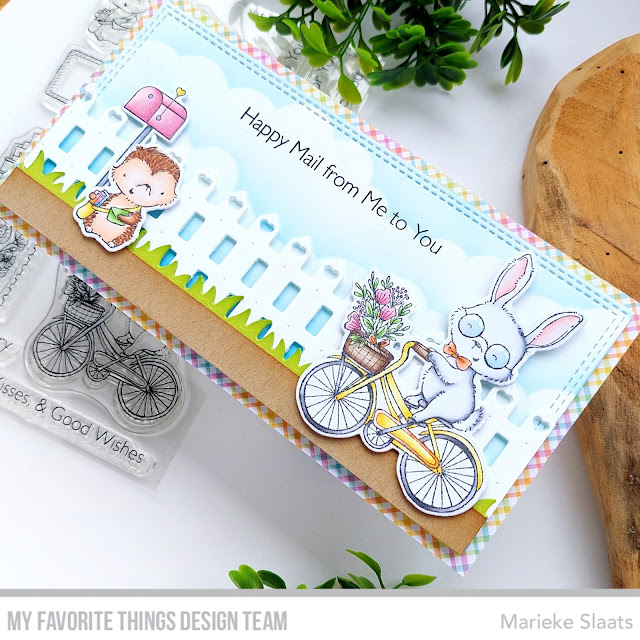
Today My Favorite Things is showcasing the newest set by artist Stacey Yacula called Happy Mail. For my mini slimline card I used this new set and combined it with the cheerful Pretty in Plaid Pattern Paper.
Vandaag laat My Favorite Things de nieuwste set  van Stacey Yacula zien genaamd Happy Mail. Voor mijn mini slimline card gebruikte ik naast de nieuwe set ook de vrolijke Pretty in Plaid design papier.
Die cut a slimline rectangle using the Mini Slimline Double Stitched Rectangle Die-Namics. Inkblended some clouds onto it. Die cut the fence and grass and cut a border of sand. Inkblended the grass and sand and adhered them to the base.

Stanste een slimline rechthoek met de Mini Slimline Double Sitched Rectangle Die-Namics en inktblende wolken op de rechthoek. Stanste het en hek, gras en sneed een strook zand. Inktblende het gras en zand en plakte het op de basis.
Stamped all the images, colored them up and cut them using the matching Die-Namics. Adhered the base onto a topfold Smooth White slimline card. I adhered some pattern paper onto it. Stamped the sentiment and the card was all done. Stempelde alle afbeeldingen, kleurde ze in en stanste ze uit met de bijpassende Die-Namics. Plakte alles op een Smooth Whtie base kaart waar ik een strook designpapier over heb geplakt. Stempelde de tekst in het midden van de kaart en de kaart was klaar.

Used Copic Colors:
Bunny - C5, C3, C1, C00,0; R20, R00, R000
Orange - YR04, YR02, YR00
Pink - R85, R83, R81
Brown - E47, E44, E43, E42
Yellow - Y15, Y13, Y11
Blue - B02, B00, B000, B0000
Green - YG17, YG13, YG11
Black - N6, N4, N2
Hedgehodge - E59, E57, E55, E53, E51, E50

If you need to be even more inspired after this post make sure to have a look over at My Favorite Things Youtube ChannelWanneer je na deze post nog wat meer ideeën nodig heb neem dan even een kijkje op het Youtube kanaal van My Favorite Things.

Have a wonderful day!
Greets, Marieke

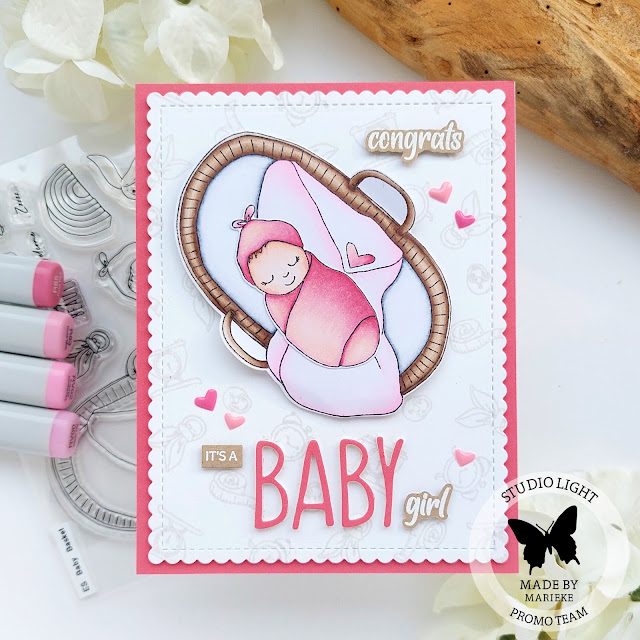
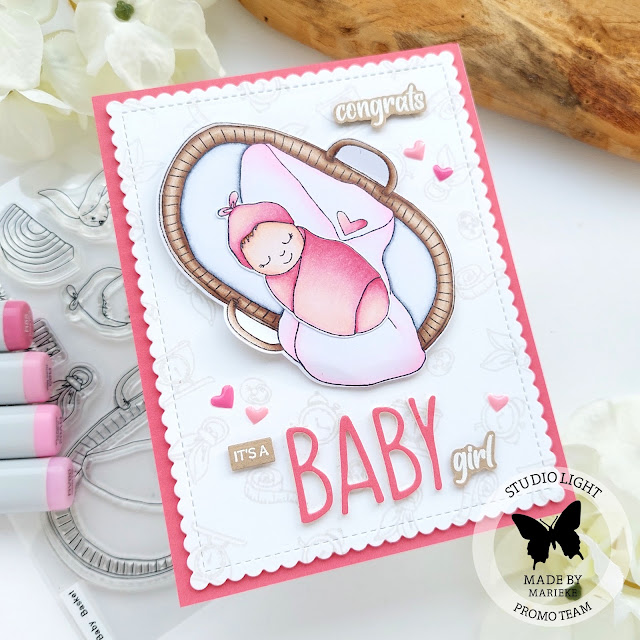
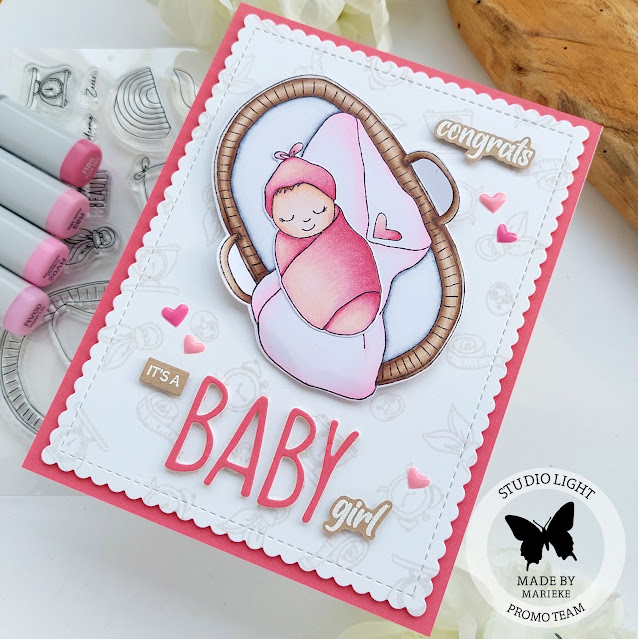
Studio Light - It's a Baby Girl

Hallo Allemaal,

Hier is mijn wekelijkse post voor Studiolight weer. Deze keer maakte ik een baby kaart met de Essentials Baby Basket samen met een aantal teksten van de Studiolight CCL Baby tekst Engels 
I'm back with my weekly post for Studiolight. This time around I made a baby card using the Essentials Baby Basket together with a sentiment out of the Studiolight CCL Baby Tekst Engels.
Maakte eerste de achtergrond, stanste een witte geschupte rechthoek en stempelde met een licht grijze inkt alle losse onderdelen uit de stempel set. Verplaatste deze telkens tot ik een gevulde achtergrond had.

First I made the background, die cut a white scallop rectangle and stamped all the small images out of the set usign a light gray ink color. Moved the stamps around until the whole background was filled.
Stempelde de afbeeldingen, kleurde deze in met mijn Copic markers en stanste ze uit met de bijpassende stansen. Stanste de tekst baby vier keer uit wit cardstock en één keer uit een roze cardstock. Plakte alle letters op elkaar en plakte de achtergrond op een witte topfold rechthoekig kaart die ik beplakte met dezelfde kleur roze cardstock.

Stamped the images, colored them up using my Copic markers and die cut them using the matching dies. Die cut the sentiment baby four times out of white cardstock and één out of a matching color pink cardstock. Glued all the letters together and added the background onto a witte topfold rectangle base card were I added a pink cardstock rectangle on the front off.
Heat emboste de verschillende teksten op kraft cardstock en stanste of knipte ze uit. Plakte alle losse onderdelen op de kaart en werkte de kaart af met verschillende kleuren harten enemal dots. Heat set the different sentiments on some kraft cardstock and die cut or cut them using my sciccors. Added all the elements on to the card and finished of the card adding some heart enemal dots.

Gebruikte Copic Kleuren:
Zacht Roze - RV02, RV00, RV000, RV0000, 0
Roze - R85, R83, R81, R00
Huid - E-000, E00, E04, E11, E21
Haar - E33, E37
Mandje - E47, E44, E43, E42
Matras - C5, C3, C1, C00, 0

Heb een heerlijke dag!
Groet, Marieke

Stempels: Essentials Baby Basket, CCL Baby Tekst Engels
Stansen: Essential Baby Basket
Inkt: Grout Gray (MFT), Memento Tuxedo Black, Tsukineko Versamark
Papier: SL Essentials Brights nr4, Smooth White, Kraft
Extra: Wit embossing poeder, hart enemal dots.

donderdag 3 maart 2022

My Favorite Things March Release Countdown Day 5

Hello all,

It’s time for the My FavoriteThings March release countdown! During the countdown, the MFT Design Team is sharing lots of projects featuring all of the new products. The new release will officially be available on March 8th at 10:00 am EST (= Europe: March 8th at 4:00 pm CET). Het is tijd voor de My Favorite Things maart release countdown! Nog 5 dagen en dan is de nieuwe release verkrijgbaar. Tijdens de countdown, laat het MFT Design Team verschillende projecten zien met alle nieuwe producten. De release zal verkrijgbaar zijn op 8 maart om 10:00 am EST (in Nederland op 8 maart om 16:00).
So for the first day I decided on making a shaker card using the Bubbly Birthday together with the Stitched Rectangle Scallop Edge Frame Die-Namics.
Voor de eerste countdown dag besloot ik een shaker kaart te maken met de Bubbly Birthday samen met de Stitched Rectangle Scallop Edge Frame Die-Namics.
So I made the background first. Inkblending some Blueprint Sketch, Peacock Feathers and Cracked Pistashio. Splattered some water and trimmed it down so it would fit behind the frame.

Ik maakte de achtergrond eerst inktblende Blueprint Sketch, Peacock Feathers en Cracked Pistashio. Spetterde water en Blueprint Sketch en sneed het kleiner zodat het achter het frame paste.
Cut a border of sand out of Chantilly Cream and inkblended some Vintage Photo, splattered the same color and adhered it to the bottom. Heat set the sentiment on some acetate. Die cut a Grape Gelly Frame and add the acetate behind it.

Stanste een border zand uit Chantilly Cream en inktblende het met Vintage Photo spetterde deze kleur ook en plakte het op de achtergrond. Heat emboste de tekst op acetate en stanste een Grape Jelly frame. Achter het frame plakte ik het acetate.
Stamped all the images, colored them up using my Copic markers and cut them using the matching Die-Namics. Filled up the shaker and closed it. Adhered it onto a Smooth White basecard. Stempelde alle afbeeldingen, kleurde ze in met mijn Copic markers en stanste ze uit met de bijpassende Die-Namics. Vulde de shaker en plakte hem dicht. De gehele kaart ging op een Smooth White basiskaart.

Used Copic Colors:
Skin - E000, E00, E04, E11, E21
Purple - BV08, BV04, BV04, BV02, BV00, BV000
Teal - BG13, BG34, BG32
Cake - E43, E42, E41, E40
White - C5, C3, C1, C00, 0
Brown Hair - E37, E35, E33
Blue Hair - C9, B39, B16

If you need to be even more inspired after this post make sure to have a look over at My Favorite Things Youtube ChannelWanneer je na deze post nog wat meer ideeën nodig heb neem dan even een kijkje op het Youtube kanaal van My Favorite Things.

Have a wonderful day!
Greets, Marieke

dinsdag 1 maart 2022

Scrap & Co Challenge - Verwerk een hobby op je kaart

 Hallo allemaal,

Het is weer de eerste van de maand dat betekend dat er bij Scrap & Co weer een nieuwe maandelijkse uitdaging is gestart. Deze maand dagen we je uit om een prjoect te maken met daarop een hobby verwerkt. Volgens mij een hele veelzijdig thema dus doen jullie gezellig mee? Today it's the first day of the month and that means a new monthly challenge started over at Scrap & Co. This month we challenge you to make a project wich showcases a hobby. Are you playing with us?
Meedoen met de challenge is simpel; 
  • Maak een nieuwe kaart, lay-out, plannerpagina, scrapalbum of mixed mediaproject met de opdracht van die maand. (max. 2 inzendingen per persoon)
  • Gebruik voor je nieuwe creatie producten/ merken die we verkopen in de (web)winkel. Twijfel je neem dan even een kijkje in de webwinkel.
  • Plaats van je project 1 foto (anders zijn we het overzicht kwijt) voor de 28ste van deze maand in de betreffende map in de Scrap & Co Facebookgroep, of op Instagram onder de #ScrapenCoChallenge en tag @Scrap_en_Co
En wie weet start jij het begin van de volgende maand wel met een leuke cadeaubon van 15 euro voor de (web)winkel, of word je door het designteam uitgekozen tot gastdesigner!

Playing with the challenge is really easy;
  • Make a new card, mixed media project, scrapbook layout, planner page or a scrap album using the theme of this month. (a maximum of 2 entries per person)
  • Use products and or brands that are being sold in the (web)shop. If you are in doubt what the store is selling take a look over at the webshop.
  • Add 1 photo of your project (otherwise we will loose track of things) in the matching folder in the Scrap & Co Facebookgroup. Or over at Instagram and use the #ScrapenCoChallenge and tag @Scrap_en_Co
And who knows you might even win a giftvoucher of 15 euro to the (web)shop, or you might being picked as a guestdesigner for a upcomming challenge.
Voor mijn kaart maakte ik ditmaal een pensioen kaart, ik gebruikte een layout die ik al eens eerder gebruikte op een slimline kaart maar dan toch net even anders. Stanste alle onderdelen van de kaart met verschillende Die-Namics. Inktblende de onderdelen om ze wat meer accent te geven en plakte alles op elkaar. Het geheel ging op een topfold blauwe kaart.

For my card I decided to make a retirement card, I used a layout that I used before only then it was a slimline version, but it is slightly different. I die cut all the parts using different Die-Namics and colors cardstock. Inkblended all of them to give them so detail. Glued everything together, and glued it onto a topfold blue card.
Stempelde de afbeeldingen, kleurde ze in met mijn Copic markers en stanste ze uit. Heat emboste de tekst en stanste ze daarna uit, evenals de pensioen tekst. Plakte alles op de kaart en werkte het geheel af met een witte gelpen. Stamped all the images, colored them up using my Copic markers and die cut them. Heat set the sentiment and die cut them afterwards. Also die cut the word pensioen and the outline. Glued everything onto the card and finished it of adding some white gelpen details.

Used Copic Colors:
Bear - E57, E55, E53, E51, E50, N8, N6, N4, R20
Dark Brown - E79, E77, E74, E71
Blue - B24, B23, B21
Dodger - N8, N6, N4, N2, N0, 0, C5, C3, C1, C0, R20
Green - YG67, YG63, YG03

Heb een heerlijke dag!
Groet, Marieke

Stempels: Pensioen (Carlijn Design), Outdoor Adventures, You Keep Me Afloat (My Favorite Things).
Stansen: Pensioen (Carlijn Design), Outdoor Adventures, You Keep Me Afloat, Stitched Slimline Snowdrifts, Slimline Grassy Hills, Birch Tree Cover Up, Itty Bitty Strips Die-Namics (My Favorite Things).
Papier: Lazy Day, Kraft, Jalepeno Popper, Smooth White, Vintage Timber, Limelight.
Extra: Superfine White embossing powder, White gelpen, Mini Cloud Edges Stencil.