zondag 21 maart 2021

MFT Cats & Plants Card Kit Release Countdown day 2

 Hello all,

Today we are kicking of with a amazing Card kit release countdown by My Favorite Things! If you are a cat person (just like me) this is THE release for you! This release will be avaible Tuesday March 23rd at 10:00 am EST. Vandaag starten we met een super leuke cardkit release countdown van My Favorite Things! Wanneer je een kat persoon bent (net als ik) dan is deze card kit precies wat voor jou! De release zal beschikbaar zijn op dinsdag 23 maart om 15:00
 
The cardkit contains two stamps (one of them is Kit exclusive!), Window Dressing Die-Namics, Houseplants Die-Namics, Wallpaper Pattern Paper, Five sheets of Smooth White cardstock, one sheet of the following colors; Morroccan Spice, Candied Jam, Butterscotch, Sour Apple, Jalapéno Popper, Caribbean Sea, Cement Gray, Eiffel Tower. De cardkit bevat twee stempels (één van de twee is kit exclusief!),Window Dressing Die-Namics, Houseplants Die-Namics, Wallpaper Pattern Paper, vijf vellen Smooth White cardstock, één van de volgende kleuren cardstock; Morroccan Spice, Candied Jam, Butterscotch, Sour Apple, Jalapéno Popper, Caribbean Sea, Cement Gray, Eiffel Tower.
Offourse the supplies are sold separately, just like the Housecats Die-Namics that complements the Housecats stamp.  And if you spend atleast $60 the matching Cats & Plants Perches Die-Namics is free. De producten zijn uiteraard ook los verkrijgbaar, evenals de Housecats Die-Namics die past bij de Housecats stempel. Wanneer je voor $60 dollar koopt krijg je de bijpassende Cats & Plants Perches Die-Namics er gratis bij!
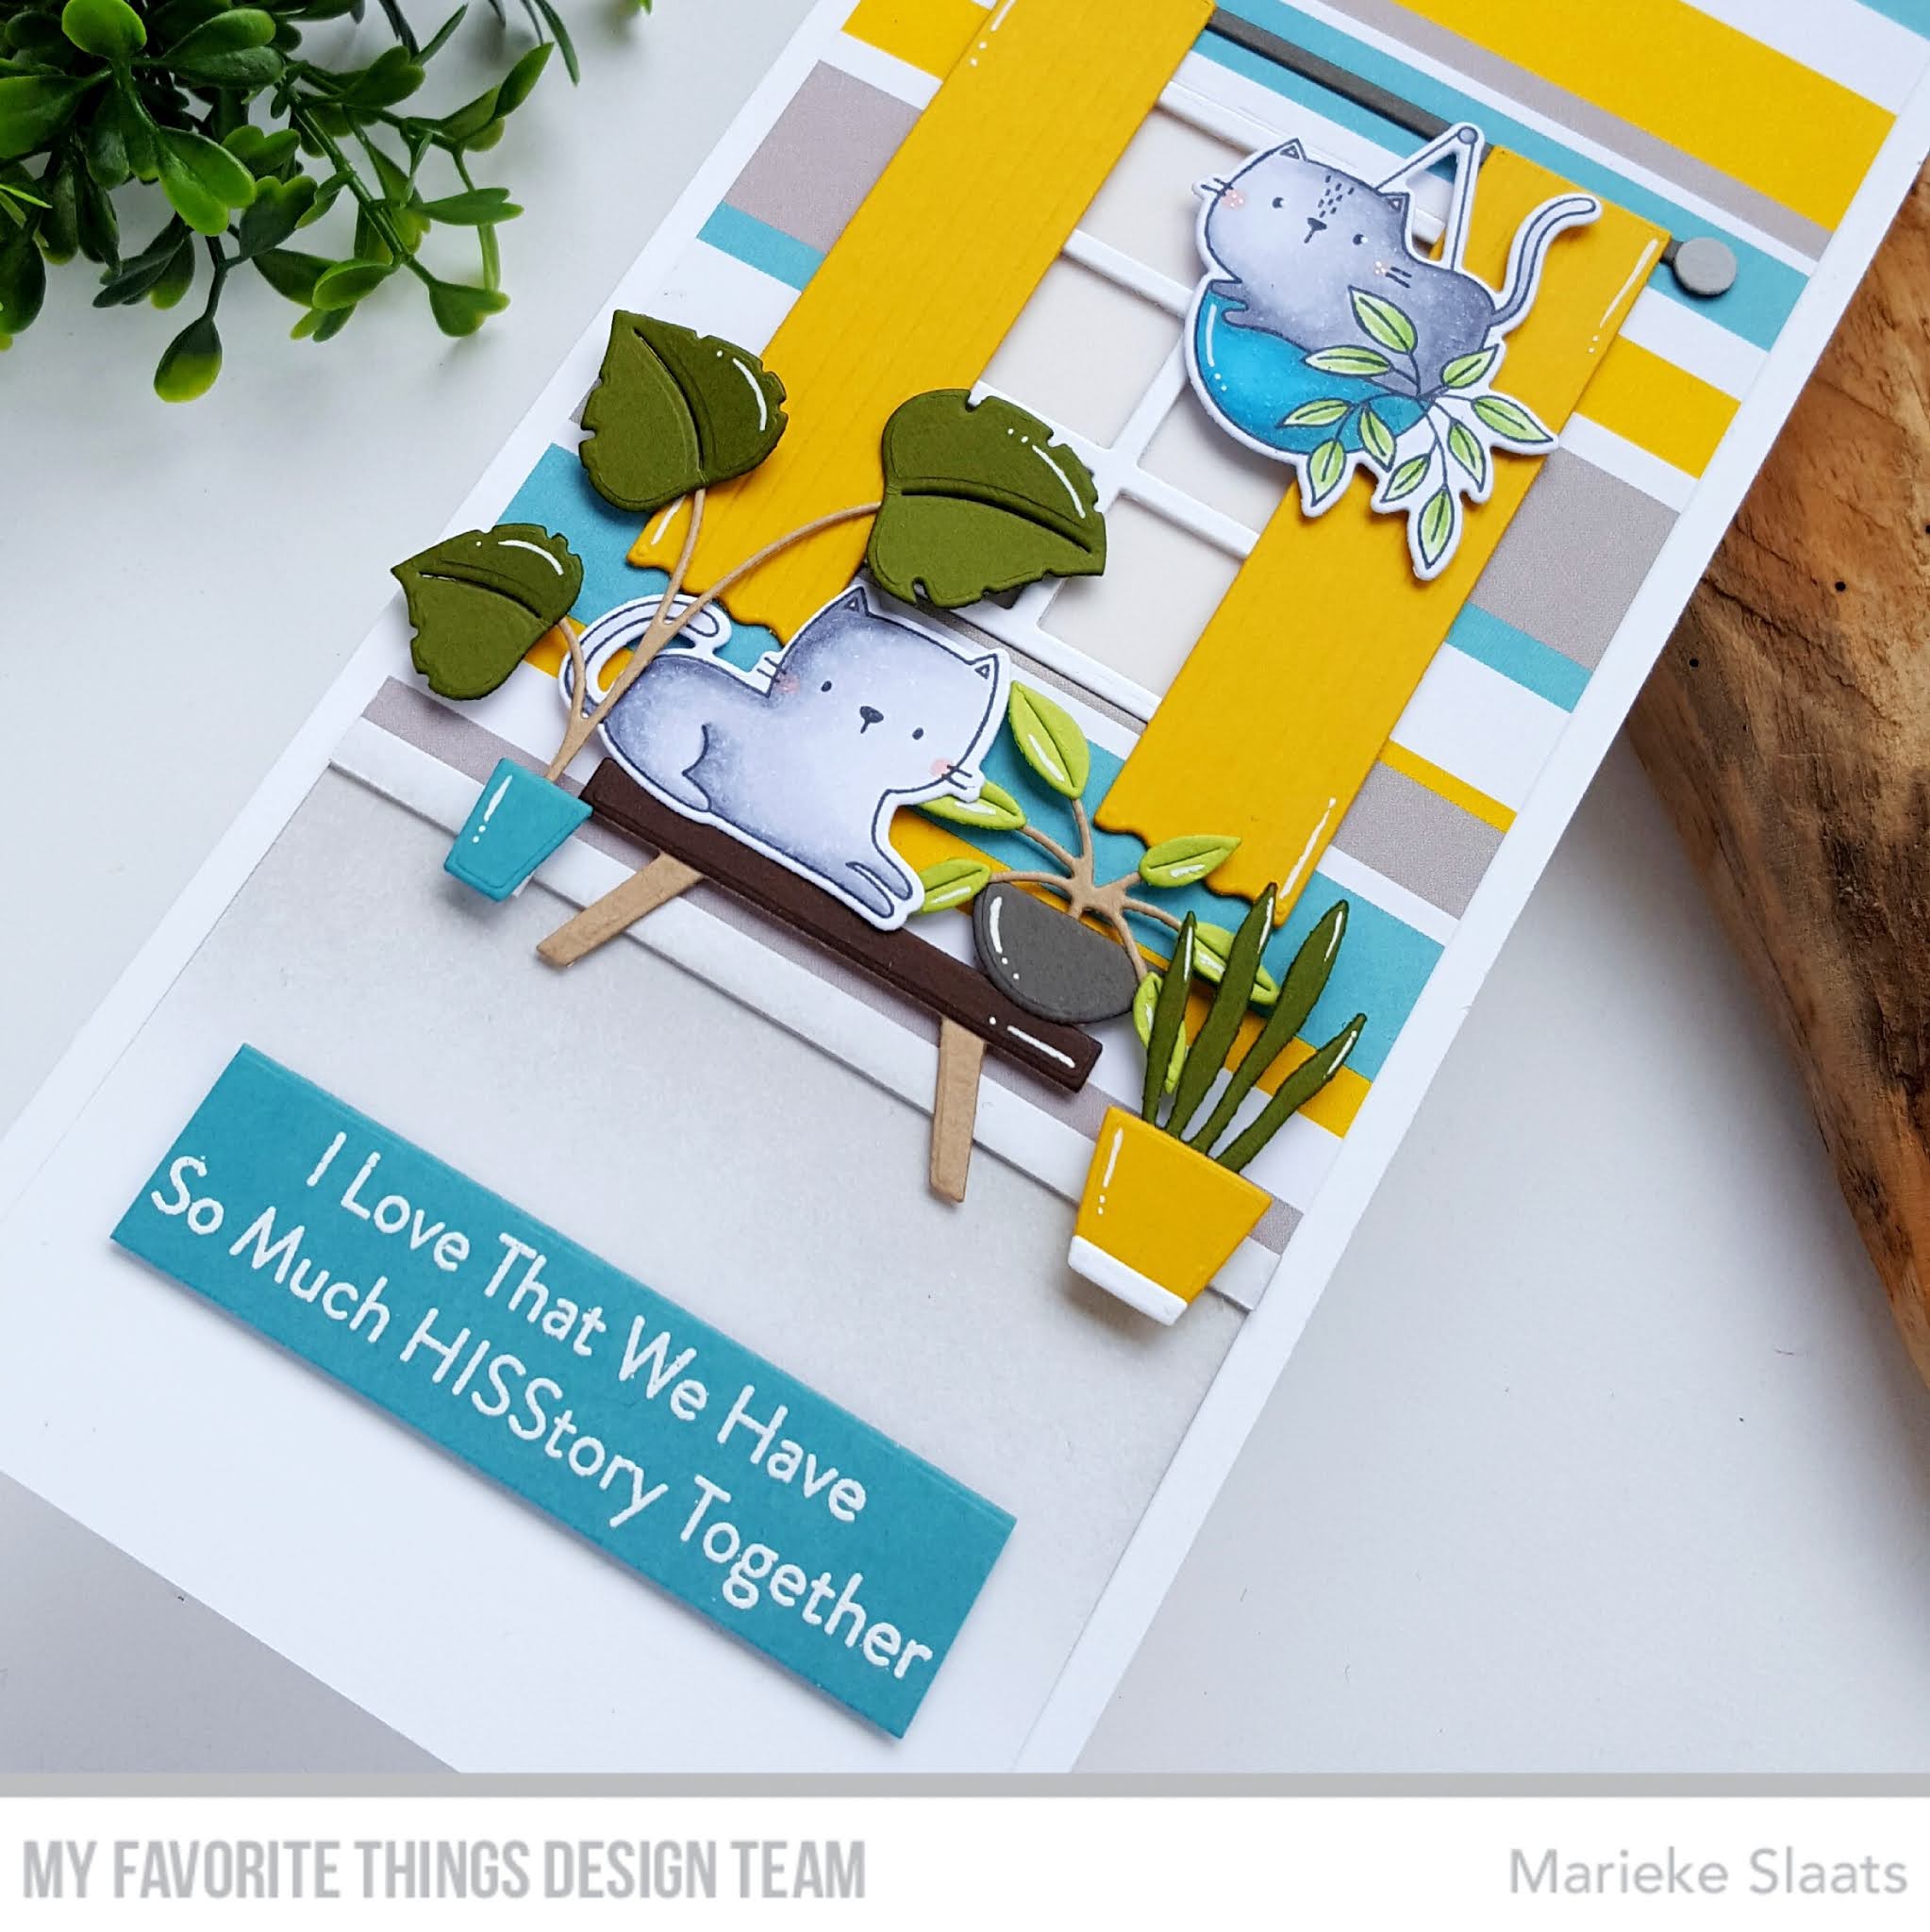
So for my card i cut a Smooth White panel, masked of the bottom and inked up some Cement Gray. Cut a strip of pattern paper and added that to the top. A small strip of Smooth White to make a difference between the wall and floor. Cut the window out of the patern paper and cut it out of Smooth White attached it and die cut the other parts out of cardstock and assembled it. Voor mijn kaart sneed ik een Smooth White panel, inkte de onderkant met Cement Grey inkt. Sneed een strook designpapier en plakte dat aan de bovenzijde. Sneed een klein stripje Smooth White om het onderscheid te maken tussen de vloer en de grond. Stanste het raam uit het paneel, de buitenkant uit Smooth White en plakte dit op de basis. Stanste alle andere onderdelen uit cardstock en maakte het een geheel.

Die cut the plants and pots out of cardstock and assembled them together the same goes for the perch the cat is sitting on. Added the whole panel to a slightly bigger Smooth White sidefold basecard. Stanste de planten en potten uit verschillende kleuren cardstock en maakte ze tot een geheel, dit zelfde deed ik voor het tafeltje waar de kat op ligt. Plakte alles op een Smooth White basiskaart.
Stamped the images, colored them up and cut them using the matching Die-Namics. Added some details on the card using a white gelpen. Heat embost the sentiment on some Carribean Sea cardstock and cut it into a smaller strip. Stempelde de afbeeldingen, kleurde ze in met mijn Copic en stanste ze uit met de bijpassende Die-Namics. Bracht was details aan met mijn witte gelpen. Heat emboste de tekst op Carribean Sea cardstock en stanste het tot een kleinere rechthoek.

Used Copic Colors:
Cats - C5, C3, C1, C0, C00, R20
Pot - BG07, BG05, BG03
Plant - YG17, YG13, YG11

Have a lovely day!
Greets, Marieke
zaterdag 20 maart 2021

Proost.

Hallo allemaal,

Mijn collega vroeg of ik de aankomende maand drie kaarten kon maken voor een 12,5 jarig werkjubileum. Nou probeer ik daar altijd wel tijd voor de maken en zo maakte ik als eerste deze. My Colleague asked me if i was aible to make three cards for our colleague's that would celebrate 12,5 year on the job (we celebrate that in the Netherlands). If i have the time i always try and make it happen, so here's the first one.
Sneed een Smooth White rechthoek en bewerkte dit met Tumbled Glass, Salty Ocean, Tea Dye en Vintage Photo Distress inkt. Spetterde water en Vintage Photo/ Salty Ocean spetters en plakte het op een Lemon Drop base card. Stempelde de teksten uit verschillende sets in het midden.

Cut a Smooth White rectangle and added some Tumbled Glass, Salty Ocean, Tea Dye en Vintage Photo Distress ink. Splattered some water and Vintage Photo /Salty Ocean splatters and glued it onto a sidefold Lemon Drop cardbase. Stamped the sentiments out of different sets.
Stempelde verschillende afbeeldingen op Copic vriendelijk papier, kleurde ze in met mijn Copic markers en stanste ze uit met bijpassende stansen. Bewerkte de afbeeldingen met een witte gelpen.

Stamped the images on to Copic friendly paper, colored them up using my Copic markers and cut them using the matching Die-Namics. Added some details to the images using a white gelpen. 
Plakte alles op de kaart met verschillende hoogtes foam tape en klaar was ik. Added evrything to the base card using different heights of foamtape.

Used Copic Colors:
Blue - B06, B04, B02, B00, B000
Pink - RV17, RV14, RV13, RV11, RV10
Yellow - Y17, Y15, Y13, Y11
Orange - YR09, YR07, YR04
Green - YG67, YG63, YG03

Heb een heerlijke dag!
Groet, Marieke

Stempels: Let's Flamingle (retired), Sunshine & Friendship (My Favorite Things) Huwelijk, Proost (Carlijn Design), Handletter Huwelijk (Craft Emotions).
Stansen: Let's Flamingle (retired), Sunshine & Friendship (My Favorite Things)
Inkten: Versafine Onix Black, Memento Tuxedo Black, Tumbled Glass / Salty Ocean / Tea Due Distress Oxide, Vintage Photo Distress inkt.
Papier: Smooth White, Lemon Drop
Extra: Witte Gelpen.

donderdag 18 maart 2021

My Favorite Things Slimline Challenge

 Hello all,


Today I'm back again with the new Slimline Challenge by My Favorite Things. Each month we challenge you to create a project in a slimline seize. This month we challenge you to create a project in were not only the front but also the inside stands in the picture. Vandaag start een nieuwe Slimline Challenge van My Favorite Things. Iedere maand dagen we je uit om een project te maken in een slimline maat. Deze maand dagen we je uit om een kaart te maken waarbij niet alleen de voorkant in de spotlight staat maar ook de binnenkant. 
I really had to think about this one because it's a slimline seize making something that would should show through is not easy in a slimline model.
Voor deze opdracht moest ik echt even nadenken, om op een slimline kaart iets te maken waar je ook nog eens doorheen kunt kijken kan niet zomaar voor dit soort kaarten.
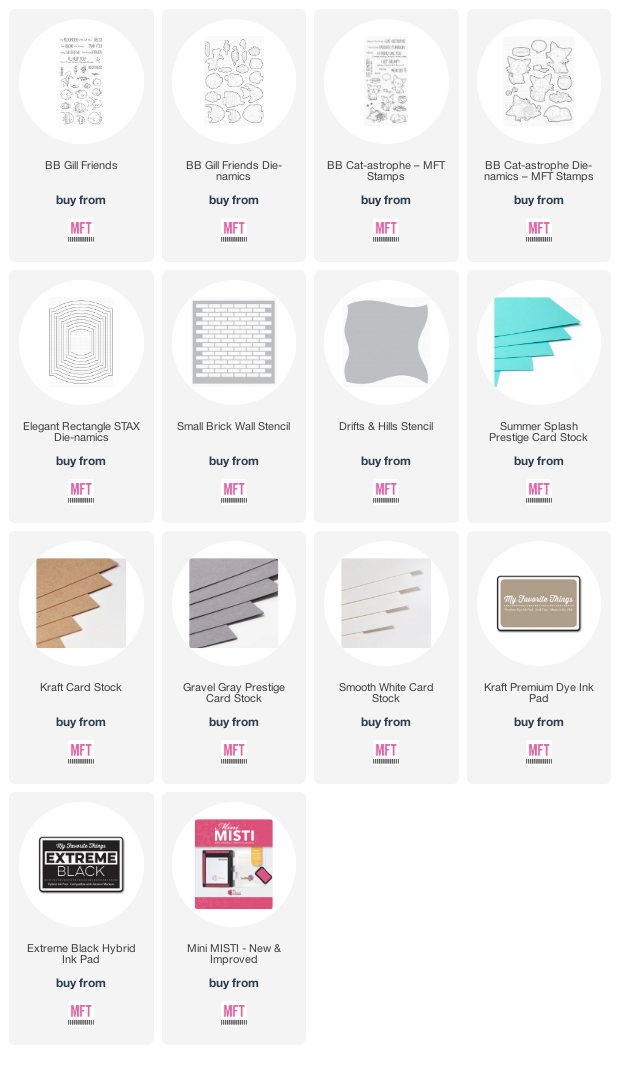
So i first started with front of the card, cut a Smooth White rectangle and measured until i had the three shapes evenly spread along the rectangle and cut it out. Cut three seperate shapes out of Gravel Grey and cut of the top and bottom of them. Placed some acetate behind the white rectangle and place the Gravel Grey on top of bottom of it so it would look like aqariums. Sneed een Smooth White rechthoek en meette uit hoe ver de vormen uit elkaar hoorde, stanste ze uit. Uit Gravel Grey stanste ik nogmaals de vorm uit en sneed de boven en onderkant er af. Plakte acetate achter de rechthoek en plakte de strookjes Gravel Gret aan de voorzijde zodat het drie aqariums lijken.

Cut a sidefold Summer Splash cardbase, cut a large rectangle out of the front of the card, cut the same rectangle as i made on the front and added that on the inside of the base. Using Kraft ink and a stencil i added some Bricks. Cut some Kraft cardstock, inked them up using Walnut Stain and glued them on the card so they would look like shelfs. Cut another Summer Splash rectangle and cut the three shapes on the same heights. Glued the panel on the inside of the basecard. 
Sneed een sidefold Summer Splash basiskaart, sneed er uit het midden een grote rechthoek aan de voorzijde en plakte daar de witte recthhoek op. Met Kraft inkt maakte ik wat stenen aan de voorzijde. Sneed wat strookjes kraft papier bewerkte dit met Walnut Stain en maakte er planken van. Sneed een Summer Splash rechthoek en stanste hier uit dezelfde vormen op dezelfde hoogtes als aan de voorzijde. plakte dit aan de binnenkant van de kaart.

Cut a piece of watercolor paper, added the sand using a stencil and Tea Dye, Vintage Photo Distress ink. The water i made with Mermaid Lagoon, Peacock Feathers and Cracked Pistashio. Sneed een aquarel rechthoek, aan de onderzijde maakte ik zand met Tea Dye en Vintage Photo. Het water maakte ik met Mermaid Lagoon, Peacock Feathers en Cracked Pistashio.
Stamped all the images, colored them up using my Copic markers and cut them using the matching Die-Namics. Stamped some of the seaweeds, stamped the sentiments on the some Smooth White and the inside of the card. Placed all the images on the front and inside of the card. Stempelde alle afbeeldingen, kleurde ze in met mijn Copic markers en stanste ze uit met de bijpassende Die-Namics. Stempelde wat zeewier, stempelde de teksten op Smooth White en aan de binnenzijde van de kaart. Plakte alle afbeeldingen aan de binnenzijde en voorzijde van de kaart.


Used Copic Colors:
Cats - W5, W3, W1, W00, 0 
N9, N7, N5, N4, N3
 C5, C3, C1, C00, 0, R22, R21, R11

Fish - V09, V06, V05, V04 
RV17, RV14, RV13, RV11 
BG15, BG13, BG11
 Y17, Y15, Y13, Y11, B04, B02, B00, B000
 YR04, YR02, YR00 
B28, B26, B24, B23

Weed - YG67, YG63, YG03
V17, V12

Have a lovely Day!
Greets, Marieke

woensdag 17 maart 2021

My Favorite Things - Wednesday Sketch Challenge #533

Hello all!

Today i'm back again with a new Sketch Challenge by My Favorite Things. This week i decided to use the super sweet Sky-High Adventures Vandaag ben ik er weer met een nieuwe schets challenge van My Favorite Things. Deze week maakte ik een kaart met de super leuke Sky-High Adventures. 
This week i stayed true to the sketch as i figured the clouds would be a perfect match with the shapes on the bottom of the card.

Deze week bleef ik trouw aan de schets omdat ik bedacht had dat de wolken netjes de vorm van de onderkant van de schets volgde.
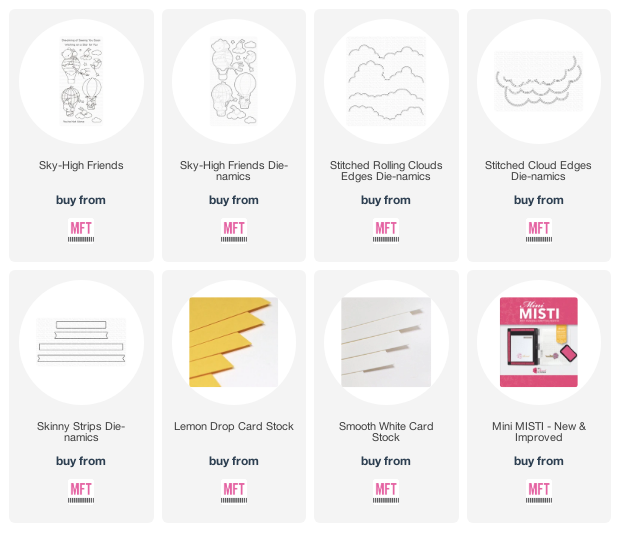
Cut a topfold After Midnight cardbase and added the clouds wich i created using the two different cloud Die-Namics and Smooth White cardstock. Sneed een topfold After Midnight basiskaart en voegde de wolken toe die ik stanste uit Smooth White met beide wolken stansen van My Favorite Things.

Heat embost the sentiment on some Lemon Drop cardstock and cut it using the Skinny Sentiment Strips. Heat emboste de tekst op Lemon Drop cardstock en stanste het uit met de Skinny Sentiment Strips.
Stamped the images, colored them up using my Copic markers and cut the using the matching Die-Namics. Added some details using a white gelpen en added them to the base of the card. Stempelde de afbeeldingen, kleurde ze in met mijn Copic markers en stanste ze uit met de bijpassende Die-Namics. Voegde nog wat details toe met een witte gelpen en plakte alles op de basis van de kaart.


Used Copic Colors:
Red - R59, R39, R29, R27, R24
Yellow - Y17, Y15, Y13, Y11
Blue - B97, B95, B93
Bunny - E55, E53, E51, E50
Bear - E37, E35, E33, E31
White - C3, C1, C00, 0
Basket - E47, E44, E43, E42, E41

Have a lovely day!
Greets, Marieke

dinsdag 16 maart 2021

MFT & Friends - March Product Launch

 Hello all,

It’s time for the My Favorite Things March product launch! All new products are available right now! The MFT design team, as well as special guests, are sharing projects created with the new stuff. You can find a lot of inspiration! Het is tijd voor de My Favorite Things maart product lancering. Alle nieuwe producten zijn vanaf nu verkrijgbaar! Het MFT design team en gasten delen ook vandaag weer een lading aan inspiratie!
Every release so far i showed you guys an interactive card, except for the shadowbox you did not see anything interactive so here it is, my shakercard using the adorable new Spring Gnomes.
Iedere release tot nu toe heb ik jullie een interactive kaart laten zien, op de shadowbox van afgelopen week had ik er nog geen gemaakt dus hier is hij dan! Ik maakte een shakerkaart met de super leuke Spring Gnomes.
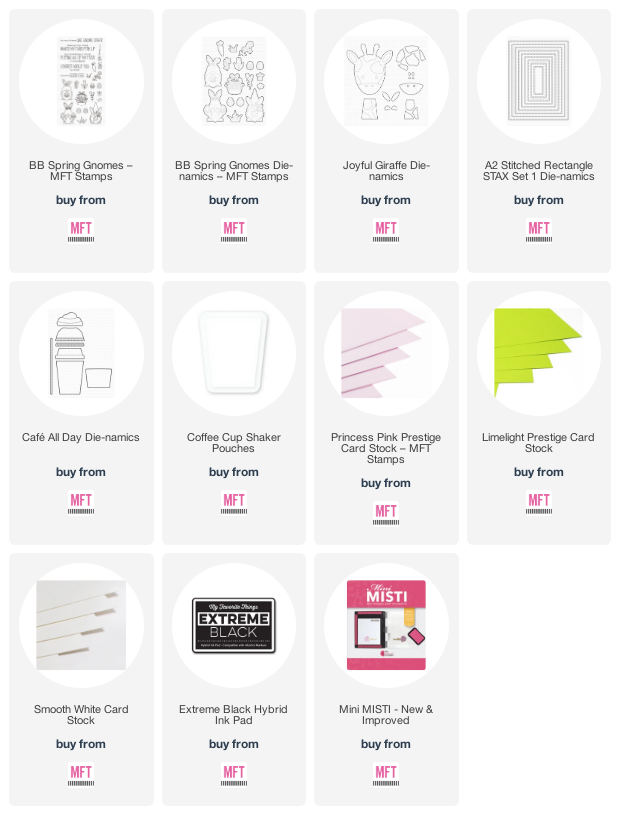
First i ink blended the background using Worn Lipstick, Dried Marigold and Scattered Straw. Splattered some water, white paint and Picked Raspberry on to it and cut it using the Stitched Rectangle Die-Namics. Heat embost  the sentiment on the top. Eerst inkt blende ik de achtergrond met Worn Lipstick, Dried Marigold en Scattered Straw Distress inkten. Spetterde water, witte verf en Picked Raspberry op het geheel en stanste het uit met de Stitched Rectabgle Die-Namics. Heat emboste de tekst aan de bovenzijde van de achtergrond.

Cut the shaker part out of the panel and glued a shaker pouch on the inside. Cut the top of the coffee cup 4 times and the ears out of Smooth White. The inside of the ears i cut using the new Princess Pink and assembled the ears / coffecup. Stanste het shaker gedeelte uit de kaart en plakte de pouch aan de binnenzijde. Stanste de bovenzijde van de cup 4 keer en de oren uit Smooth White. De binnenkant van de oren stanste ik uit de nieuwe Princess Pink. en maakte de koffiecup / oren af.
Stamped all the images, colored them up using my Copic markers and cut them using the matching Die-Namics. Cut a border of grass out of Limelight and inked it up using Mowed Lawn. Filled the shaker and adhered it to a Smooth White topfold cardbase. Stempelde alle afbeeldingen, kleurde ze in met mijn Copic markers en stanste ze uit met de bijpassende Die-Namics. Stanste een border gras uit Limelight en bewerkte dit met Mowed Lawn. Vulde de shaker met shaker materiaal en plakte het geheel op een Smooth White topfold basiskaart.


Used Copic Colors:
Skin - E000, E00, E04, E11, E21
Boots - E44, E43, E42, E41
Purple - BV04, BV02, BV00, BV000
Blue - B04, B02, B00, B000
Yellow - Y38, Y35, Y32
Green - YG67, YG63, YG03
Pink - R85, R83, R81
White / Grey - C5, C3, C1, C00

Have a lovely day!
Greets, Marieke

maandag 15 maart 2021

My Favorite Things March Release Countdown Day 1

  Hello all,

Today is the last day of the March release countdown of My Favorite Things and you know what that means right? Tommorow all the new products will be avaible! Did you decided on what you are going to get? Luckly you have one more night to think about it! Vandaag is de laatste dag van de maart release countdown van My Favorite Things en je weet wat dat betekend! Morgen zullen alle nieuwe producten beschikbaar zijn. Heb je al besloten wat je zou willen hebben? Gelukkig kun je er nog een dag over nadenken!
So today we got these super cute ducks that are taking a bath with there frog friends! Is this set not adorable? I combined it with a older die to create a fun soapie scene.
Vandaag hebben deze super lieve eendjes set die in bad gaan met hun kikker vriendjes. Voor mijn kaart van vandaag combineerde ik de set met een oudere stans voor een bubbelige scene.
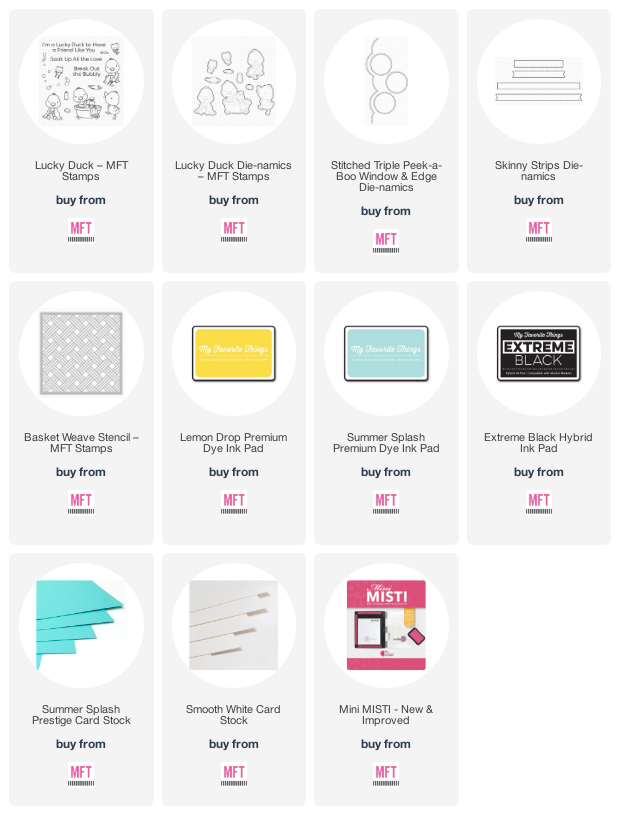
First i cut a Smooth White sidefold base card, cut a rectangle in de same seize and cut it using the Peek a Book Die-Namics. Masked of 1 cm of the bottom and inked up the top using the new Basket Weave stencil and Lemon Drop ink. Inked up the bottom using Summer Splash. Sneed eerst een Smooth White sidefold basis kaart, sneed een rechthoek net zo groot als de kaart enkel en stanste het Peek a Boo Die-Namics uit de bovenzijde. Maskeerde 1 cm vanaf de onderkant en bewerkte de bovenzijde met het Basket Weave stencil en Lemon Drop inkt. Inkte de onderkant met Summer Splash.

Cut the three circles again this time out of Copic papier and colored in the soap bubbles using my Copic markers. Added some details using a white gelpen. Heat embost the sentiment and cut it to a smaller strip. Stanste nogmaals de drie cirkels ditmaal uit Copic papier en kleurde ze in als zeep bubbles. Voegde wat details toe met een witte gelpen. Heat emboste de tekst en maakte er een smallere strip van.
Stamped all the images, colored them up using my Copic markers and cut them using the matching Die-Namics. Stamped all the bubbles and water using Extreme black and assembled the card. Stempelde alle afbeeldingen, kleurde ze in met mijn Copic markers en stanste ze uit met de bijpassende Die-Namics. Stempelde de bubbels en water met Extreme Black en maakte de kaart af.

Used Copic Colors:
White - C5, C3, C1, C00, 0
Orange - YR07, YR04, YR02
Teal - BG13, BG11, BG10
Pink - RV02, RV00, RV000
Purple - BV02, BV00, BV000
Yellow - YR02, YR00, YR000
Green - YG17, YG13, YG03
Towels - E41, E40, 0

Have a lovely day!
Greets, Marieke

zondag 14 maart 2021

My Favorite Things March Release Countdown Day 2

 Hello all!

The release day of the March release by My Favorite Things is getting closer! It's still packed full of new stuff so make sure you don't miss anything. Hop over to the blog of My Favorite Things and hop along all the blogs of the Designteam members to see the full reveal! De dag dat de My Favorite Things maart release verkrijgbaar is komt dichter bij! We hebben nog steeds super leuke nieuwe dingen om aan jullie te laten zien, dus ga naar de hoofdpagina van My Favorite Things en hop langs alle blogs van de Design team leden voor nog mee inspiratie!
Today it's all about flying by, if you love airplanes or wanne have a set that is versatile then the High-Flying Adventure is just your thing! Combined with this month free for $60 Banner Flags and the Banner Day sentiments you are good to go.
Vandaag is het thema vliegen als je weg bent van vliegtuigen dat is de veelzijdige High-Flying Adventure helemaal jou ding. Gecombineerd met de free for $60 Banner Flags Die-Namcics en de handige Banner Day Sentiments ben je klaar om te vertrekken.
For my card i decided to make a Shadow Box card. So i cut the parts out of Kraft cardstock, cut the front out. On some watercolor paper i added some Bleuprint Sketch and Salty Ocean Distress ink and splattered some water. Cut it using the backpanel die. Voor mijn kaart besloot ik een shadow box kaart te maken. Stanste de onderdelen uit kraft cardstock, en stanste er een voorkant uit. Op aquarelpapier mengde ik Blueprint Sketch met Salty Ocean Distress inkt en spetterde wat water. Stanste het geheel uit met de bijpassende achtergrond stans.

Cut the clouds out of Smooth White and adhered the box together with the clouds on different height. Heat embost the sentiment and cut it using the banner. Cut the small strip out of Smooth White and made it into a whole. Stanste de wolken uit Smooth white en plakte de box in elkaar met de wolken op verschillende hoogtes. Heat emboste de tekst en stanste het uit met de Die-Namics. Stanste het kleine strookje uit met Smooth Whtie en maakte het geheel compleet.
Stamped the images, colored them up using my Copic markers and cut them using the matching Die-Namics. Using some acetate strips i added the airplane and clouds to the shadowbox. Finished the box of glueing the banner with the airplane to the front of the card. Stemplde de afbeeldingen, kleurde ze in met mijn Copic markers en stanste ze uit met de bijpassende Die-Namics. Met behulp van wat acetate strips plakte ik het vliegtuig en de wolken in de shadowbox. Werkte het geheel af door de banner en de kont van het vliegtuig aan de voorzijde te plakken.

Used Copic Colors:
Red - R59, R39, R29, R27, R24
Yellow - Y17, Y15, Y13, y11
Black - N9, N7, N4, N3
Grey / white - C7,. C5, C3, C1, C00
Bunny - E57, E55, E53, E51, E50
Blue - B04, B02, B00
Purple - V09, V06, V05
Pink - R85, R83, R81
Orange - YR07, YR04, YR02
Green - YG17, YG13, YG11
Teal - BG15, BG13, BG11

Have a lovely day!
Greets, Marieke