zaterdag 13 maart 2021

My Favorite Things March Release Countdown Day 3

 Hello all,

Welcome to day three of the March release countdown by My Favorite Things, we are halfway there! So hop along for more beautiful inspiration by the team. Welkom bij dag drie van de maart release countdown van My Favorite Things, we zijn halverwege! Hop gezellig mee langs alle design team leden voor meer inspiratie.
Since the introduction of Rachelle Ann Miller designs the third day of the release countdown we showcase the new stamps by here. This month we have a adorable bunny; Wish you Were Hare and a weather themed set called Rainy Day Friends. This one i used for today's card.
Sinds de introductie van de nieuwe artiest Rachelle Ann Miller Designs laten we op de derde dag van de release countdown de nieuwe stempels van haar zien. Deze maand is er een schattig konijntje; Wish you Were Hare en een leuke weer gerelateerde stempel genaamd Rainy Day Friends. Deze gebruikte ik voor mijn kaart van vandaag.
Cut a watercolor panel just slightly bigger then i need to. Ink blended the background using Cracked Pistachio, Evergreen Bough and Lucky Clover Distress ink and splattered some water. Sneed een stuk aquarel papier iets groter dan ik nodig had en ink blende de achtergrond met Cracked Pistachio, Evergreen Bough en Lucky Clover Distress inkt. Spetterde water water en depte af.

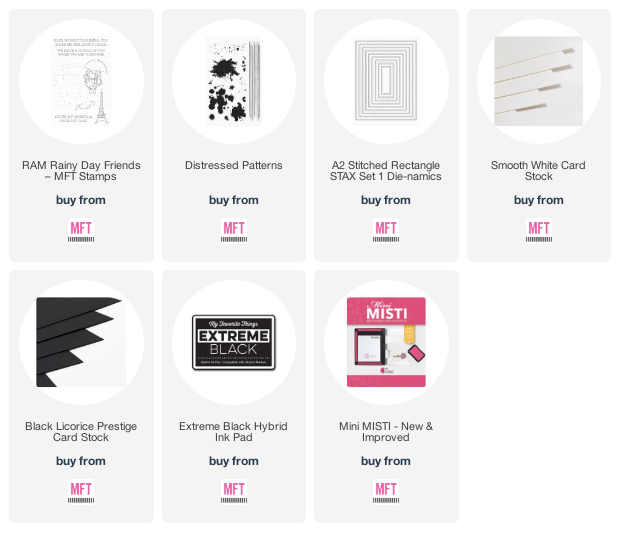
Stamped the image on the base and masked of the umbrella (i have no clue why because i was planning on cutting the image). Stamped the stripes using the large stamp out of the Distressed patterns and stamped it using Pine Needles Distress ink. Cut it using a stitched rectangle die. Stenpede de afbeelding en maskeerde de paraplu (geen idee waarom want ik zou de afbeelding er toch los opplakken) Stempelde de strepen met de grote stempel uit de Distressed Patterns met Pine Needles Distress inkt. Stanste het geheel uit met een stitched rectangle.
Stamped the image on Copic Friendly paper and colored her up. Fussy cut the image and glued here on to the card. Using a white sharpie i added the white stripes and dots that suppose to look like rain drops on the umbrella. Heat embost the sentiment, Glue the panel on to a a2 seize Smooth White topfold card. Stempelde de afbeelding op Copic vriendelijk papier en kleurde haar in. Knipte de afbeelding uit en plakte het op de kaart. Met een witte sharpie maakte ik de strepen en puntjes zodat het lijkt alsof er regen op de paraplu valt. Heat emboste de tekst, plakte het paneel op een a2 Smooth White basiskaart.

Used Copic Colors:
Purple - V09, V06, V05, V04
Yellow - Y17, Y15, Y13, Y11
Hair - E37, E35, E33
Skin - E000, E00, E04, E11, E21
Black - N7, N5, N3
Grey / white - C3, C1, C00, 0

Have a lovely day!
Greets, Marieke
vrijdag 12 maart 2021

My Favorite Things March Release Countdown Day 4

 Hello all,

One day closer to the March release by My Favorite Things! Only four more days to go until the new release will be avaible! Dag 4 van de My Favorite Things maart release countdown is hier, dat betekend dat het nu nog maar vier dagen duurt voordat de nieuwe release verkrijgbaar is!
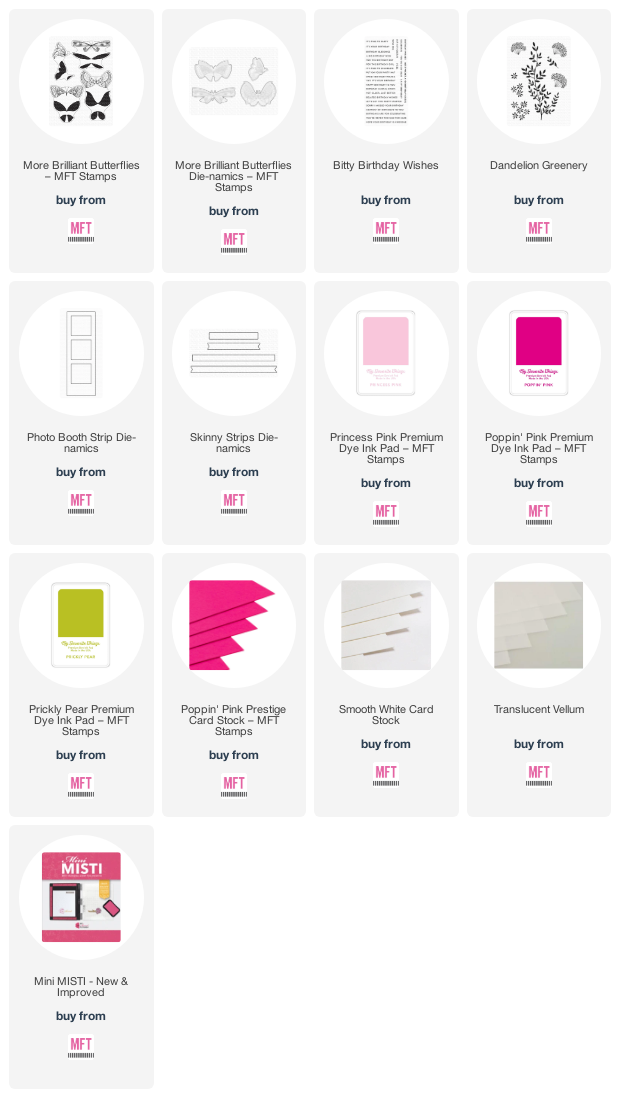
So if you loved the first edition of the Brilliant Butterflies you are going to love the new More Brilliant Butterflies also (atleast i did!). So this release together with all the amazing new dies and stamps My Favorite Things also introduces four new colors; Princess Pink, Poppin' Pink, Prickly Pear and Moroccan Spice.
Wanneer je helemaal weg was van de Brilliant Butterfrlies dan ben je vast ook weg van de nieuwste aanvulling More Brilliant Butterflies (ik was het in ieder geval!). Deze release naast alle mooie nieuwe stempels en stansen introduceert My Favorite Things vier nieuwe kleuren; Princess Pink, Poppin' Pink, Prickly Pear en Moroccan Spice.
Cut a standaard a2 Smooth White topfold base card and stamped the greenery and flowers using Prickly Pear and Princess Pink. Stamped the butterflies in the same colors and added the Poppin' Pink and Limelight. Heat embost the wings and cut them using the matching Die-Namics and added them with my sciccors. Glued them together so the are complete butterflies.

Sneed een a2 formaat Smooth White basiskaart en stempelde de blaadjes en bloemen met Prickly Pear en Princess Pink. Stempelde de vlinders in dezelfde kleured en voegde er nog Poppin' Pink en Limelight aan toe. Heat emboste de vleugels op vellum en stanste alles uit met de bijpassende Die-Namics. Knipte de vlinders bij zodat ze passend waren en plakte ze tot een geheel.
Cut the Photo booth strip Die-Namics out of Smooth White and added this with foamtape to the cardbase. Glued the butterflies on top of them. Heat embost the sentiments on some Poppin' Pink and cut them into three strips. Added them to the cardbase and finished of with some gold sequins. Stanste de Photo booth strip Die-Namics uit Smooth White en plakte het met foamtape op de basiskaart. Plakte de vlinders op de strip. Heat emboste de tekst op Poppin' pink en stanste ze tot drie strips. Plakte de teksten op de kaart en werkte het geheel af met gouden sequins.

Have a lovely day!
Greets, Marieke

donderdag 11 maart 2021

My Favorite Things March Release Countdown Day 5

Hello all,

It’s time for the My FavoriteThings March release countdown! During the countdown, the MFT Design Team is sharing lots of projects featuring all of the new products. The new release will officially be available on March 16th at 10:00 am EST (= Europe: March 16th at 4:00 pm CET). Het is tijd voor de My Favorite Things maart release countdown! Nog 5 dagen en dan is de nieuwe release verkrijgbaar. Tijdens de countdown, laat het MFT Design Team verschillende projecten zien met alle nieuwe producten. De release zal verkrijgbaar zijn op 16 maart om 10:00 am EST (in Nederland op 16 maart om 16:00).
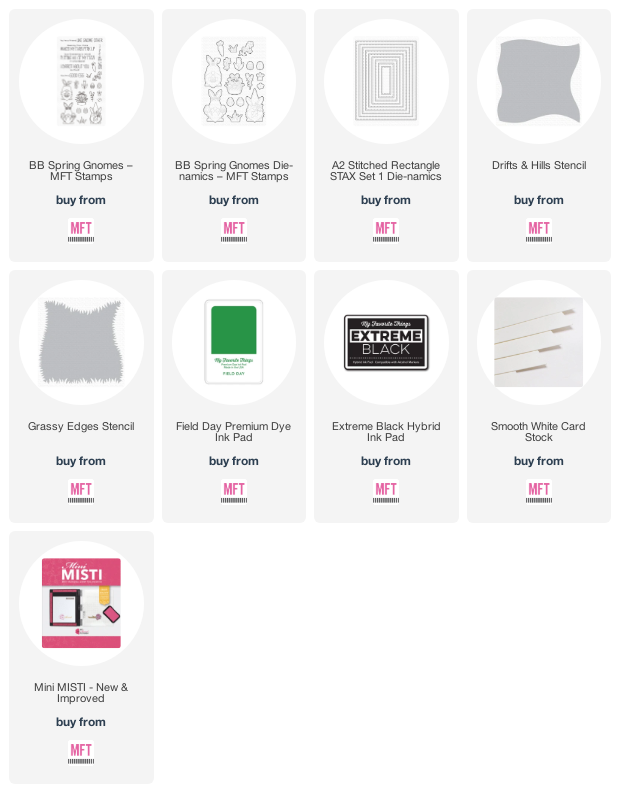
So today we kick of with the adorable set by Birdie Brown (aren't all set by Birdie Brown adorable?) called Spring Gnomes! I totally love these quirky little gnomes.
Vandaag starten we met de nieuwste leuke set van Birdie Brown (zijn de stempels van Birdie Brown niet allemaal leuk?) genaamd Spring Gnomes! En als je niet verliefd bent op deze geinige kabouters dan weet ik het ook niet meer.
First i cut a slightly bigger panel then i needed and added the sand, grass and sky using Gathered Twigs, Tisted Citron, Mowed Lawn, Tumbled Glass and Salty Ocean Distress ink together with a few stencil. Splattered some Field Day and Ground Espresso for some details.

Sneed een rechthoek van aquarel papier iets groter dan ik nodig had en maakte er zand, gras en de lucht op door gebruik te maken van Gathered Twigs, Tisted Citron, Mowed Lawn, Tumbled Glass en Salty Ocean Distress inkt samen met twee stencils. Spetterde er water, Field Day en Ground Espresso op voor wat detail.
Cut the panel using a stitched rectangle die and glued it onto a topfold Smooth White cardbase. Stamped all the images, colored them up using my Copic markers and cut them using the matching Die-Namics. Placed them on the card and stamped the sentiment. Stanste het paneel uit en plakte het op een Smooth White topfold basiskaart. Stempelde alle afbeeldingen, kleurde ze in met mijn Copic markers en stanste ze uit met de bijpassende Die-Namics. Plakte alles op de kaart en stempelde als laatste de tekst.

Used Copic Colors:
Blue - B06, B04, B02, B00, B000
Pink - RV17, RV14, RV13, RV11, RV10
Pink (ears) R22, R20, R11
Ears - E57, E55, E53, E51, E50
Yellow - Y17, Y15, Y13, Y11
Orange - YR09, YR07, YR04
Brown - E37, E35, E33
Skin - E000, E00, E04, E11, E21
Green (Carrots) - YG03, G14, G28
Grass - YG11, YG13, YG17
Beard - C5, C3, C1, C00

Have a lovely day!
Greets, Marieke

woensdag 3 maart 2021

My Favorite Things - Wednesday Sketch Challenge #531

 Hello all!

Today i'm back again with a new Sketch Challenge by My Favorite Things. This week i decided to make a Birthday card just because i always seem to have a shortage of Birthday cards. I especcially challenged myself to try make a few male cards. Vandaag ben ik er weer met een nieuwe schets challenge van My Favorite Things. Deze week maakte ik een verjaardagkaart op één of andere manier lijkt ik er altijd te kort te komen! Ik daagde mezelf daarnaast uit om een aantal mannenkaarten te maken.
This week i swaped the sketch so it would become a horizontal card. Further then that i did not change a thing with it.

Voor de schets van deze week draaide ik de schets alleen zodat het een horizontale schets zou worden. Verder bleef hij gelijk.
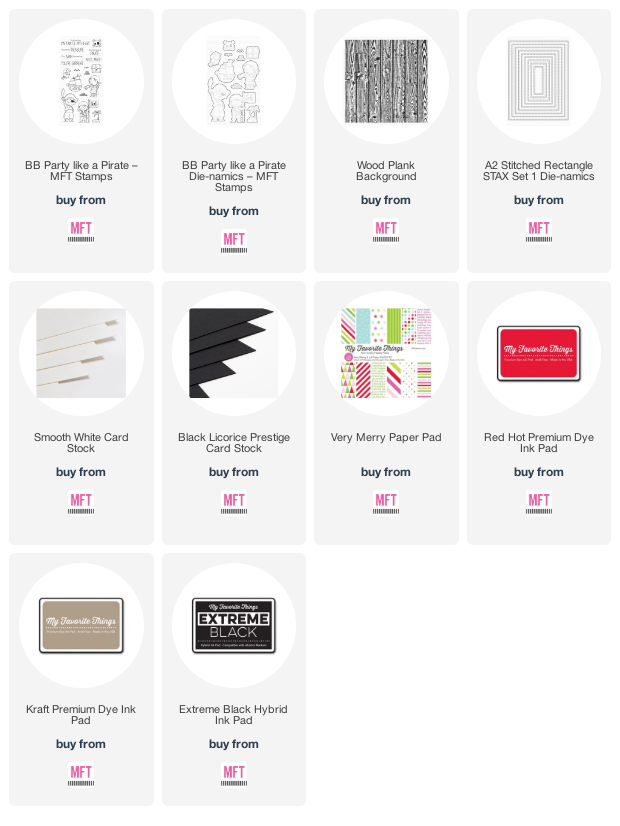
Cut a Smooth White sidefold basecard and stamped the Woodplank background on to it using Kraft ink. Added some color using Vintage Photo Distress ink. Die cut two stitched Rectangles out of Smooth White and added some Vintage Photo, splattered some water and Milk Chocolate ink. Cut two small strips of Black Licorice to ground the images.

Sneed een Smooth White sidefold basiskaart en stempelde de Wood Plank achtergrond op de basis met Kraft inkt. bracht aan de zijkanten wat Vintage Photo Distress inkt aan. Stanste twee rechthoeken uit Smooth white en voegde hier ook wat Distress inkt toe, spetterde wat water en Milk Chocolate inkt. Sneed twee strippen van Black Licorice voor de basis van de afbeeldingen.
Stamped and colored all the images using my Copic markers, cut them using the matching Die-Namics. Adhered a strip of designpaper to the base card. Stamped the sentiment in two colors and added everything to the base card using different heights of foam tape. Stempelde alle afbeeldingen, kleurde ze in met mijn Copic marker en stanste ze uit met de bijpassende Die-Namics. Plakte in een strip designpapier op de baisskaart. Stempelde de tekst in twee kleuren ink en plakte alles op de basiskaart met verschillende hoogtes foamtape.

Used Copic Colors:
Skin - E000, E00, E04, E11, E21
Hair / wood - E37, E35, E33, E31
Black - N9, N7, N5, N3
Red - R59, R19, R27, R24
Blue - B29, B28, B26, B24
Leather - E27, E25, E23, E21
Brown Pants / Boots - E47, E44, E43, E42, E41, E40
Gold - YR27, YR24, YR21
White / Silver - C7, C5, C3, C1, C00, 0


Have a lovely day!
Greets, Marieke

Guestdesiger Create a Smile Stamps.

 Hello all,

Today i'm pleased to be guestdesigning for the Create a Smile Stamps challenge blog. Two weeks ago this card was picked as a winner and i was asked to be a guest designer for this challenge. I always say yes so did i for this one. Vandaag mag ik guestdesigner zijn voor Create a Smile Stamps challenge blog. Twee weken geleden was mijn kaart als winnaar uitgekozen en werd ik gevraagd als gastdesigner. Ik zeg nooit nee dus ook deze keer niet.
This week we challenge you to create a card with a sketch. You have to use atleast one Create a Smile product as a focal point and you can play along! If you do not own anything you can always try to create something with one of there Freebies.


Deze week dagen we je uit om een project te maken met bovenstaande schets. Je kunt meedoen zolang je er maar voor zorgt dat een Create a Smile product de hoofdrol heeft. Ben je nu nog niet in het bezit van een van deze leuke producten dan kun je altijd kijken of je iets kunt maken met een van deze Freebies.
So i cut a strip of watercolor paper and heat embost the background on to is. Inked the background up using Salty Ocean and Tumbled Glass Distress ink. Splattered some water and cut it into two parts. Sneed een strook aquarel papier en heat emboste de achtergrond. Inkte de achtergrond in met Salty Ocean en Tumbled Glass Distress inkt. Spetterde wat water en sneed het geheel in twee stukken.

Cut a Smooth White topfold basecard and a Smooth White rectangle that is 1 cm smaller than the base card. Stamped all the images, colored them up using my Copic Markers and cut them using my sciccors. Sneed een Smooth white topfold basiskaart en uit Smooth White een rechthoek die 1 cm smaller is dan de basiskaart. Stempelde alle afbeeldingen, kleurde ze in met mijn Copic markers en knipte ze uit.
Placed the wood on the inked background and cut of the excess. Glued the inked background on the smallest white rectangle and stamped the sentiment. Cut two small strips of the pattern paper and glued that on the base card. Heat embost the other sentiment and cut it using the speech bubble. Adhered everything on to the card. Plaatste het hout op de distress achtergrond en sneed af wat teveel was. Plakte de Distress achtergrond op de basiskaart en stempelde de tekst. Sneed twee stroken designpapier en plakte deze op de basiskaart. Heat emboste de andere tekst, stanste het tot een tekstwolk en plakte alles op de basiskaart.

Used Copic Colors:
Wood - E37, E35, E33, E31
Red - E59, E29, E27, E24
Seagull - C7, C5, C3, C1, C00, 0
White - W5, W3, W1, 0
Orange - YR07, YR04, YR02
Blue - B00, B000, B0000

Have a lovely day!
Greets, Marieke

Stamps: Gull Gang?!, Shit Happens, Ocean Waves Background Stamp (retired)
Dies: Essential Speech bubble Die-Namics
Ink: Memento Tuxedo Black, Versafine Onix Black, Tumbled Glass/ Salty Ocean Distress ink, Tsukineko Versamark.
Paper: Smooth White, Black Licorice, Watercolor paper, Black & White striped Paper pad.

dinsdag 2 maart 2021

MFT Weather With You Card Kit Release

 Hello all,

The day is here that the Weather with you card kit release by My Favorite Things is avaible! What do you think is it beautiful or what? So what is ending up in your shopping cart? Watch your budget but have fun shopping! De dag is aangebroken dat de Weather with you card kit release van My Favorite Things verkrijgbaar is! En wat vond je ervan schitterend toch? Welke producten belanden bij jou in het mandje? Let op je budget maar heb vooral plezier met winkelen!
So for my last card i had to go slimline! I did not yet make any so here it is alot of product that are in the cardkit.

Voor mijn laatste kaart voor deze cardkit maakte ik uiteraard een slimline kaart! Ik maakte er nog geen en deze mocht natuurlijk niet ontbreken. Ik gebruikte verschillende producten uit de cardkit.
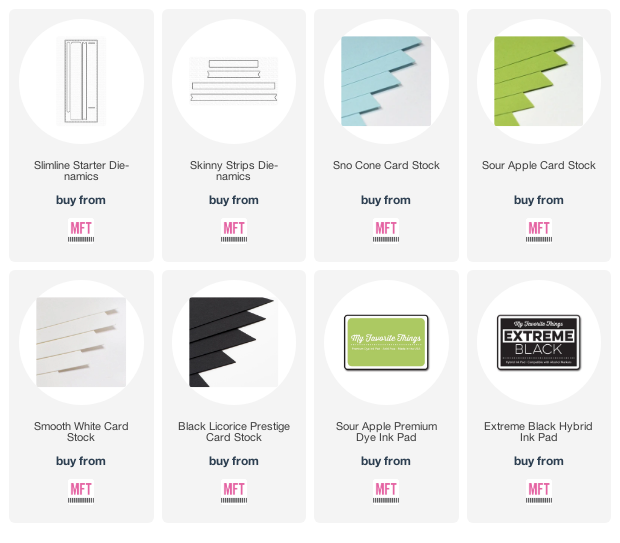
Out of Sno Cone cardstock i cut the stitched slimline rectangle. Out of Sour Apple i cut the grass and added some ink using Sour Apple. Glued the base onto a sidefold Smooth White card. Uit Sno Cone cardstock stanste ik de stitched Slimline rechthoek. Uit Sour Apple stanste ik het gras en bewerkte dit met Sour Apple inkt. 

Die cut the box parts out of Milk Chocolate, Kraft and Neutral cardstock and made it into a box. Heat embost the sentiment and cut it using a banner die. Stanste de doos uit Milk Chocolate, Kraft en Neutral cardstock en maakte er een doos van. Heat emboste de tekst en stanste het tot een banner.
Stamped all the images, colored them up with my Copic markers and cut them using the matching Die-Namics. Added some details using a white gelpen and stamped the words "hi" and "yay". Adhered everything on the card using foamtape. Stempelde alle afbeeldingen, kleurde ze in met mijn Copic markers en stanste ze uit met de bijpassende Die-Namics. Voegde wat details toe met een witte gelpen en stempelde de woorden "yay" en "hi". Plakte alles op de kaart met foam tape.

Used Copic Colors:
Bear - E57, E55, E53, E51, E50, V17, V15, V12
Koala - W5, W3, W1, W00, C5, C3, C1, C00, 0
Bunny - C5, C3, C1, C00, 0
Panda - N9, N7, N5, N5, C5, C3, C1, C00, 0
Yellow - Y17, Y15, Y13, Y11
Red - R59, R29, R27, R24
Pink - R22, R20, R00
Blue - B02, B00
Orange - YR04, YR02

Have a lovely day!
Greets, Marieke

maandag 1 maart 2021

MFT Weather With You Card Kit Release Countdown day 1

 Hello all,

Welcome back today for day one of the February Card kit Release countdown by My Favorite Things. Lucky the wait on the Card kit Release is only short and you can have a shopping spree already tommorow Tuesday March 2nd at 10:00 am EST. Welkom terug bij dag twee van de februari card kit Release countdown by My Favorite Things. Gelukkig hoef je maar even te wachten want morgen zijn ze al beschikbaar om 16:00!
So for today's card i decided to go CAS, that is what i really like about this kit is that you can make any kind of cardtype.

Voor de kaart van de vandaag besloot ik voor een CAS kaart te gaan, dat vind ik namelijk aan deze kit erg leuk is dat je er allerlei soorten kaarten mee kunt maken.
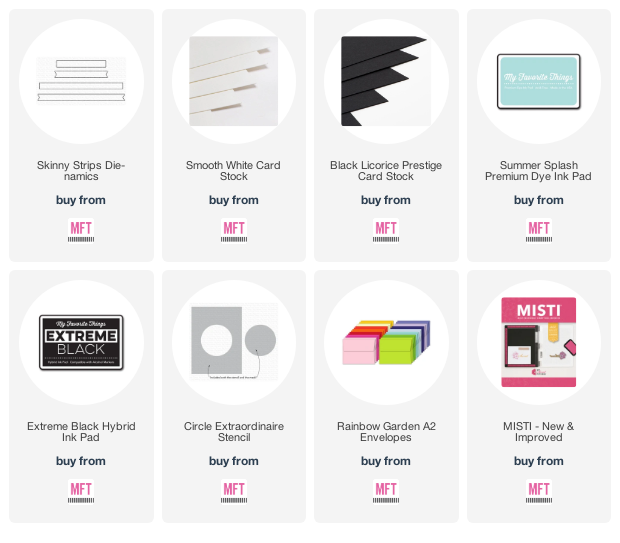
So i cut a Smooth White a2 topfold cardbase and using the Circle extraordinaire stencil to make the Summer Splash circle, splattered some water to give it some detail. Sneed een a2 Smooth White basiskaart en gebruikte de cirkel extraordinaire stencil en maakte de cirkel met Summer Splash inkt.

Stamped the images, colored them up with my Copic markers and cut them using the matching Die-Namics. Placed them on the card using foamtape. Stempelde de afbeeldingen, kleurde ze in met mijn Copic markers en stanste ze uit met bijpassende Die-Namics. Plakte alles op de kaart met foam tape.
Heat embost the sentiment on some Black Licorice and cut it using a banner die. Corner Chopped the bottom corners and my card was done! Heat emboste de tekst op Black Licorice en stanste het uit. Corner Choppte de hoeken aan de onderzijde en klaar was Marieke!

Used Copic Colors:
Sun - Y17, Y15, Y13, Y11
Clouds - BG13, BG11, 0

Have a lovely day!
Greets, Marieke