Hallo Allemaal,
Hier is mijn wekelijkse post voor Studio Light weer. Deze keer maakte ik met de Sweet Stories producten een Valetijn lichtjes kaart. I'm back with my weekly post for Studio Light. This time around I decided on making a slimline valtine card with the Sweet Stories products and some lights!

Eerst maakte ik de achtergrond. Ik inkblende het gras/ zand en water met stencils en Blueprint Sketch, Salty Ocean, Gathered Twigs, Mowed Lawn en Peeled Paint Distress inkt. Daarna maskeerde ik de onderkant en inktblende de lucht met Antique Linen, Speckled Egg, Chipped Sapphire en Black Soot. Spetterde water en witte inkt en stanste het geheel uit.
First I made the background. I inkblended the grass/ sand and water using masks and Blueprint Sketch, Salty Ocean, Gathered Twigs, Mowed Lawn and Peeled Paint Distress ink. Masked off the bottom part and inkblended the sky using Antique Linen, Speckled Egg, Chipped Sapphire and Black Soot. Splattered water and white paint and die cut the whole background.

Stempelde alle afbeeldingen, kleurde ze in met mijn Copic markers en stanste ze uit met de bijpassende stansen. Stanste de tekst "magical" uit rood cardstock en bewerkte het met een witte gelpen. Stanste de ketel uit cardstock en kleurde de "lovepotion" met Copic markers.
Stamped all the images, colored them up using my Copic markers and die cut them using the matching dies. Die cut the sentiment "magical" out of red cardstock en added some white gelpen details. Die cut the kettle and colored the "lovepotion" using my Copic markers.
Stamped all the images, colored them up using my Copic markers and die cut them using the matching dies. Die cut the sentiment "magical" out of red cardstock en added some white gelpen details. Die cut the kettle and colored the "lovepotion" using my Copic markers.
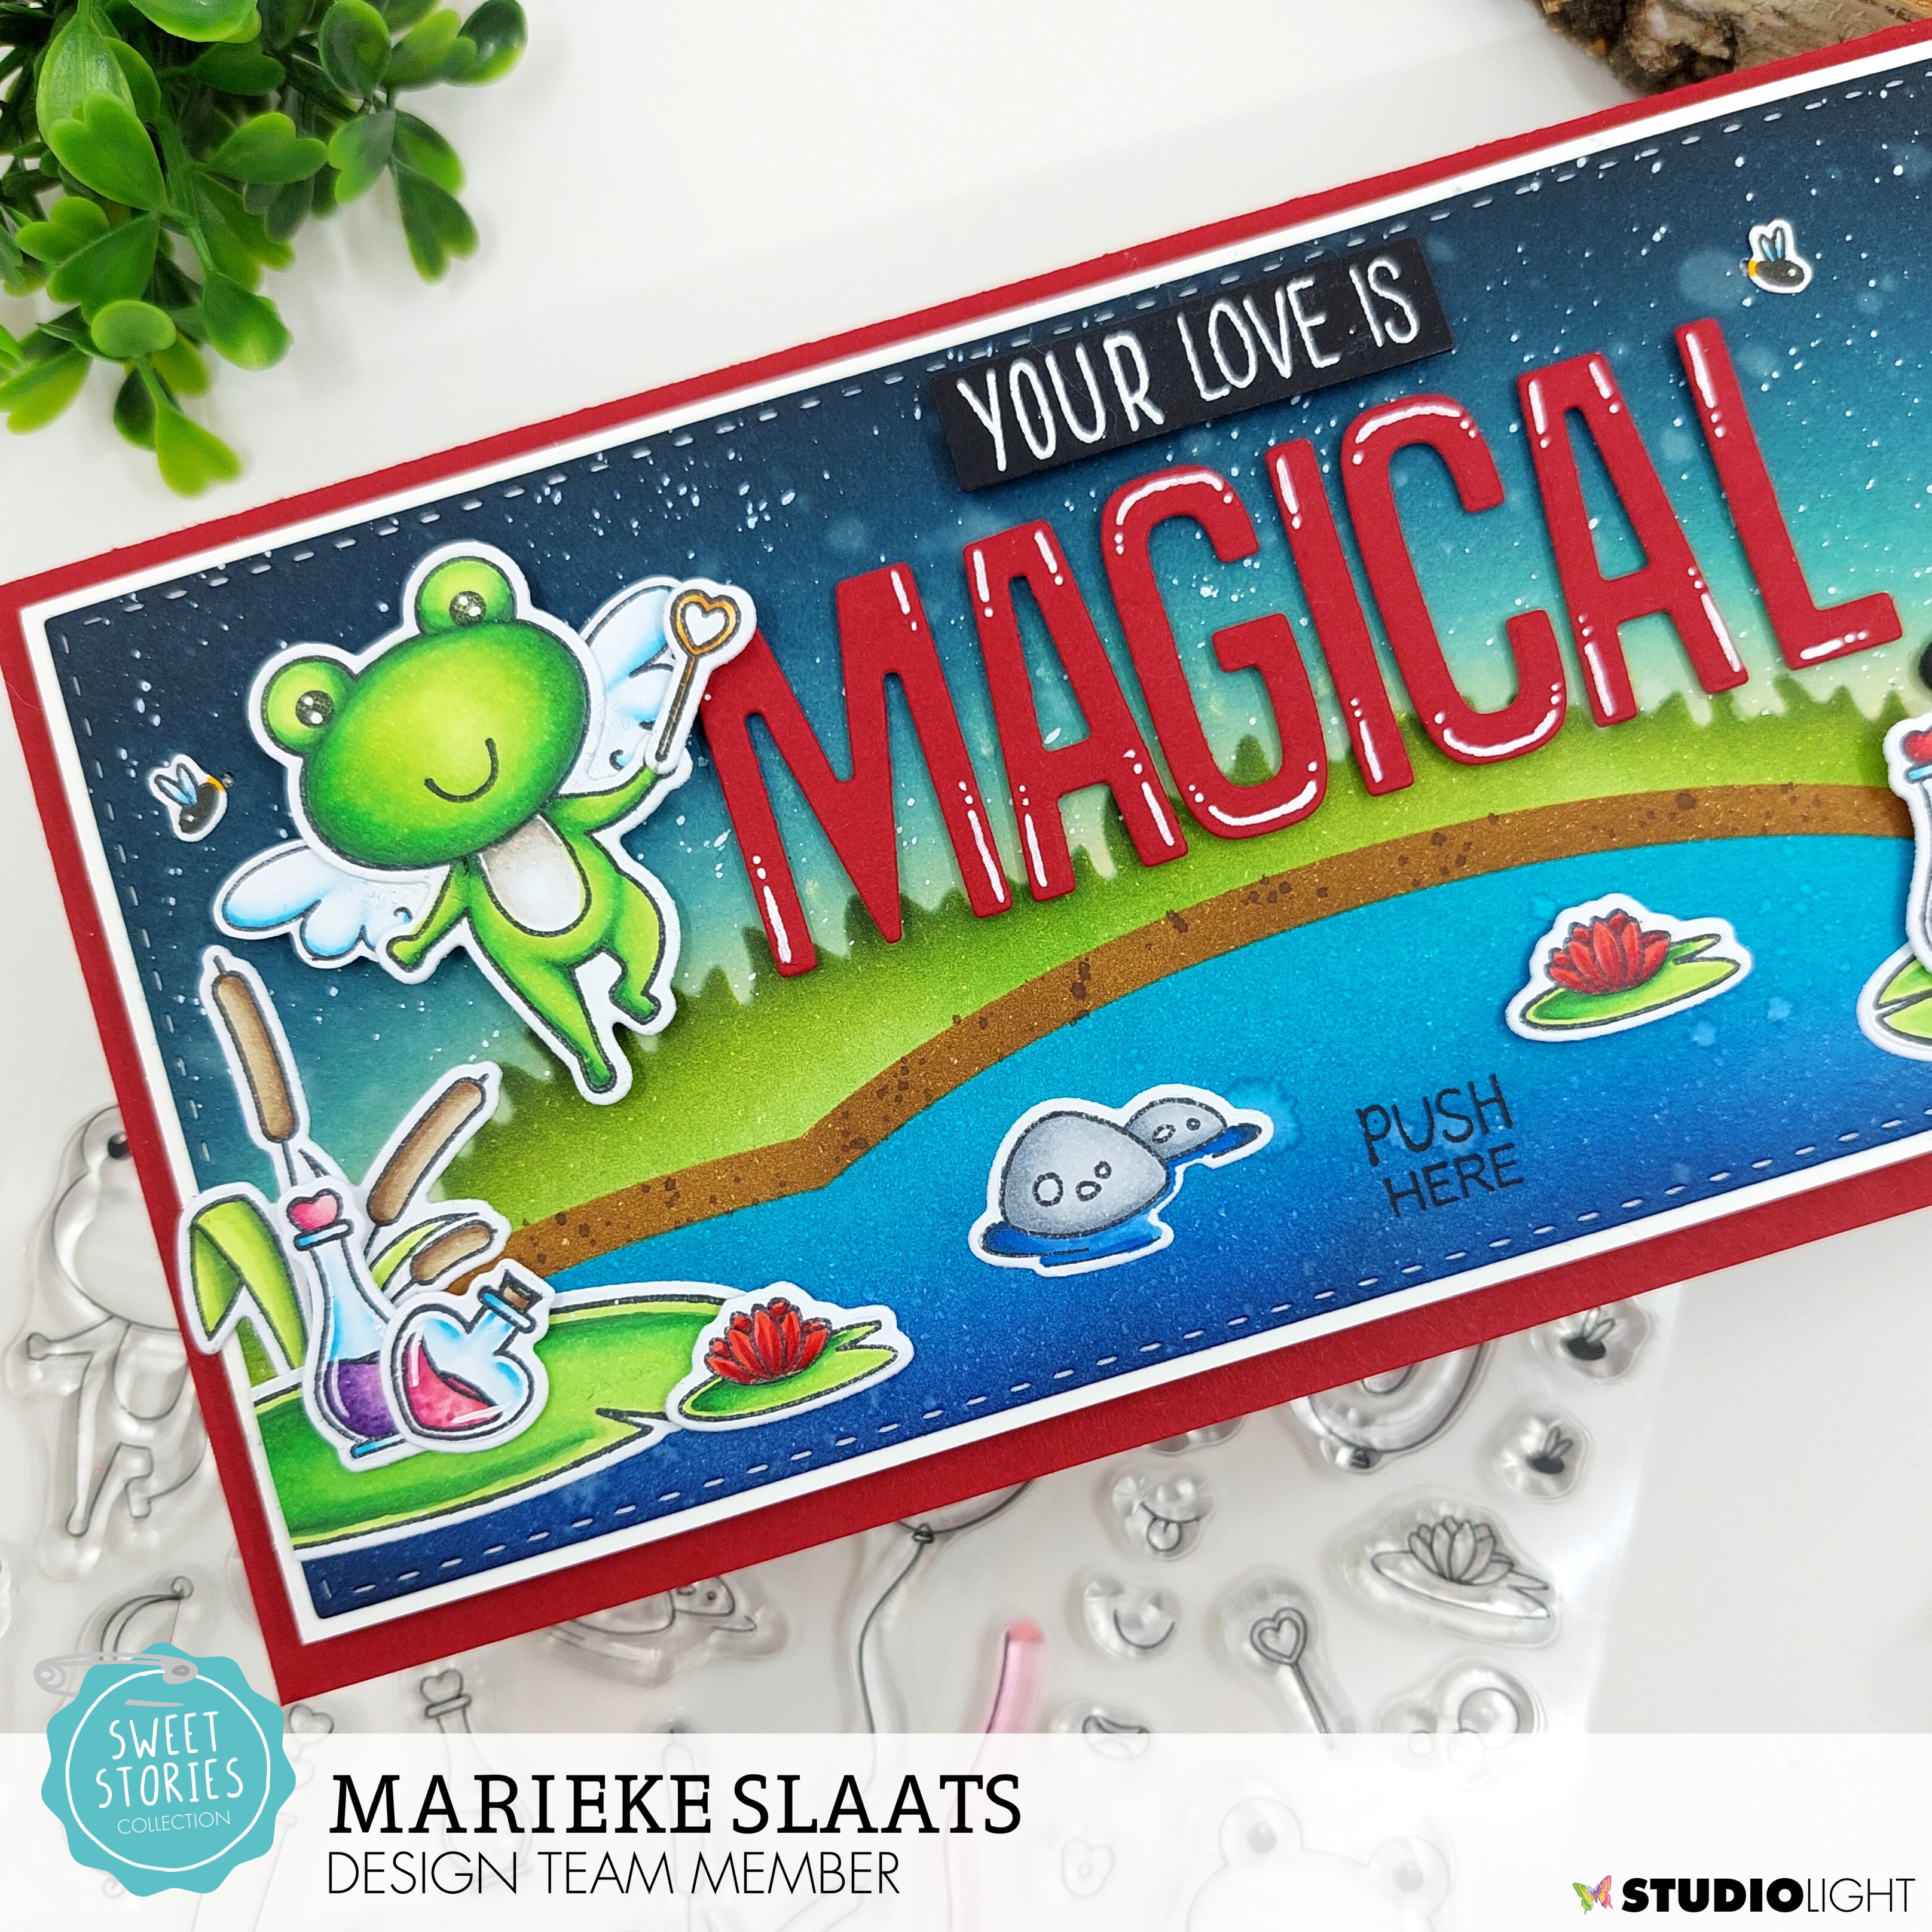
Heat emboste de tekst op zwart cardstock en heat emboste de "swirl" op vellum en stanste uit met de bijpassende stans. Bepaalde waar alles ging zodat ik kon bepalen waar ik de lampjes wilde hebben. Maakte bovenin gaatjes en plakte aan de achterzijde de lampjes op.
Heat set the sentiment on some black cardstock, heat set the "swirl" on vellum and die cut it using the matching dies. Decided were I wanted everything to be so I could decid where the light were going. Added a small hole and glued the lights behind it.

Stempelde met zwarte tekst "push here" daar zit de schakelaar van de lamp onder. Sneed een witte rechthoek net iets groter dan de scene plakte dit op elkaar en daarna ging het met foamtape op een dubbele topfold rode basiskaart. Plakte daarna alles op de kaart met lijm of foamtape. Stamped the sentiment "push here" with a black ink, de switch for the lights is at that spot. Cut a white rectangle slightly larger then the scene and adhered them together. Glued the everything onto a Topfold red basecard. Added the images using glue or foamtape.
Gebruikte Copic Kleuren:
Kikker - G28, G07, YG07, YG05 / W5, W3, W1, W00, 0
Grote bladeren - G28, G07, YG07, YG05
Planten - YG67, YG63, YG03 / E47, E44, E43
Planten - YG67, YG63, YG03 / E47, E44, E43
Rood - R59, R29, R27, R24
Roze - R85, R83, R81
Paars - V17, V15, V12
Paars - V17, V15, V12
Stenen - C3, C1, C00
Donkerblauw - B36, B34, B32
Lichtblauw - B00, B000, B0000
Goud - E27, Y26, Y15, Y11
Goud - E27, Y26, Y15, Y11
Heb een heerlijke dag!
Groet, Marieke
Stempels: SL-SS-SCD49, SL-SS-SCD52, SL-SS-STAMP329, SL-ES-STAMP276
Stansen: SL-SS-SCD49, SL-SS-SCD52, SL-CCL-CD157, SL-SS-CD206,
Inkt: Memento Tuxedo Black, Versafine Onix Black, Tsukineko Versamark, Blueprint Sketch/ Salty Ocean/ Gathered Twigs/ Mowed Lawn/ Peeled Paint/ Antique Linen/ Speckled Egg/ Chipped Sapphire en Black Soot Distress inkt
Papier: Smooth White, Red Hot, Black Licorice (MFT)
Papier: Smooth White, Red Hot, Black Licorice (MFT)
Extra: Wit embossingpoeder, SL-SS-MASK127, SL-SS-MASK119, SL-ES-LED02
great card!
BeantwoordenVerwijderen