zaterdag 11 september 2021

Carlijn Design - Daar moet op gedronken worden.

 Hallo allemaal,

Een paar weken geleden was mijn schoonvader jarig hij vierde zijn 70ste verjaardag, daar hoort natuurlijk een passend kaartje bij. Hij houdt wel van een pilsje en ik dacht daar kan ik vast wat mee. Ik gebruikte verschillende Carlijn Design producten en maakte deze slimline kaart. A few weeks back my father in law celebrated his 70st birthday, offcourse a handmade card should be made this special occasion. He loves to drink a beer so i grabbed a few of my Carlijn Design products and made a slimline card using them.
Ik maakte eerst de achtergrond, met Scattered Straw, Fossilized Amber en Tea Dye Distress inkt. Pakte het So Many Circles stencil van Kraftin' Kimmie stamps en inktblende Picket Fence over het geel heen. Spetterde wat water en witte verf en stanste het uit.

First i made the background, inkblended Scattered Straw, Fossilized Amber and Tea Dye Distress ink and added some Picket Fence using the So Many Circles Stencil by Kraftin' Kimmie stamps. Splattered some water and white paint and die cut it.
Stanste twee keer de champagne fles uit Sour Apple en inktblende de fles met Bundled Sage en Rustic Wilderness. Sneed de fles zodat hij passend zou zijn op de achtergrond. Stanste het zijn naam en leeftijd. Stanste ook twee cirkels, een uit zilver cardstock en de ander uit Sour Apple bewerkte dit weer met de groene kleuren Distress inkt. Die cut the champagne bottle twice out of Sour Apple and inkblended the bottle using Bundled Sage and Rustic Wilderness. Cut the bottle so it would fit my background. Die cut the name and age, die cut a circle out of Sour Apple and Silver cardstock and added some ink to the green circle.

Stanste de Petite Cloud Die-Namics uit wit cardstock en legde dit zo neer dat het de vorm van schuim had. Plakte ze aan elkaar en deed over het geheel een laagje liquid appliqué op en maakte het warm met de heatgun zodat het oppopte. Bewerkte de fles nog met wat potlood om wat detail te maken. Die cut the Petite Clouds Die-Namics out of white cardstock and placed them so the would look like foam head. Added a layer of Liquid Appliqué and heat set it so it would pop up. Added some details to the bottle using pencils.
Stanste de tekst "proost" en de achtergrond, plakte ze op elkaar en in het midden van de kaart. Stempelde de tekst rechtstreeks op de kaart en de sterren uit Eiffel Tower cardstock. Plakte ze op de kaart en bewerkte ze met glossy accent. Stanste de achtergrond uit wit cardstock en dit ging op een Kraft topfold basiskaart. Die cut the word "proost" and the outline, glued them together and added it to the middle of the card. Stamped the sentiments onto the card and die cut some starts. Added some glossy accent to them and glued the panel on to a white rectangle on to a Kraft topfold base card.

Heb een heerlijke dag!
Groet, Marieke

Stempels: Proost (Carlijn Design)
Stansen: Proost, Slimline kaart 6 Champagne (Carlijn Design), (Mama Elephant) Slim Card Basics. Petite Clouds (My Favorite Things)
Inkt: Versafine Onix Black, Scattered Straw, Fossilized Amber, Tea Dye, Bundled Sage, Rustic Wilderness, Picket Fence.
Papier: Kraft, Sour Apple, Smooth White, Eiffel Tower Red Hot, Silver (My Favorite Things)
Extra: So Many Circles Stencil (Kraftin' Kimmie), Glossy Accents, Liquid Appliqué, witte verf marker. 

woensdag 8 september 2021

My Favorite Things - Wednesday Sketch Challenge #558

Hello all!

Today I am back again with a new Sketch Challenge by My Favorite Things. This week I decided to make a Christmas card to make sure i don't have to rush it at the end of the year. Vandaag ben ik er weer met een nieuwe schets challenge van My Favorite Things. Deze week maakte ik een kerstkaart, zodat ik aan het einde van het jaar niet nog heel veel kaarten hoef te maken. 
So I decided to change the sketch a bit to my own preference, I changed the squares into open scenes and moved the sentiment a bit so it would be better looking.

 Voor de schets van deze week veranderde ik de vaste vierkanten in losse scene's en verplaatste de tekst een stuk zodat het beter tot zijn recht komt.
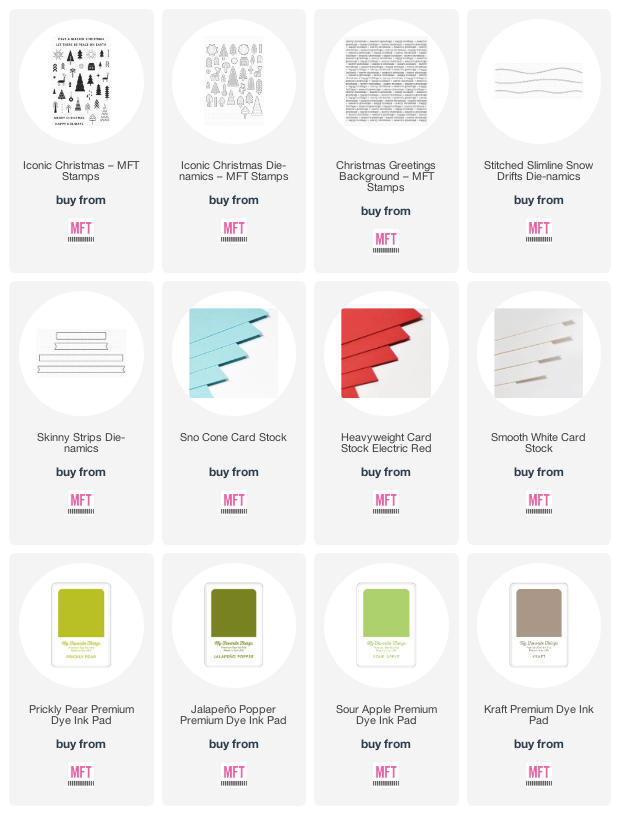
Cut a topfold Sno Cone cardbase, heat set the Christmas Background on to it. Stamped all the loose images using Jalepeno Popper, Sour Apple, Prickly Pear and Kraft ink. Die cut them using the matching Die-Namics.

Sneed een topfold Sno Cone basiskaart, heat emboste de kerst achtergrond op de basis. Stempelde alle losse onderdelen met Jalepeno Popper, Sour Apple, Prickly Pear en Kraft inkt. Stanste ze uit met de bijpassende Die-Namics.
Die cut a snow border out of Smooth White and added some details with my Copic markers. Glued the images and snow on the card and heat set the sentiment. Die cut the sentiment and added it to the cardbase. Finished of using different seizes of clear sequins. Stanste een rand sneeuw uit Smooth White, voegde wat details toe met mijn Copic markers. Plakte de afbeeldingen en het sneeuw op de kaart. Heat emboste de tekst en stanste het uit en plakte het op de kaart. Werkte de kaart af met verschillende maten clear sequins.


Have a lovely day!
Greets, Marieke

Carlijn Design - Nieuwe Release Dag 3

Hallo allemaal,

Daar zijn we weer nog een nachtje slapen en de nieuwste release producten van Carlijn Design zijn te koop in de winkel! Here we are again, with one more night of sleep to go and the new release by Carlijn Design will be avaible!
Ik maakte eerste de hoed die stanste ik uit Smooth White en Lemon Drop cardstock, heat emboste de tekst op rand en maakte het tot een geheel. Stanste de avocado's uit Jalepeno Popper en de binnenzijde inkte ik met Old Paper en Peeled Paint. De binnenkant is van Kraft en de handjes van Milk Chocolate. Uiteraard gaf ik ze feesthoedjes in dezelfde kleuren als de grote hoed.

First off I made the large party hat out of Smooth White and Lemon Drop cardstock, heat set the sentiment on the border of the hat and assembled the party hat. Die cut the avocado's using Jalepeno Popper and the inside I inkblended using Old Paper and Peeled Paint. The pit is out of Kraft and the hands are made out of Milk Chocolate. Offcourse the party hats of the avocado's got the same colors as the big hat.
Stanste de achtergrond uit designpapier. Plakte de hoed in het midden en de avocados plakte ik achter de rand. Stempelde de grote teksten en kleine teksten op Smooth White en stanste ze uit met de bijpassende stans en een tekst wolken stans.

Die cut a pattern paper rectangle glued placed the big hat on to the middle of the card and the avocado's went behind the border of the hat. Stamped the sentiments and cut it using the matching die and a speech bubble die.
Plakte het geheel op een Smooth White rechthoek en daarna op een Tropical Teal basiskaart. Werkte het geheel van de kaart af met wat Smooth White en Lemon Drop confetti. Added the pattern panel on to a Smooth White rectangle and a Tropical Teal basecard. Finished of the card using Lemon Drop and Smooth White confetti.

Heb een heerlijke dag!
Groet, Marieke

Stempels: Pensioen, Avocado & Peer (Carlijn Design)
Stansen: Pensioen, Avocado & Peer, Avocado & Peer Groot, Knuffelkaart accessoires feest (Carlijn Design), A2 stitched rectangle staxx, Essential Speech Bubble (ritered) (My Favorite Things)
Papier: Smooth White, Lemon Drop, Tropical Teal, Jalepeno Popper, Kraft, Milk Chocolate, Road Trippin paper pad (My Favorite Things)
Inkt: Versafine Onix Black, Tsukineko Versamark, Peeled Paint / Old paper/ Walnut Stain Distress inkt.
Extra: potloden, witte gelpen.

dinsdag 7 september 2021

MFT & Friends - September Product Launch

 Hello all,

It’s time for the My Favorite Things September product launch! All new products are available right now! The MFT design team, as well as special guests, are sharing projects created with the new stuff. You can find a lot of inspiration! Het is tijd voor de My Favorite Things september product lancering. Alle nieuwe producten zijn vanaf nu verkrijgbaar! Het MFT design team en gasten delen ook vandaag weer een lading aan inspiratie!
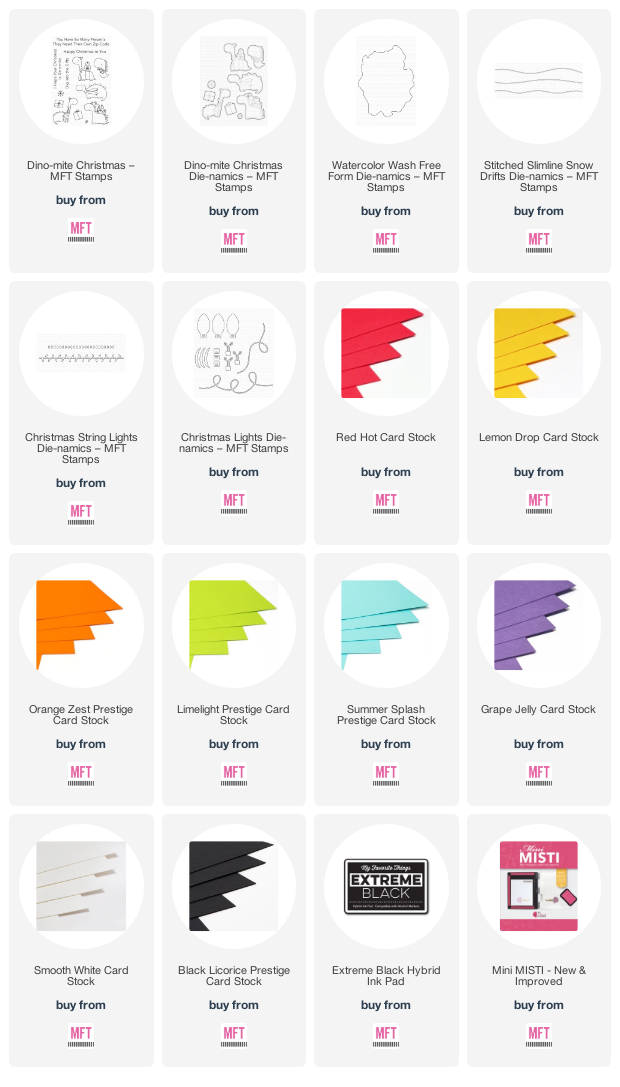
Do you remember the Watercolor Wash Free Form Stencil? Guess what?! My Favorite Things brought you a Water Color Wash Free Form Die-Namics! I thought it would make a beautiful backdrop for my Dino-mite Christmas.
Kunnen jullie je het Watercolor Wash Free Form Stencil nog herrineren? Doe eens een gok?! My Favorite Things bracht het Watercolor Wash Free For Die-Namics uit! Ik dacht dat het een leuke achtergrond zou vormen voor de Dino-mite Christmas.
So cut a Limelight side fold base card and a rectangle in the same seize. Die cut the Free Form out of the single rectangle and inkblended both using Peeled Paint and Rustic Wilderness. Placed them on top of eachother and splattered some white paint. Sneed een sidefold Limelight basiskaart en een rechthoek in dezelfde maat. Stanste uit de enkele rechthoek de Freem Form en inktblende beide met Peeled Paint en Rustic Wilderness. Plaatste ze op elkaar en spetterde ze met witte verf.

Die cut two borders of Smooth White as snow, one of them I cut using the Free Form Die-Namics. Die cut two light strings and the lights in rainbow colors and made them into to lightstrings. Stanste twee randen van Smooth White als sneeuw, één daarvan stanste ik ook met het Free Form Die-Namics. Stanste twee lichtsnoeren en de lampjes en plakte het tot twee hele lichtsnoeren.
Stamped all the images, colored them up using my Copic markers and cut them using the matching Die-Namics. Added them onto the card and stamped the sentiment on to the base. Stempelde alle afbeeldingen, kleurde ze in met mijn Copic markers en stanste uit met de bijpassende Die-Namics. Plakte ze allemaal op de kaart en stempelde de tekst in het midden.

Used Copic Colors:
Dark Green - G29, G46, G24, G21
Grey - C5, C3, C1, C0
Light Green - YG17, YG25, YG23, YG21
Blue - B04, B02, B00, B000
Purple - V17, V15, V12
Orange - YR68, YR64, YR61
Red - R59, R29, R27, R24
Yellow - Y17, Y15, Y13

Have a wonderful day!
Greets, Marieke

Carlijn Design - Nieuwe Release Dag 2

 Hallo allemaal,

De aankomende twee maanden heb ik de eer om als gastdesigner voor Carlijn Design te "werken" helemaal leuk om eens lekker in het Nederlands wat te doen. Vanaf donderdag is de nieuwe release verkrijgbaar en uiteraard ging ik hier ook mee aan de slag! The upcomming two months I got the honors to be a guestdesigner over at Carlijn Design. Super fun because now I got to play with some Dutch Designs. On thursday the new release will be avaible and offourse I played with the new release already! 
Voor mijn voorbeeld kaart van vandaag maakte ik een slimline kaart met de leuke nieuwe Cookie Crunch stansen en de nieuwste Stans Monoline Gefeliciteerd. Lekker in vrolijke kleurtjes dan word je er meteen vrolijk van!

For my inspiration card for today I made a slimline card using the fun new Cookie Crunch dies together with the Monoline Gefeliciteerd die. In some fun bright colors to cheer you up! 
Stanste een aquarel rechthoek en bewerkte het met Spun Sugar, Kitsch Flamingo en Picked Raspberry. Spetterde wat witte verf en Picked Raspberry en plakte het op een witte scalloped rechthoek. Stanste alle onderdelen van de koekjes en de taart en maakte er vier hele koekjes en taart van. Bewerkte een aantal onderdelen met inkt voor wat meer contrast.

Die cut the rectangle out of watercolor paper and added Spun Sugar, Kitsch Flamingo, Picked Raspberry, splattered some white paint and Picked Raspberry and glued it onto a Smooth White scalloped base. Die cut all the part of the cookies and the cake and made it into four different treats. Added some Ink to some parts of the cookies to give them some contrast.
Stanste de outline van gefeliciteerd uit Smooth White binnenzijde uit Fire Coral en plakte ze op elkaar. Stempelde de tekst op de kaart. Plakte het geheel op een topfold Smooth White basiskaart die ik bewerkte met designpapier. Plakte alles op de kaart, bracht wat details aan met een witte gelpen en werkte het af met wat confetti. Die cut the outline of gefeliciteerd out of Smooth White and the inside out of Fire Coral and glued them together. Stamped the sentiment on the base, cut a topfold Smooth White basecard and added a layer of pattern paper. Glued everything together and finished of making some details with a white gelpen and some confetti.

Heb een heerlijke dag!
Groet, Marieke

Stempels: Gefeliciteerd (Carlijn Design)
Stansen: Monoline Gefeliciteerd, Party Smiles, Cookie Crunch, Knuffelkaart Accessoires Feest (Carlijn Design), Slim Card Basics - (Mama Elephant)
Inkt: Versafine Onix Black, Spun Sugar / Kitsch Flamingo/ Picked Raspberry/ Antique Linen Distress inkt, Kraft (MFT)
Papier: Smooth White, Cotton Candy, Fire Coral, Limelight, Summer Splash, Chantilly Cream, Kraft, Milk Chocolate, Black Licorice, Stripe Splash Paperpad (MFT).
Extra: White gelpen.

maandag 6 september 2021

My Favorite Things September Release Countdown Day 1

 Hello all,

Today is the last day of the September release countdown of My Favorite Things and you know what that means right? Tommorow all the new products will be avaible! Did you decide on what you are going to get? Luckly you have one more night to think about it! Vandaag is de laatste dag van de september release countdown van My Favorite Things en je weet wat dat betekend! Morgen zullen alle nieuwe producten beschikbaar zijn. Heb je al besloten wat je zou willen hebben? Gelukkig kun je er nog een dag over nadenken!
So when I was the Iconic Christmas stamp I knew that I was going to use the set to make an example card with! And you know what? I did not make just one card, no I made two different ones using this stamp.
Toen ik de Iconic Christmas stempel zag wist ik dat meteen dat ik er een voorbeeld kaart mee ging maken! En weet je wat? Ik maakte er niet één maar zelfs twee met deze leuke stempel.
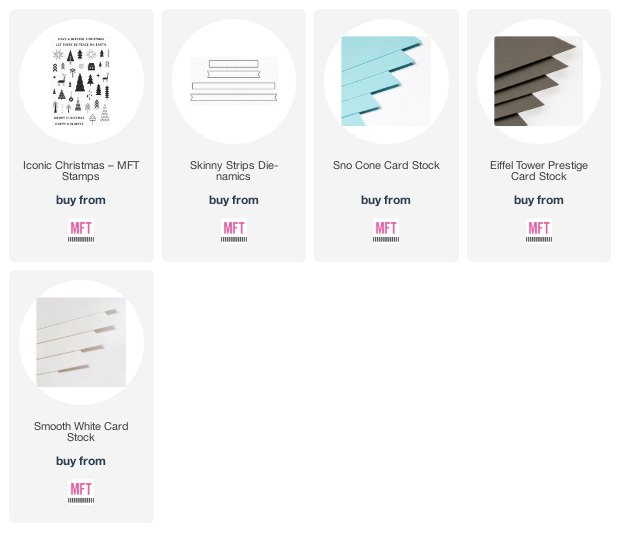
So for my first card I used the whole set and did not remove it from the plastic sheet it comes from. I used my big Misti and added a Smooth White panel on the base. Added the whole stamp minus the sentiments and placed it on to the paper. Added some strong tape and pick up the whole panel using my Misti. Heat set the images using gold embossing powder and cut it to a rectangle.

Voor mijn eerste kaart gebruikte ik de hele set. Ik verwijderde niet de stempels van het plastic maar gebruikte de sheet. Ik gebruikte de grote Misti en plaatse er een stuk Smooth White cardstock in. Legde de stempels er op en plakte aan de achterkant twee stukken stevige tape. Pakte het op met de deksel en heat emboste de stempels met goud embossingpoeder sneed het vervolgens tot een rechthoek.
Glued the embossed panel onto a Eiffel Tower cardstock and that went onto a Sno Cone Topfold cardbase. Heat set the sentiment on to some Eiffel Tower and cut it down. Finished of the card using some enemal dots. Plakte de rechthoek op een stuk Eiffel Tower cardstock en dat ging vervolgens op een Sno Cone topfold basiskaart. heat emboste de tekst op Eiffel Tower cardstock stanste het uit en werkte het geheel af met enemal dots.


So for my second card I used the Gina K wreath Builder stencil and turned the Iconic Christmas into a small wreath. 

Voor mijn tweede kaart gebruikte ik de Gina K wreath Builder stencil en maakte met de Iconic Christmas stempel een kleine krans.
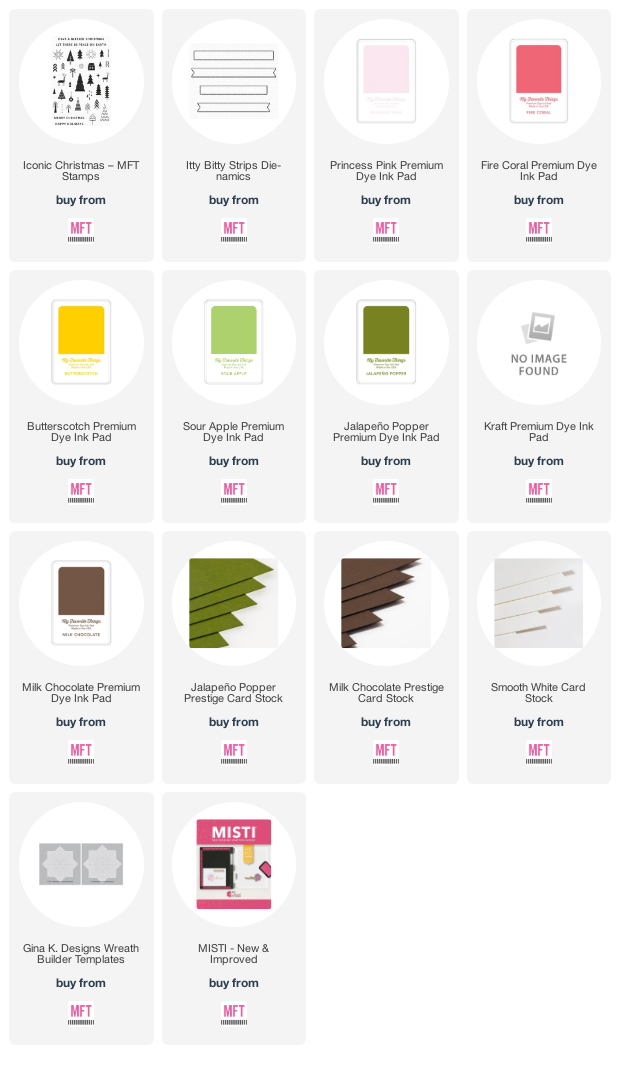
Stamped all the images using Princess Pink, Fire Coral, Butterscotch, Sour Apple, Jalepeno Popper, Kraft and Milk Chocolate on Smooth White 4 x 4 inch base. Corner chopped the 4 corners and added it to a slightly bigger Jalepeno Popper cardbase.

Stempelde alle afbeeldingen met de kleuren Princess Pink, Fire Coral, Butterscotch, Sour Apple, Jalepeno Popper, Kraft en Milk Chocolate inkt op een witte 4 x 4 inch Smooth White vierkant. Corner Chopte de hoeken en plakte het geheel op een Jalepeno Popper vierkant die net iets groter is.
Heat set the sentiment on some Milk Chocolate cardstock and cut them into three different strips. Added them to the base and the card was all done! Heat emboste de tekst op Milk Chocolate cardstock en stanste er drie gelijke strips van. Plakte ze op de basiskaart en mijn kaart was klaar!

Have a lovely day!
Greets, Marieke

AAA Birthday - Guest Designer

 Hello all,

A while back i was chosen as one of the designers that won the AAA Birthday anniversary challenge! One of the perks was to be a guest designer for a challenge. I always say yes to that so here is my guest project for this challenge. Een tijdje terug werd ik uitgekozen tot één van de winnaars van de AAA Birthday jubileum challenge! Eén van de prijzen was om een guest designer te zijn voor een challenge. Ik zeg altijd ja, dus ook voor deze challenge. Hier is dan ook mijn project voor de challenge.
This month we challenge you to make anything but a card, so that can be a gift, giftbag, tag, ATC cards like i did, anything is allowed as long as it is not a card!
Deze maand dagen we je uit om alles behalve een kaart te maken. Het mag dus van alles zijn een cadeau, een tag, cadeau tas of zoals ik een serie met ATC kaarten zolang het maar geen kaart is.
For all my tree cards the base is the same, the back is a Kraft cardstock basecard. I die cut the inner cards using Smooth White. Glued all inner card temporarly together and masked of the bottom. Inkblended some Salty Ocean and again with Salty Ocean only this time with the stencil.

De basis voor alle drie de kaarten is hetzelfde. Een Kraft cardstock basiskaart en de kleinere kaartjes heb ik gestanst uit Smooth White. Plakte alle drie de witte kaarten tijdelijk aan elkaar en maskeerde de onderkant. Inktblende Salty Ocean op de kaarten, bracht nog een laag aan met Salty Ocean alleen dan met het stencil.
Used the stencil again and added a layer of Artic Ice paste by Stamperia. Let it dry and glued the cards on the Kraft bases. Stamped all the images, colored them up using my Copic markers and cut them with my sciccors.

Met het stencil bracht ik opnieuw een laag aan alleen gebruikte ik nu het Artic Ice pasta van Stamperia. Liet het drogen en plakte daarna de basis kaarten op elkaar. Stempelde alle afbeeldingen, kleurde ze in met mijn Copic markers en knipte ze daarna uit met mijn schaar.
Added the banners on some twine and glued the banners and the images on to the cards so they would turn into a scene. Heat set the sentiments. Die cut the regular sentiments and cut the "pawsome" myself. 

Plakte de vlaggen op wat twine, daarna plakte ik alle losse onderdelen op de kaarten. Heat emboste de teksten en stanste de rechte teksten uit met een stans en "pawsome" knipte ik zelf.

Used Copic Colors:
Dogs middle card - E57, E55, E53, E51, E50 / C3, C1, C00, 0
Dogs left and right - E79, E77, E74, E71, W3, W1, W00, 0 / E19, E15, E13, C3, C1, C00, 0
Pink - R89, R85, R83, R81
Orange - YR09, YR04, YR02, YR00
Yellow - Y17, Y15, Y13, Y11
Green - YG17, YG13, YG11
BlueGreen - BG18, BG15, BG13, BG11
Purple - V09, V06, V05, V04
Red - R59, R29, R27, R24


Have a beautiful day!
Greets, Marieke

Stamps: Waffle Flower Crafts - Pawsome
Dies: Itty Bitty Die-Namics, Pocket letter die PL6501 Marianne Design
Ink: Salty Ocean Distress ink, Memento Tuxedo Black, Tsukineko Versamark
Paper: Smooth White, Black Licorice, Kraft
Extra: Stamperia - Artic Ice paste, Kraftin' Kimmie Confetti Stencil, Twine, Wow Ultrafine white embossingpowder.