Hello all,
Today I'm back again with the new Slimline Challenge by My Favorite Things. Each month we challenge you to create a project in a slimline seize. This month we challenge you to create a project in were not only the front but also the inside stands in the picture. Vandaag start een nieuwe Slimline Challenge van My Favorite Things. Iedere maand dagen we je uit om een project te maken in een slimline maat. Deze maand dagen we je uit om een kaart te maken waarbij niet alleen de voorkant in de spotlight staat maar ook de binnenkant.
I really had to think about this one because it's a slimline seize making something that would should show through is not easy in a slimline model.
Voor deze opdracht moest ik echt even nadenken, om op een slimline kaart iets te maken waar je ook nog eens doorheen kunt kijken kan niet zomaar voor dit soort kaarten.
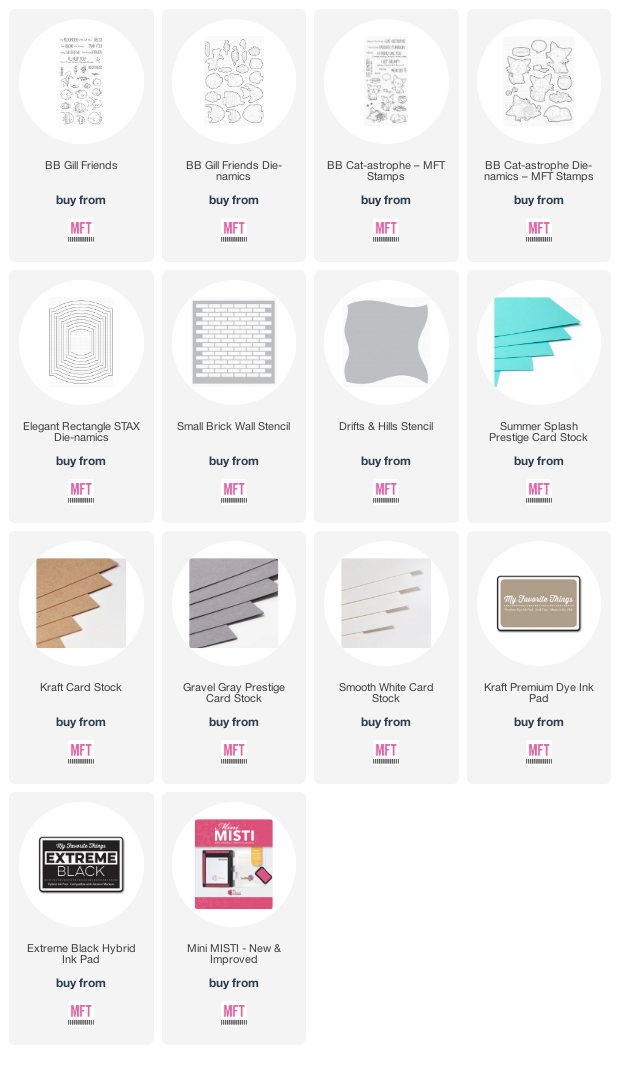
So i first started with front of the card, cut a Smooth White rectangle and measured until i had the three shapes evenly spread along the rectangle and cut it out. Cut three seperate shapes out of Gravel Grey and cut of the top and bottom of them. Placed some acetate behind the white rectangle and place the Gravel Grey on top of bottom of it so it would look like aqariums. Sneed een Smooth White rechthoek en meette uit hoe ver de vormen uit elkaar hoorde, stanste ze uit. Uit Gravel Grey stanste ik nogmaals de vorm uit en sneed de boven en onderkant er af. Plakte acetate achter de rechthoek en plakte de strookjes Gravel Gret aan de voorzijde zodat het drie aqariums lijken.
Cut a sidefold Summer Splash cardbase, cut a large rectangle out of the front of the card, cut the same rectangle as i made on the front and added that on the inside of the base. Using Kraft ink and a stencil i added some Bricks. Cut some Kraft cardstock, inked them up using Walnut Stain and glued them on the card so they would look like shelfs. Cut another Summer Splash rectangle and cut the three shapes on the same heights. Glued the panel on the inside of the basecard.
Sneed een sidefold Summer Splash basiskaart, sneed er uit het midden een grote rechthoek aan de voorzijde en plakte daar de witte recthhoek op. Met Kraft inkt maakte ik wat stenen aan de voorzijde. Sneed wat strookjes kraft papier bewerkte dit met Walnut Stain en maakte er planken van. Sneed een Summer Splash rechthoek en stanste hier uit dezelfde vormen op dezelfde hoogtes als aan de voorzijde. plakte dit aan de binnenkant van de kaart.
Cut a piece of watercolor paper, added the sand using a stencil and Tea Dye, Vintage Photo Distress ink. The water i made with Mermaid Lagoon, Peacock Feathers and Cracked Pistashio. Sneed een aquarel rechthoek, aan de onderzijde maakte ik zand met Tea Dye en Vintage Photo. Het water maakte ik met Mermaid Lagoon, Peacock Feathers en Cracked Pistashio.
Stamped all the images, colored them up using my Copic markers and cut them using the matching Die-Namics. Stamped some of the seaweeds, stamped the sentiments on the some Smooth White and the inside of the card. Placed all the images on the front and inside of the card. Stempelde alle afbeeldingen, kleurde ze in met mijn Copic markers en stanste ze uit met de bijpassende Die-Namics. Stempelde wat zeewier, stempelde de teksten op Smooth White en aan de binnenzijde van de kaart. Plakte alle afbeeldingen aan de binnenzijde en voorzijde van de kaart.Used Copic Colors:
Cats - W5, W3, W1, W00, 0
N9, N7, N5, N4, N3
C5, C3, C1, C00, 0, R22, R21, R11
Fish - V09, V06, V05, V04
RV17, RV14, RV13, RV11
BG15, BG13, BG11
Y17, Y15, Y13, Y11, B04, B02, B00, B000
YR04, YR02, YR00
B28, B26, B24, B23
Weed - YG67, YG63, YG03
V17, V12
Have a lovely Day!
Greets, Marieke


This is just the most adorable and fun card!!
BeantwoordenVerwijderenWat is dit een mooi kaartje geworden.
BeantwoordenVerwijderenGroetjes, Christa
Ahhhh wat een leuk idee en weer een prachtige uitvoering Marieke! Heel tof!
BeantwoordenVerwijderenWat superleuk bedacht Marieke!! Echt een topkaart!!
BeantwoordenVerwijderen